Monthly Archives: June 2014

An Accidental Re-do

Standard

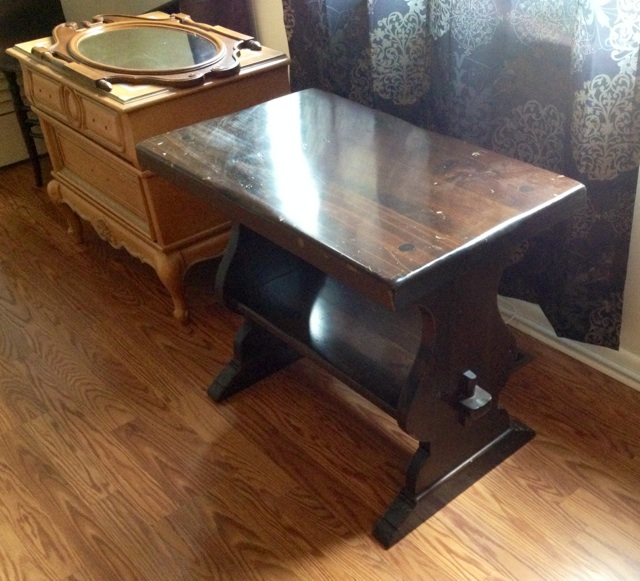
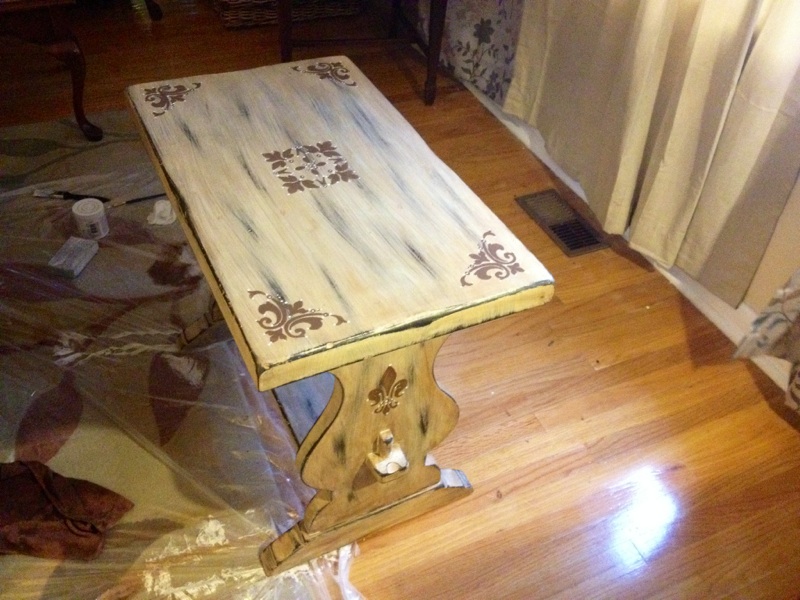
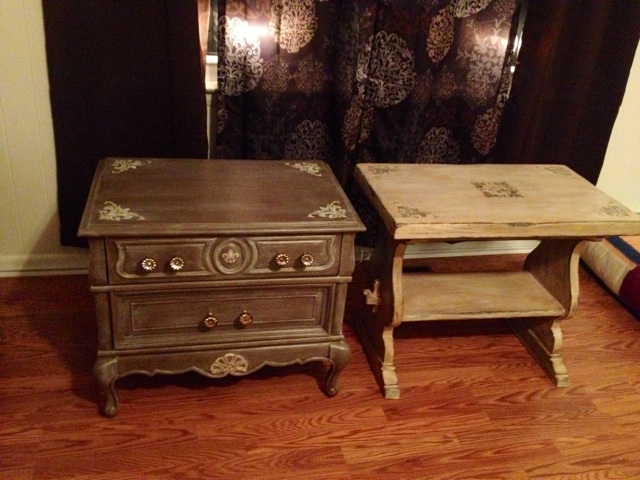
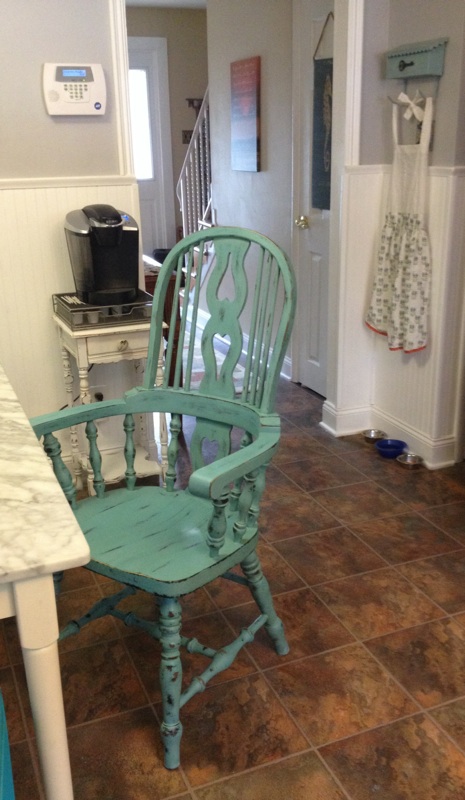
On Wednesday, we had an electrician come over to do some work for us upstairs. My newly-redone hall table was right outside the main bathroom. I always try to provide water, coffee, or beer to anyone working on the house. Hubby set the glass of ice water on the table. Despite layers of poly and wax, the water bubbled the top layer and it peeled RIGHT off the table.


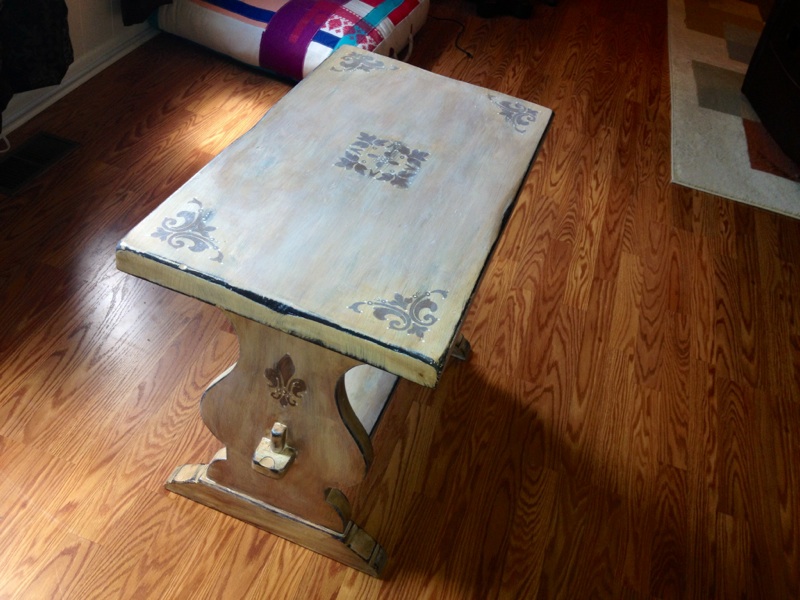
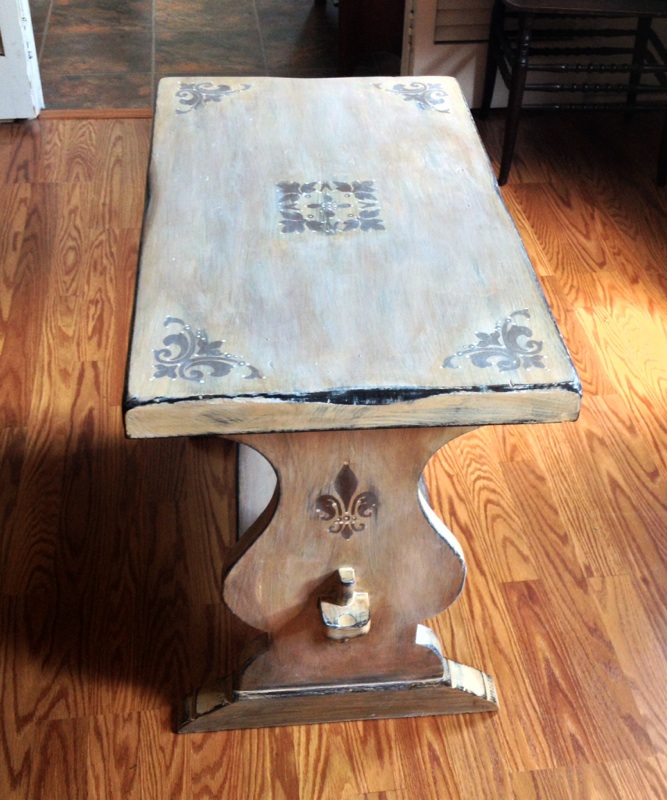
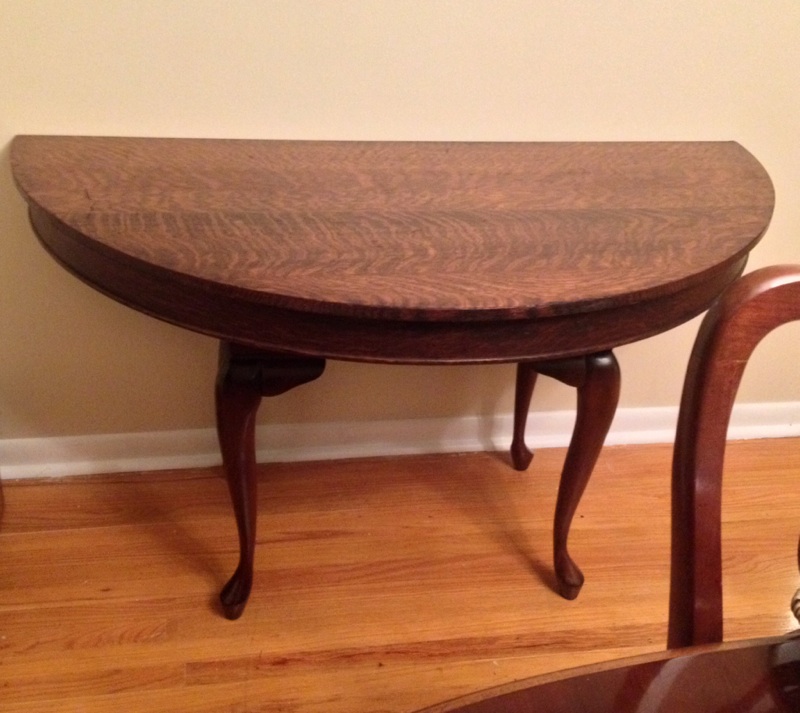
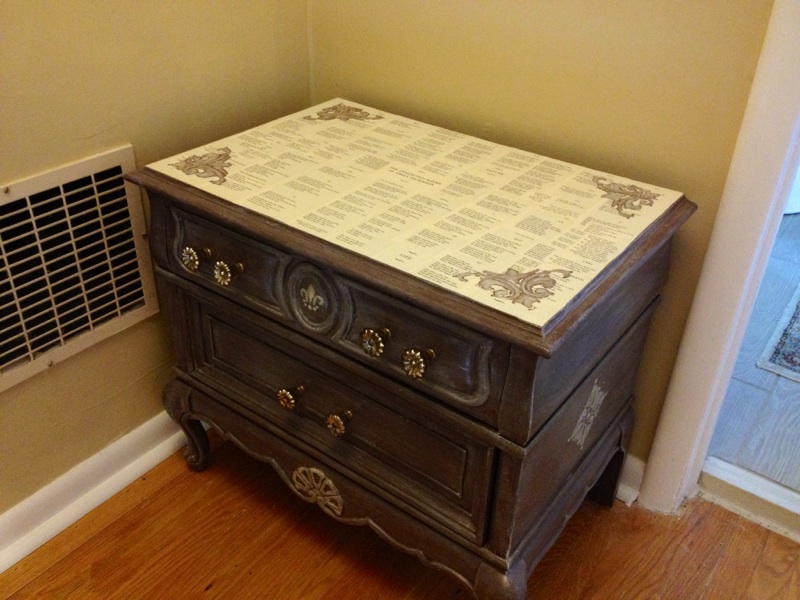
-_- Do you know how long those paint jobs take? They’re not something you can patch up! I allowed myself my momentary freakout and went back to the drawing board. The best idea I had for the top was to decoupage it. Emily Dickinson is one of my favorite poets, so I put her poetry on the top, using lots of regular glue, reinforcing the seams, and 3-4 heavy coats of poly. I added the side stencils and then hand painted the undertones of white and gold, sealing it when done. No need to worry about this finish coming off!


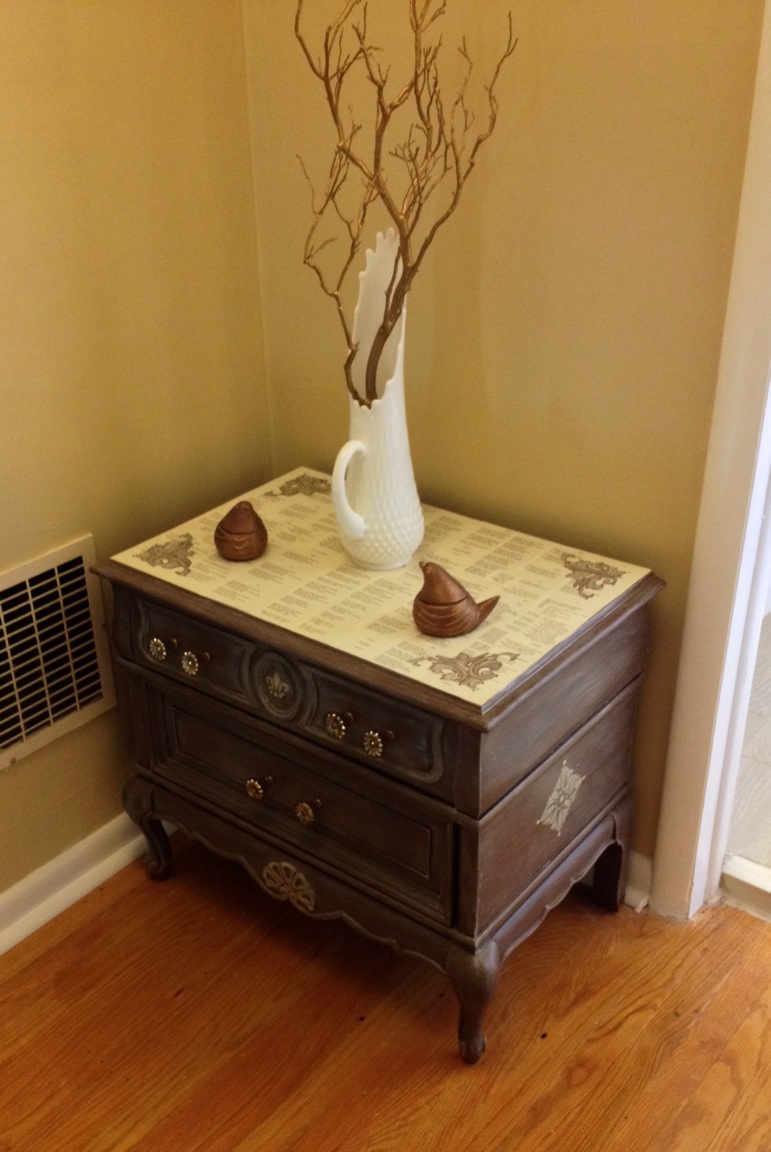
Not a bad save, I (actually) like something I did 🙂

Cost: Free (doesn’t get better than that).

ImageImageImageImage


If you’re a lover of the unrivaled, devastating beauty of words (as I am), familiarize yourself with Emily Dickinson. No one will ever surpass Robert Frost for me, but she’s way up there. Some of my favorites:


I had no time to hate, because
The grave would hinder me,
And life was not so ample I
Could finish enmity.

Nor had I time to love, but since
Some industry must be,
The little toil of love, I thought,
Was large enough for me.

~~~~~~~~~~~~~~~~~~~~~~~~~~~~~~~~~
Hope is the thing with feathers
That perches in the soul,
And sings the tune without the words,
And never stops at all,

And sweetest in the gale is heard;
And sore must be the storm
That could abash the little bird
That kept so many warm.

I've heard it in the chillest land,
And on the strangest sea;
Yet, never, in extremity,
It asked a crumb of me.
~~~~~~~~~~~~~~~~~~~~~~~~~~~~~~~~~

Behind Me — dips Eternity –

Before Me — Immortality –

Myself — the Term between –

~~~~~~~~~~~~~~~~~~~~~~~~~~~~~

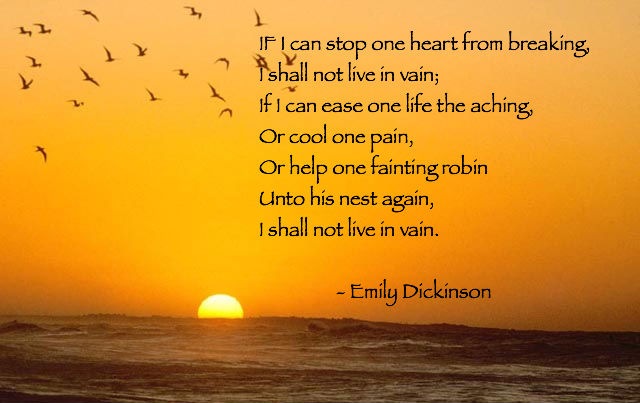
And of course, my all-time favorite of hers:


If I can stop one heart from breaking,

I shall not live in vain;

If I can ease one life the aching,

Or cool one pain,

Or help one fainting robin

Unto his nest again,

I shall not live in vain.

– Emily Dickinson


em Oh: I "met" my new classroom 2 days ago, and we like each other very much :-) I look at it as my next blank canvas. From now on, I want my room to reflect me and I have to put my stamp on it. I'm already dreaming of projects for it, some are already in the works. I'm feeling so much more inspired and happy lately. I love this photo only because it radiates that. Here I am in my new future "second home"! class 
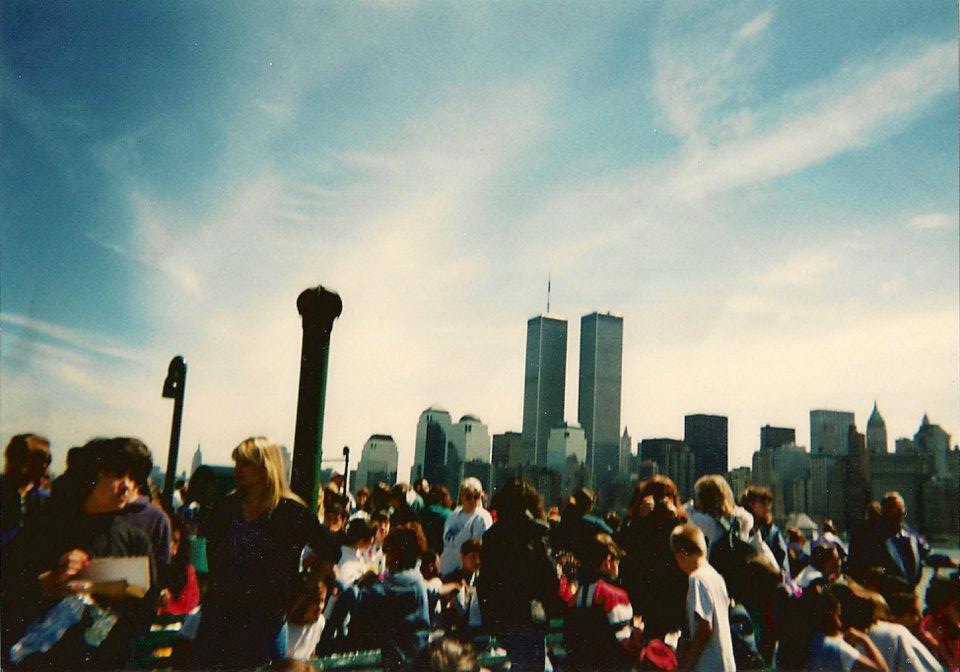
Lastly, this is unrelated and I know "Throwback Thursday" is a Facebook thing... But I came across this photo of my 6th grade class trip. Seeing the Twin Towers is always eerie, moving, and incredibly sad. I remembered being so awed by their massive size. trip

French & Sensibility

Standard

(See what I did there, bibliophiles and Jane Austen fans?!)

For the record, I came up here to the office to blog, and was greeted with this:

Image

After coaxing him off with treats, I’m ready to go 🙂

I’ve got TWO projects to blog today 🙂 I’ll start with showing you the raw materials and starting costs. I found an awesome, thick pine trestle bench/end table at a thrift store. It was $7 and I had to have it! It was rustic and yet reminded me vaguely of a church pew.

The second piece is a nightstand that I got for free from one of my upcycle friends. I threw my back out getting it to my car, as it apparently is the heaviest nightstand on earth. The drawers were very swollen from the humidity and it needed a little work, but my goodness…those lines and details! I knew it would really be something when completed.

Here are my two “before” items:

Image

(ignore the mirror. That’s something I am making pretty and into a chalkboard for my classroom).

See? Great lines and tons of potential on both.

I was not feeling bright or loud colors for these two beauties. I did, however, know I wanted to play around with stencils. I decided on a driftwood/sand color for the trestle table and a deep metallic grey/brown for the nightstand.

First up, the trestle table!

I painted the whole piece in white shabby paint, and then roughed it up heavily. In order to get the color I wanted, I used a dark antiquing wax, which gave me that pretty shade I wanted. I found stencils I really liked that gave the piece a French vibe and stenciled the designs on in darker brown. Here’s the first coat to paint:

Image

Here’s the “after” waxing and stenciling:

ImageImage


It was finished here, technically. After looking at it again the following day, I wanted to tweak it, because I thought it was too distressed and I found the pattern of sanding distracting. After redoing pieces of it and then using white revax (varnish and wax) on it, I finally got my desired result:

Image

Image

Image

Image

SO happy with it now. I love it. How people overlook things like this, I will NEVER comprehend!


Now for piece #2, the freebie nightstand:

After a few days inside my house in the AC and some sanding along the drawer edges, the drawers worked again. It had no pulls, so I needed to tackle that too.

I decided that in order to achieve the color I was going for, I’d need a deep brown base in a flat color and a white top glaze.

For white glaze, I recently tried a product called white revax and it’s AMAZING! Seriously, it seals, protects, and glazes all at once. A little goes a long way and it’s something to keep on hand for any future projects. It’s also non-toxic, VOC free, and made in the USA (does it get any better than that?) You can read about it and buy it here:

https://shabbypaints.com/vax-revax/

For my base color, I went to Home Depot and chose a color from Behr’s Marquee line called “Well-Bred Brown”:

Image


Let me tell you, this paint is un-freaking-believable. It goes on like butter! I definitely recommend this line, notable for its stain and dirt resistance. Here is the nightstand after its base coat:

Image

Looks just like melted Hershey’s milk chocolate bars. Exactly the shade I was going for!

After this stage, I played around with the stencils and got this result:

Image

I love the corner flourishes, and had to put a tiny fleur-de-lis on there on the front. The design at the bottom I painted by hand to bring it out. I accented the stenciled parts with a small hint of metallic gold acrylic paint.

I actually nixed drawer pulls in favor of knobs, despite the fact that pulls likely “go” better for the piece. I found just what I wanted at Anthropologie…gold, vintage-looking mercury glass knobs on clearance for $2.95 each. Perfect!

Image

After sealing the brown paint with water-based poly, it was time to glaze it 🙂 After using the revax and adding my knobs, the job was done. Prepare for the photo blitz and cue “Isn’t She Lovely”:

Image

Image

Image

Image

Image


SO HAPPY WITH IT! The brown with the white revax gave me just the color I wanted.  slightly metallic grey-meets-brown. Love, love, love. Times a million.


Now for costs!

Project #1:

Trestle table: $7

Stencils: $2.40

Paints/sanding block/materials: Already on hand.

Total cost: $9.40


Project #2:

Nightstand: Free (thanks, Kelley!)

Sample can of Behr Marquee “Well-Bred Brown”: $3.94

Stencils: $2.40

Knobs: $2.95 each x 6 for a total of $17.70

Other poly/materials/brushes/revax: Already on hand.

Total: $24.04


How’s THAT for bargains?! I love them both and am so digging the French-inspired style lately. My ottoman makeover (previously blogged) bit me with the Parisian bug. So, see? All you need is some vision, and everything old becomes new again!


Til next time…


Salvage Server (in with the old)

Standard

By now, anyone who knows me at all knows that my tiger oak “problem” is legendary. It’s one of my favorite things on earth. Painting it should be illegal and punishable by water torture. I’m not all that sure that I’m kidding when I say that…


ANYWAY!


I noticed that someone on my “upcycle/DIY” FB group listed a tiger oak dining table (round) that opens for a leaf. It was huge, something like ’56 round! Furthermore, it damn near weighed a ton (seriously). It was way too large to be used in its current state, and I would never part with my Carrara marble kitchen table. It was too beautiful to pass up for $20. I knew I had to find a way to re-purpose it before Jeff got home from work and threatened serving me with divorce papers (again)!

After walking my house and brainstorming with my best friend, I remembered that I’ve always wanted a server/buffet in the dining room, but I don’t have one. A server too big and chunky would take up too much room, as I already have a mahogany Queen Anne set that includes a table with 2 leaves, 6 chairs, a curio, a hutch, and an antique side table.

How to turn this massive table into a server? Cut it in half at the bias, where it breaks apart for the leaf! The edge would sit along the wall under the partition, coming out in a demilune/half-moon shape.

Then came the issue of what the heck could serve as the base. Hubby and I then recalled that in the very back of our storage room was the mahogany, Queen-Anne end table that we used as a coffee table and ate off at for 4.5 years at the apartment. Not only would it match the dining room set, but it also has sentimental value. The fact that the top was all sorts of beat up didn’t matter, since we’d be securing the top to it anyway.

The issue was that the server would sit too low. A trip out to the shed turned up old pieces of pressure-treated 2 x 4. When we stacked them (piecemeal style), the height became perfect. After that came a lot of pre-drilling, broken drillbits, loud noises, very long screws, and the task of securing them to the base. The remaining movement and slight rattling was fixed with shims.

I refused to risk long screws going up into the tiger oak top, because I was unwilling to risk a screw coming through the table top. When something is 100 years old with a perfect patina, it’s never as easy as wood putty, filler, and new stain. Instead, we used liberal amounts of contact adhesive. We put the top into place on the base and weighed it down heavily overnight. It’s now nice and secure!

I love the character of old pieces and wanted to make the server look its best without messing with that. I applied a small bit of stain to chips along the edges, and then made a homemade polish with white vinegar and olive oil, massaging it into the wood. This is literally all that was needed. Here is the end-result. If you like it, we have an extra base and the other half of the table if you’d like to make one. I’ll unload the supplies cheap, just let me know!Image


Image

ImageImage


Here are some photos of the dining room, so you can see the lay of the land:

Image

Image

Image


I LOVE this project. It was fast and easy with two people and it was a fun way to re-purpose an antique. I love it, and it will get plenty of us during dinners and parties. Not bad for $20!

Roadside Rescue Makeover: ANOTHER Chair!

Standard

En route home the other night, my husband noticed (mere nanoseconds before I did) 2 chairs and a dining table at the curb by our neighborhood. I can spot quality a mile away, and what caught my eye first was a beautiful table base, country-looking and trestle-style. I typically get eye-rolls, loud sighs, and joking divorce threats when bringing salvaged furniture into my life/home, so I was shocked when he willingly turned the car around to look! There was a BEAUTIFUL, thick, high-quality dark pine dining table with two chairs. The chairs were lovely, with a finely-detailed Windsor design that was rustic and yet elegant. I needed one (naturally).


Whoever went home with the dining table is a lucky person indeed!


Shocker #2 was when my husband said “I think we can fit both in the car”. I had to make sure I heard him right! Being practical, I said we should take the better of the two chairs. So we went home with this beauty:Image


Oh, the potential! I do not like to refinish dark pine, and prefer painting it (not my usual). Looking at the details, I decided on a shabby paint job, but was torn between an oatmeal shade with antiquing wax like this $3 thrift store table makeover (I did this last week):

Image

OR this robin’s egg blue shade that I used to make over my $0.50 salt and pepper mills:Image


The blue idea won out, mainly because it’s the final chair I could get away with squeezing into the hodgepodge/ quirky eat-in area! It’s softer than the screaming turquoise I used on the other chairs and I’ve been all about blue lately! That, and I had plenty of the paint left over, so I did not need to buy any supplies!

Here she is after being painted with the blue chalk paint:

ImageImage


See? Pretty even without being shabbied up!


After I took a sanding block to her, this was the result:


ImageImage


I had no clear furniture wax left, so in an effort to keep this project completely free, I used some semi-gloss water-based poly I had left over from the floors. I used this to seal it, since it would be expecting frequent use.


This was a TOTALLY free project! Free chair, leftover paint and poly, leftover paint brushes and sandpaper. It doesn’t get better than that!

Here it is in its “home”:

Image