Our kitchen has come such a long way since we bought our house 6 months ago! It went from looking very 1970’s to sleek, beautiful, and fun. We got our appliances yesterday, so I wanted to show you the way everything looks, because this is the look that will stay for a very long time (until we tackle phase 3, which is knocking down a wall, having an island built, and having a mosaic backsplash put in).
As it stands, even without phase 3, the kitchen is officially fully updated!
Phase 1 involved a large amount of paint and a gargantuan amount of elbow grease, but it was also cheap! Yesterday, appliances went in…and though I can’t call that a “cheap” update, the price we paid for them was outstanding! When you see our kitchen photos from move-in day and from yesterday, you’ll be amazed at the transformation.
I talk often about “good bones” with a house, and I’ve said it numerous times about our kitchen. The layout was workable. There was an eat-in area. The 1995 oak cabinets were solid wood and in good enough shape to keep. They had Granite Transformations put in the counters, and the color was close enough to what we wanted that we decided to keep it. The beadboard on the walls was a plus, just ugly and unpainted. We had a good amount to “work with” and make better. Could we have ripped out the bulkhead, counters, backsplash, floor, beadboard, cabinets, etc? Sure! But I didn’t want to literally sink money into a major renovation. It works wonders for some, but the reality is that we’re both just too cheap and too DIY! 😉
I must say, my favorite “fix” was taking a shiny, oddly-textured early 90’s backsplash and painting it. It was shiny, white, oddly-textured linoleum and some tiles had weird beige bundles of flowers and wheat on them. I had the idea to try bonding primer and paint, and now the once-ugly backsplash matches our beautiful walls. It was a free update because we used the paint we had on hand, and I couldn’t be more pleased. If you don’t want to spend between $500-2000 (depending on your choices) for a new backsplash, consider this easy option.
I’ll walk you through the transformation of our kitchen from the time we first moved in up through today:
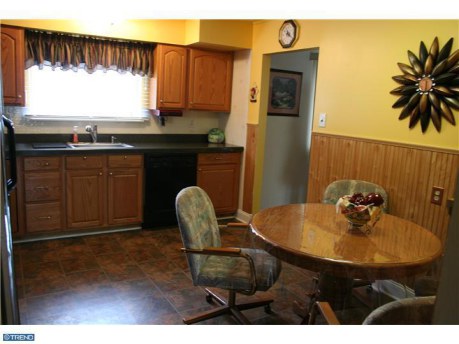
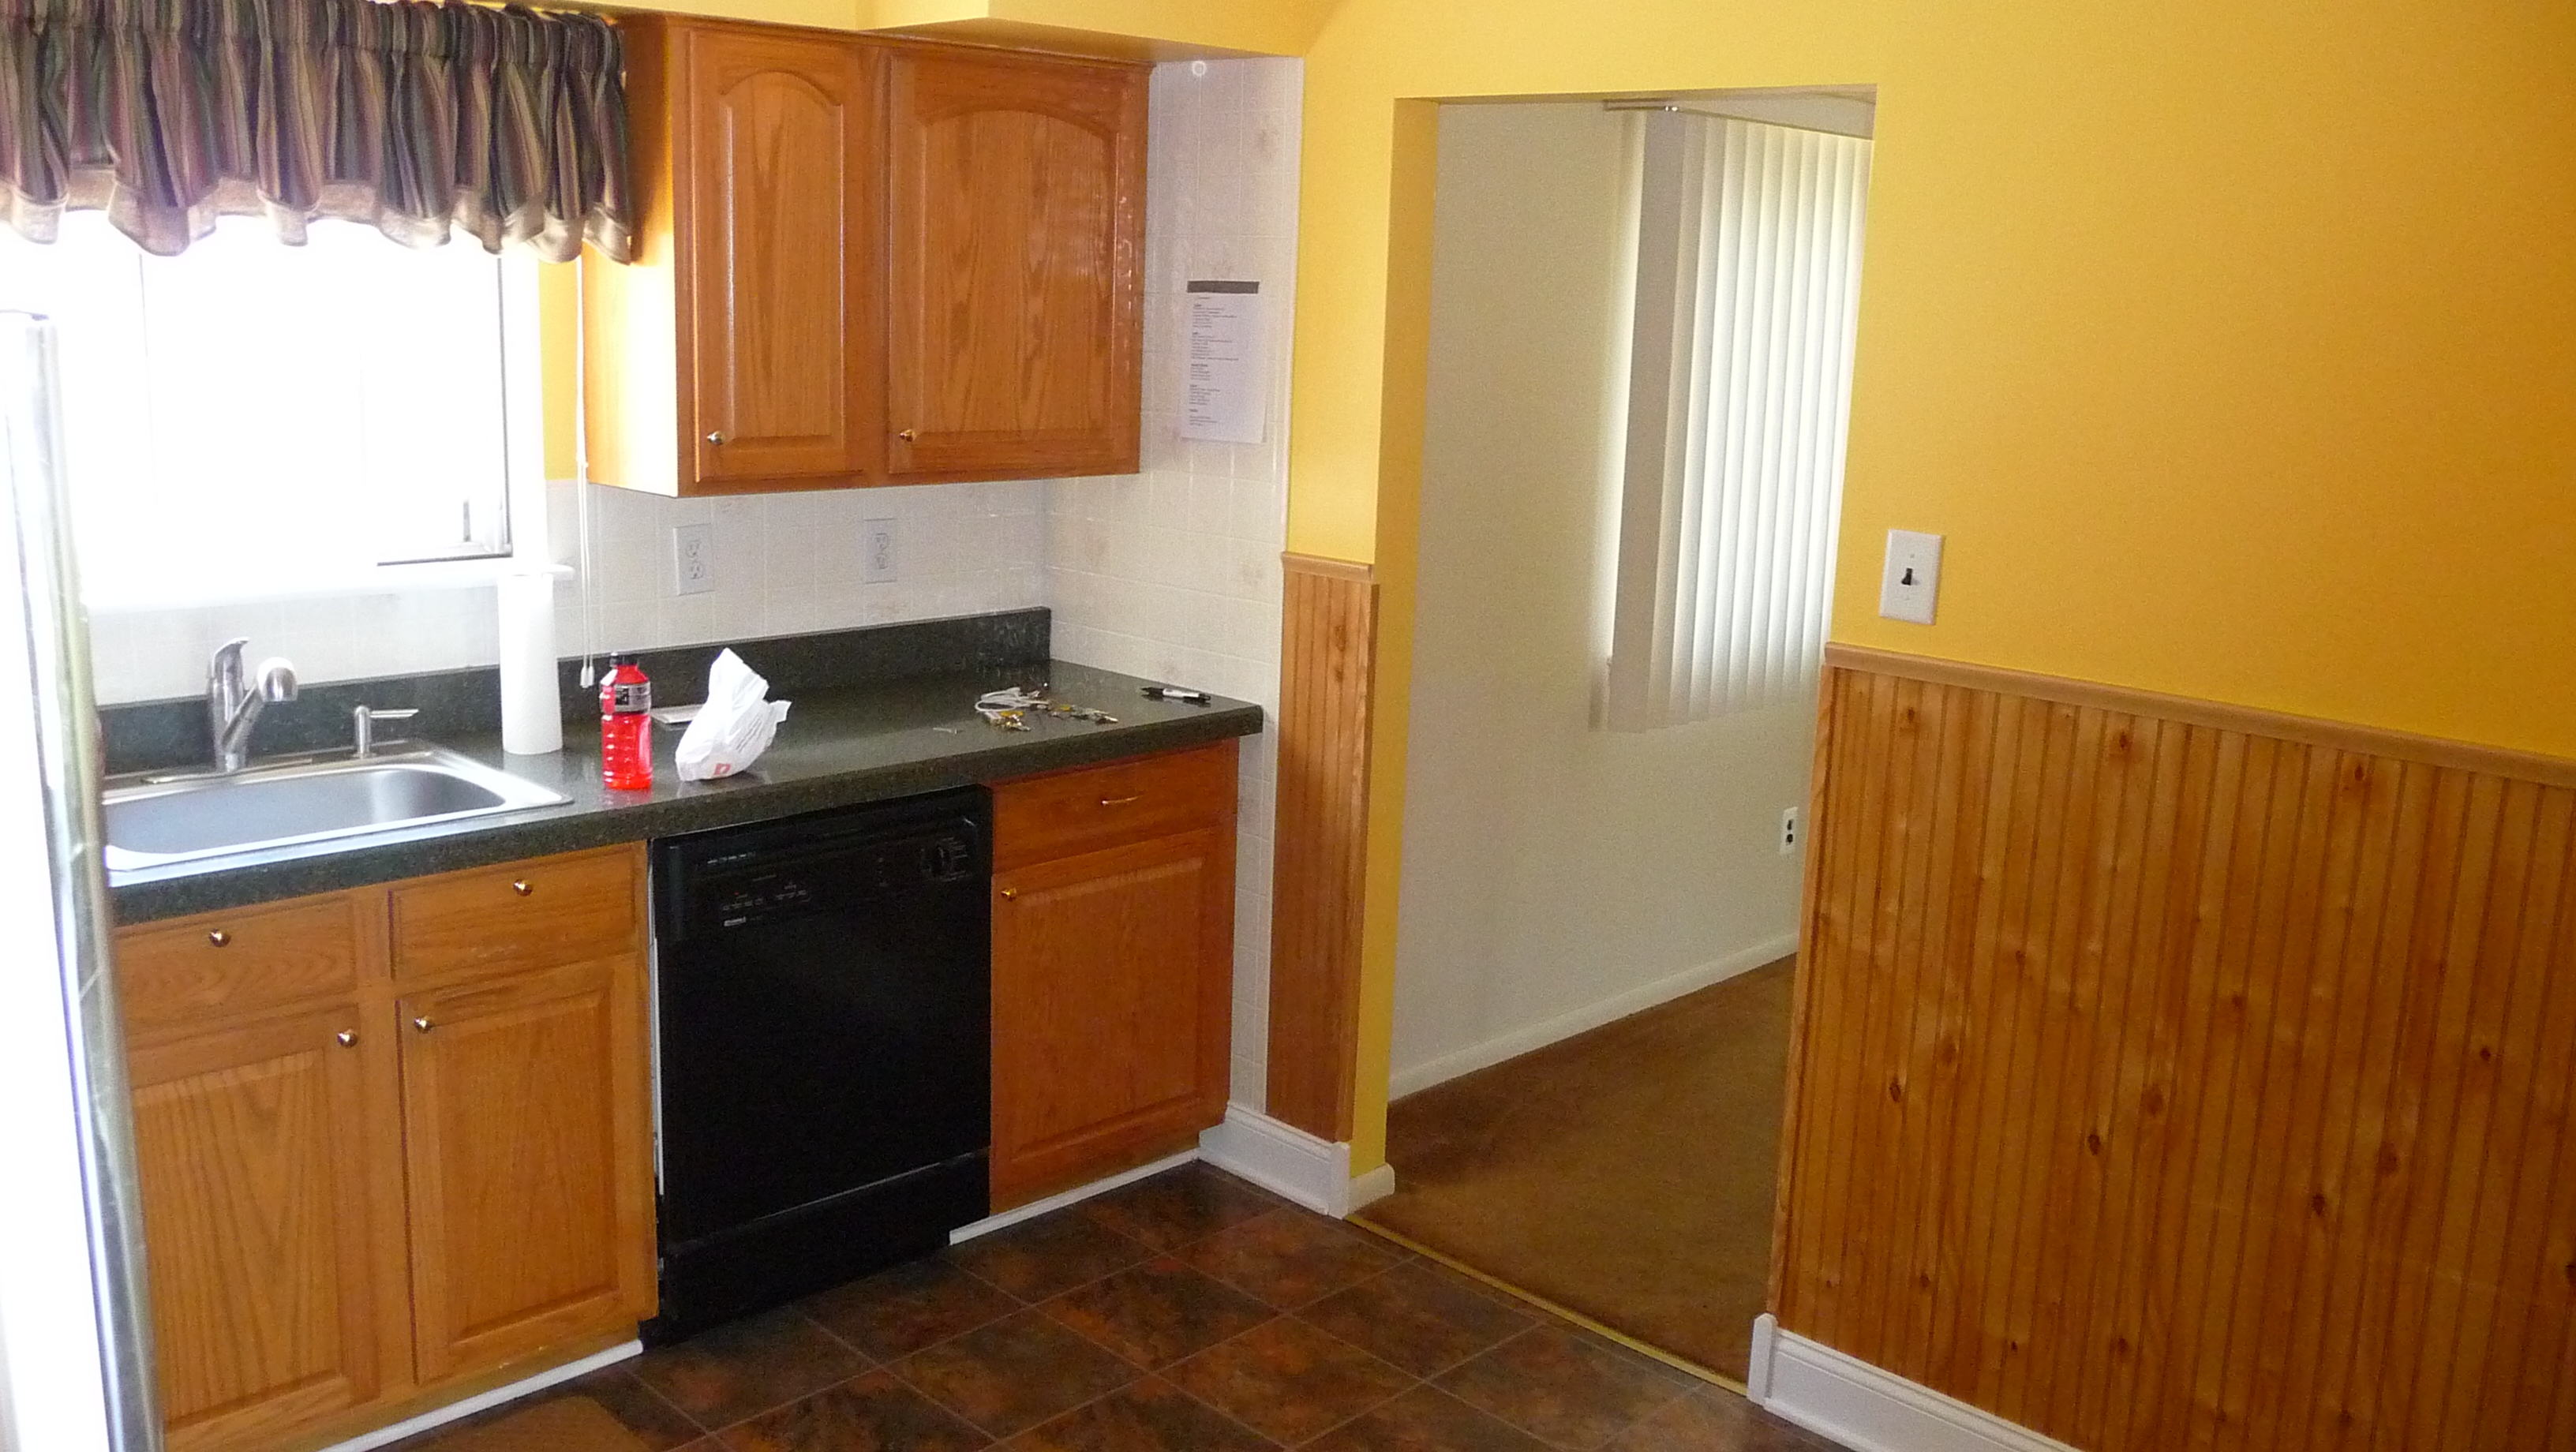
See? Good bones indeed, but in need of updates.
Here’s the result after we got our paint on and rid ourselves of the headache-inducing screaming yellow:


The walls looked a million times nicer with the blue-grey color, but that beadboard looked even worse. The solution?

SO. MUCH. BETTER.
Then we decided to paint our oak cabinets white:

Really brightened things up, didn’t it?!
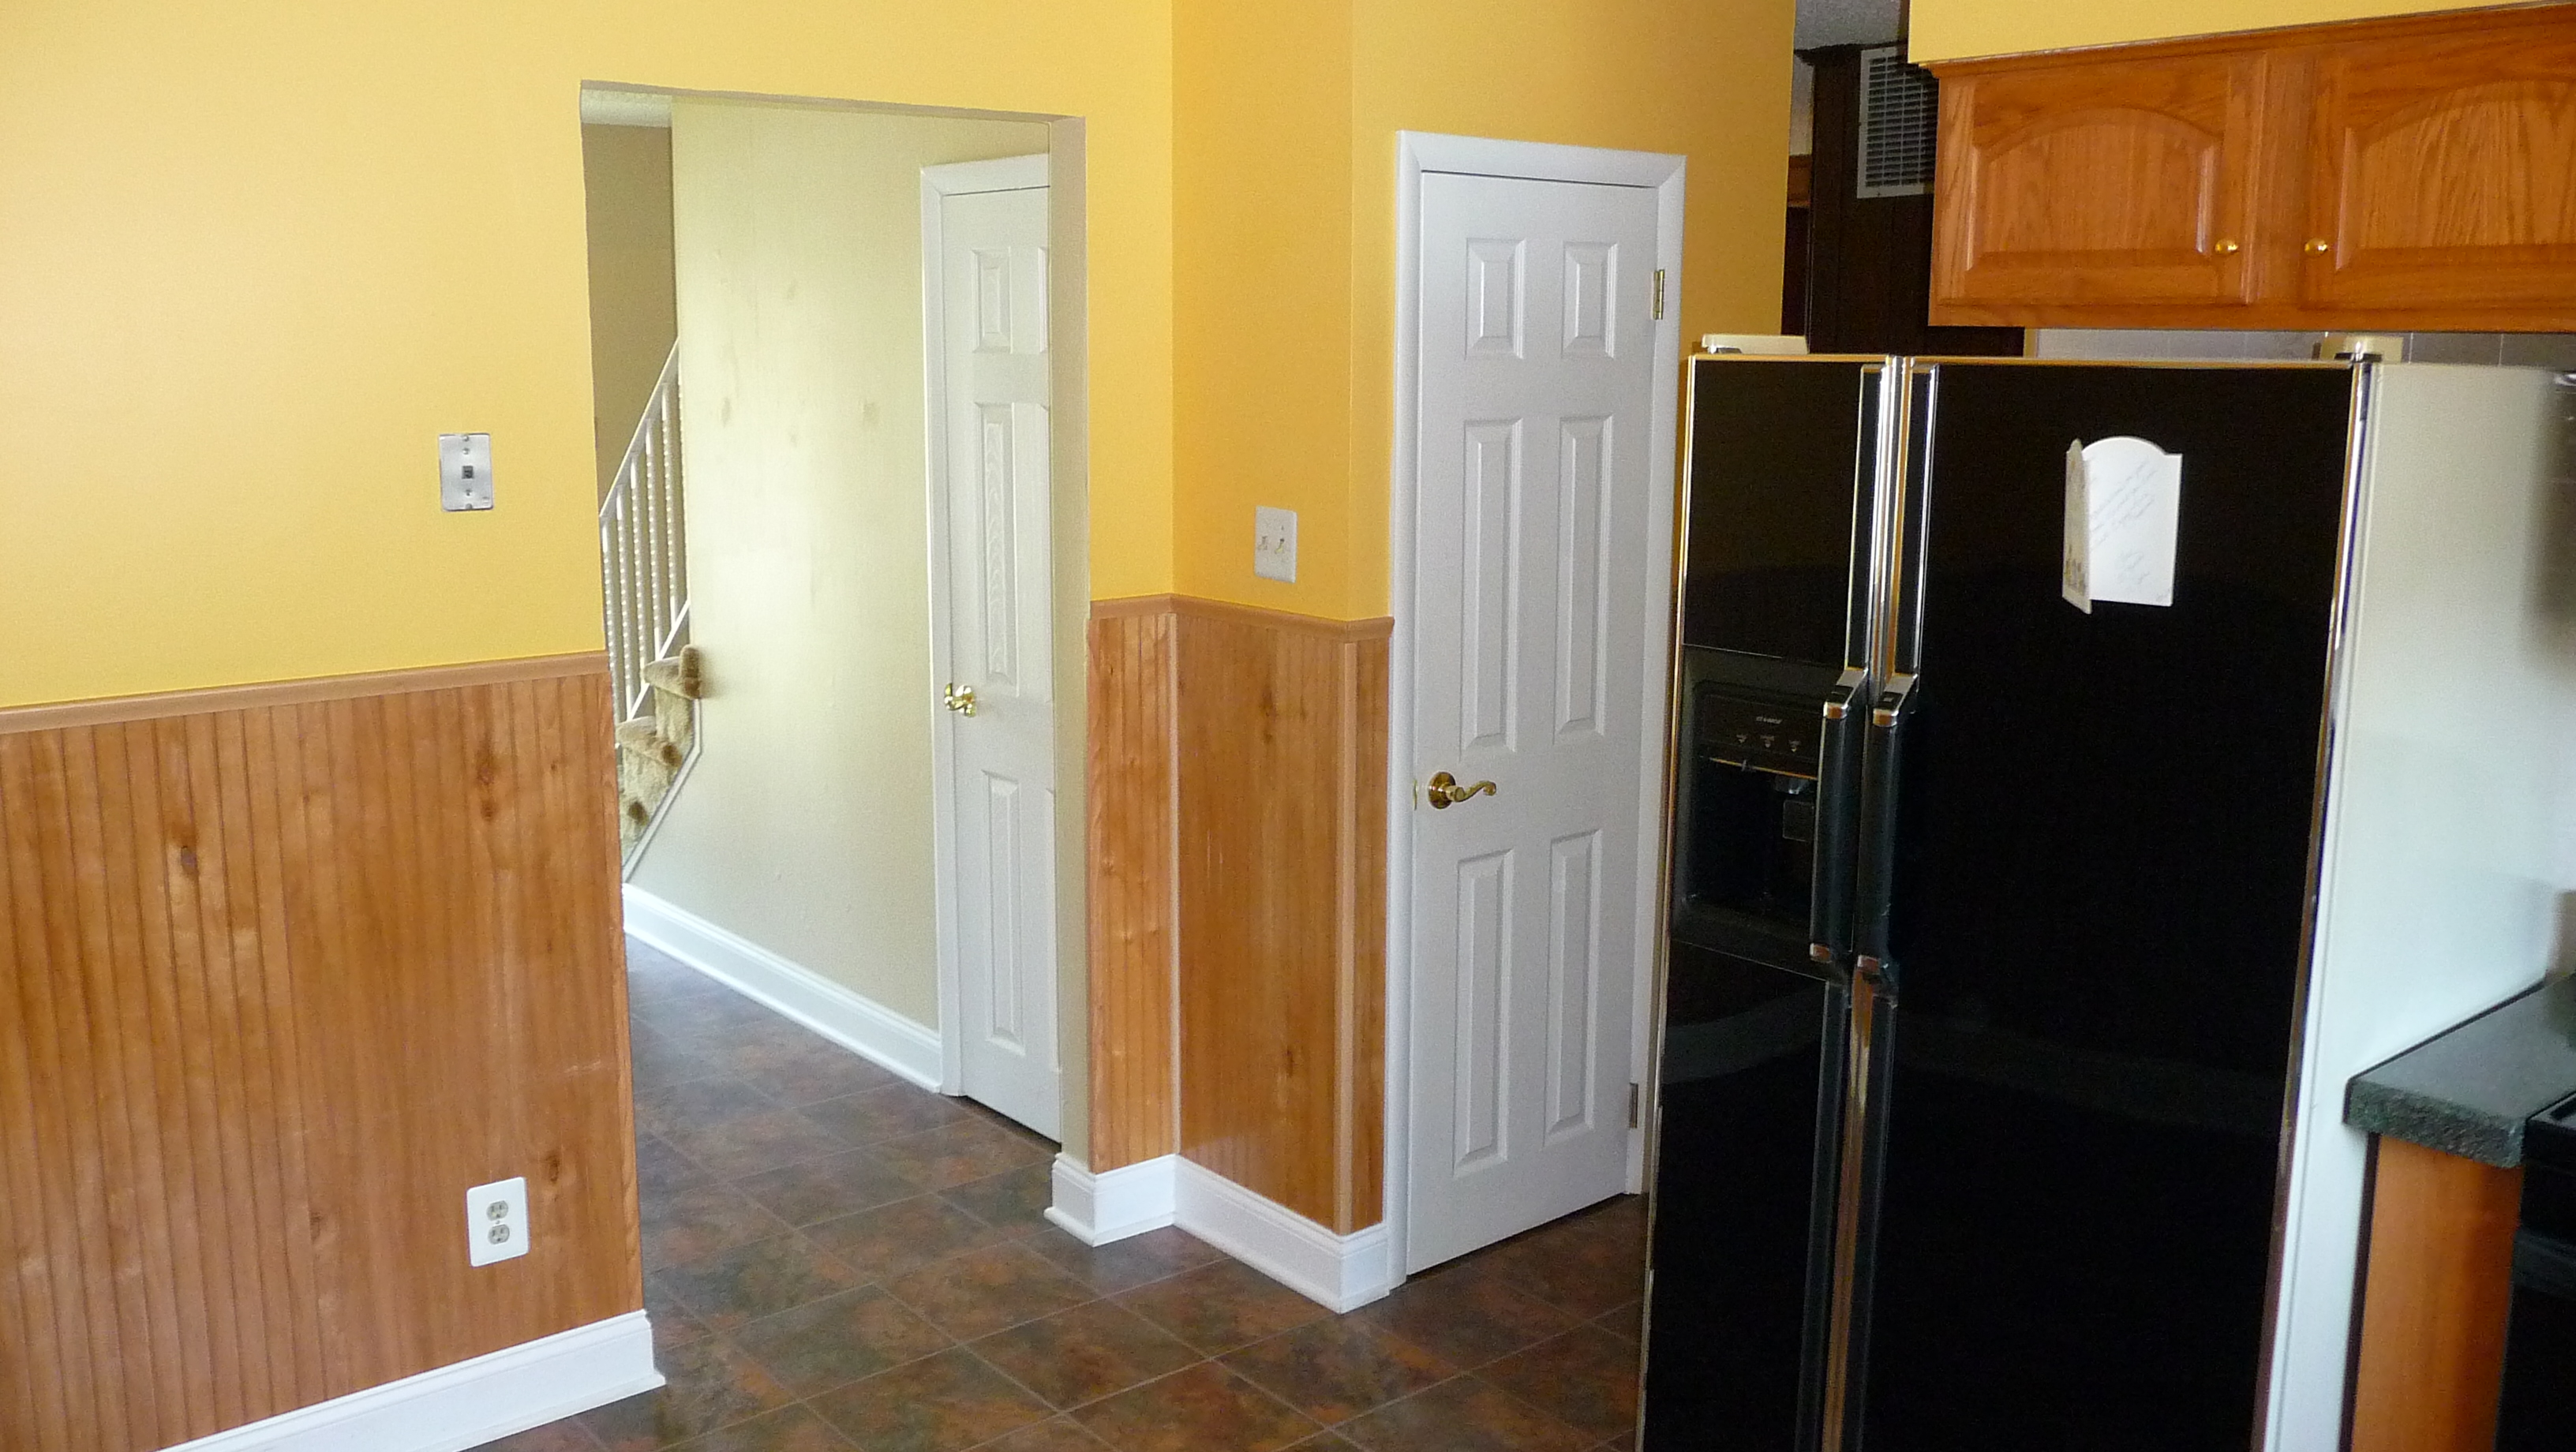
Onto appliances…our dishwasher and fridge were from ’91 and the dishwasher and microwave from 2000 were both not working well. The fridge was shiny black, chrome, and had cream sides. 1 fridge, 3 colors. It drove me so crazy that we painted the sides with chalkboard paint to liven it up to be something I could live with until we could replace all the appliances at once:

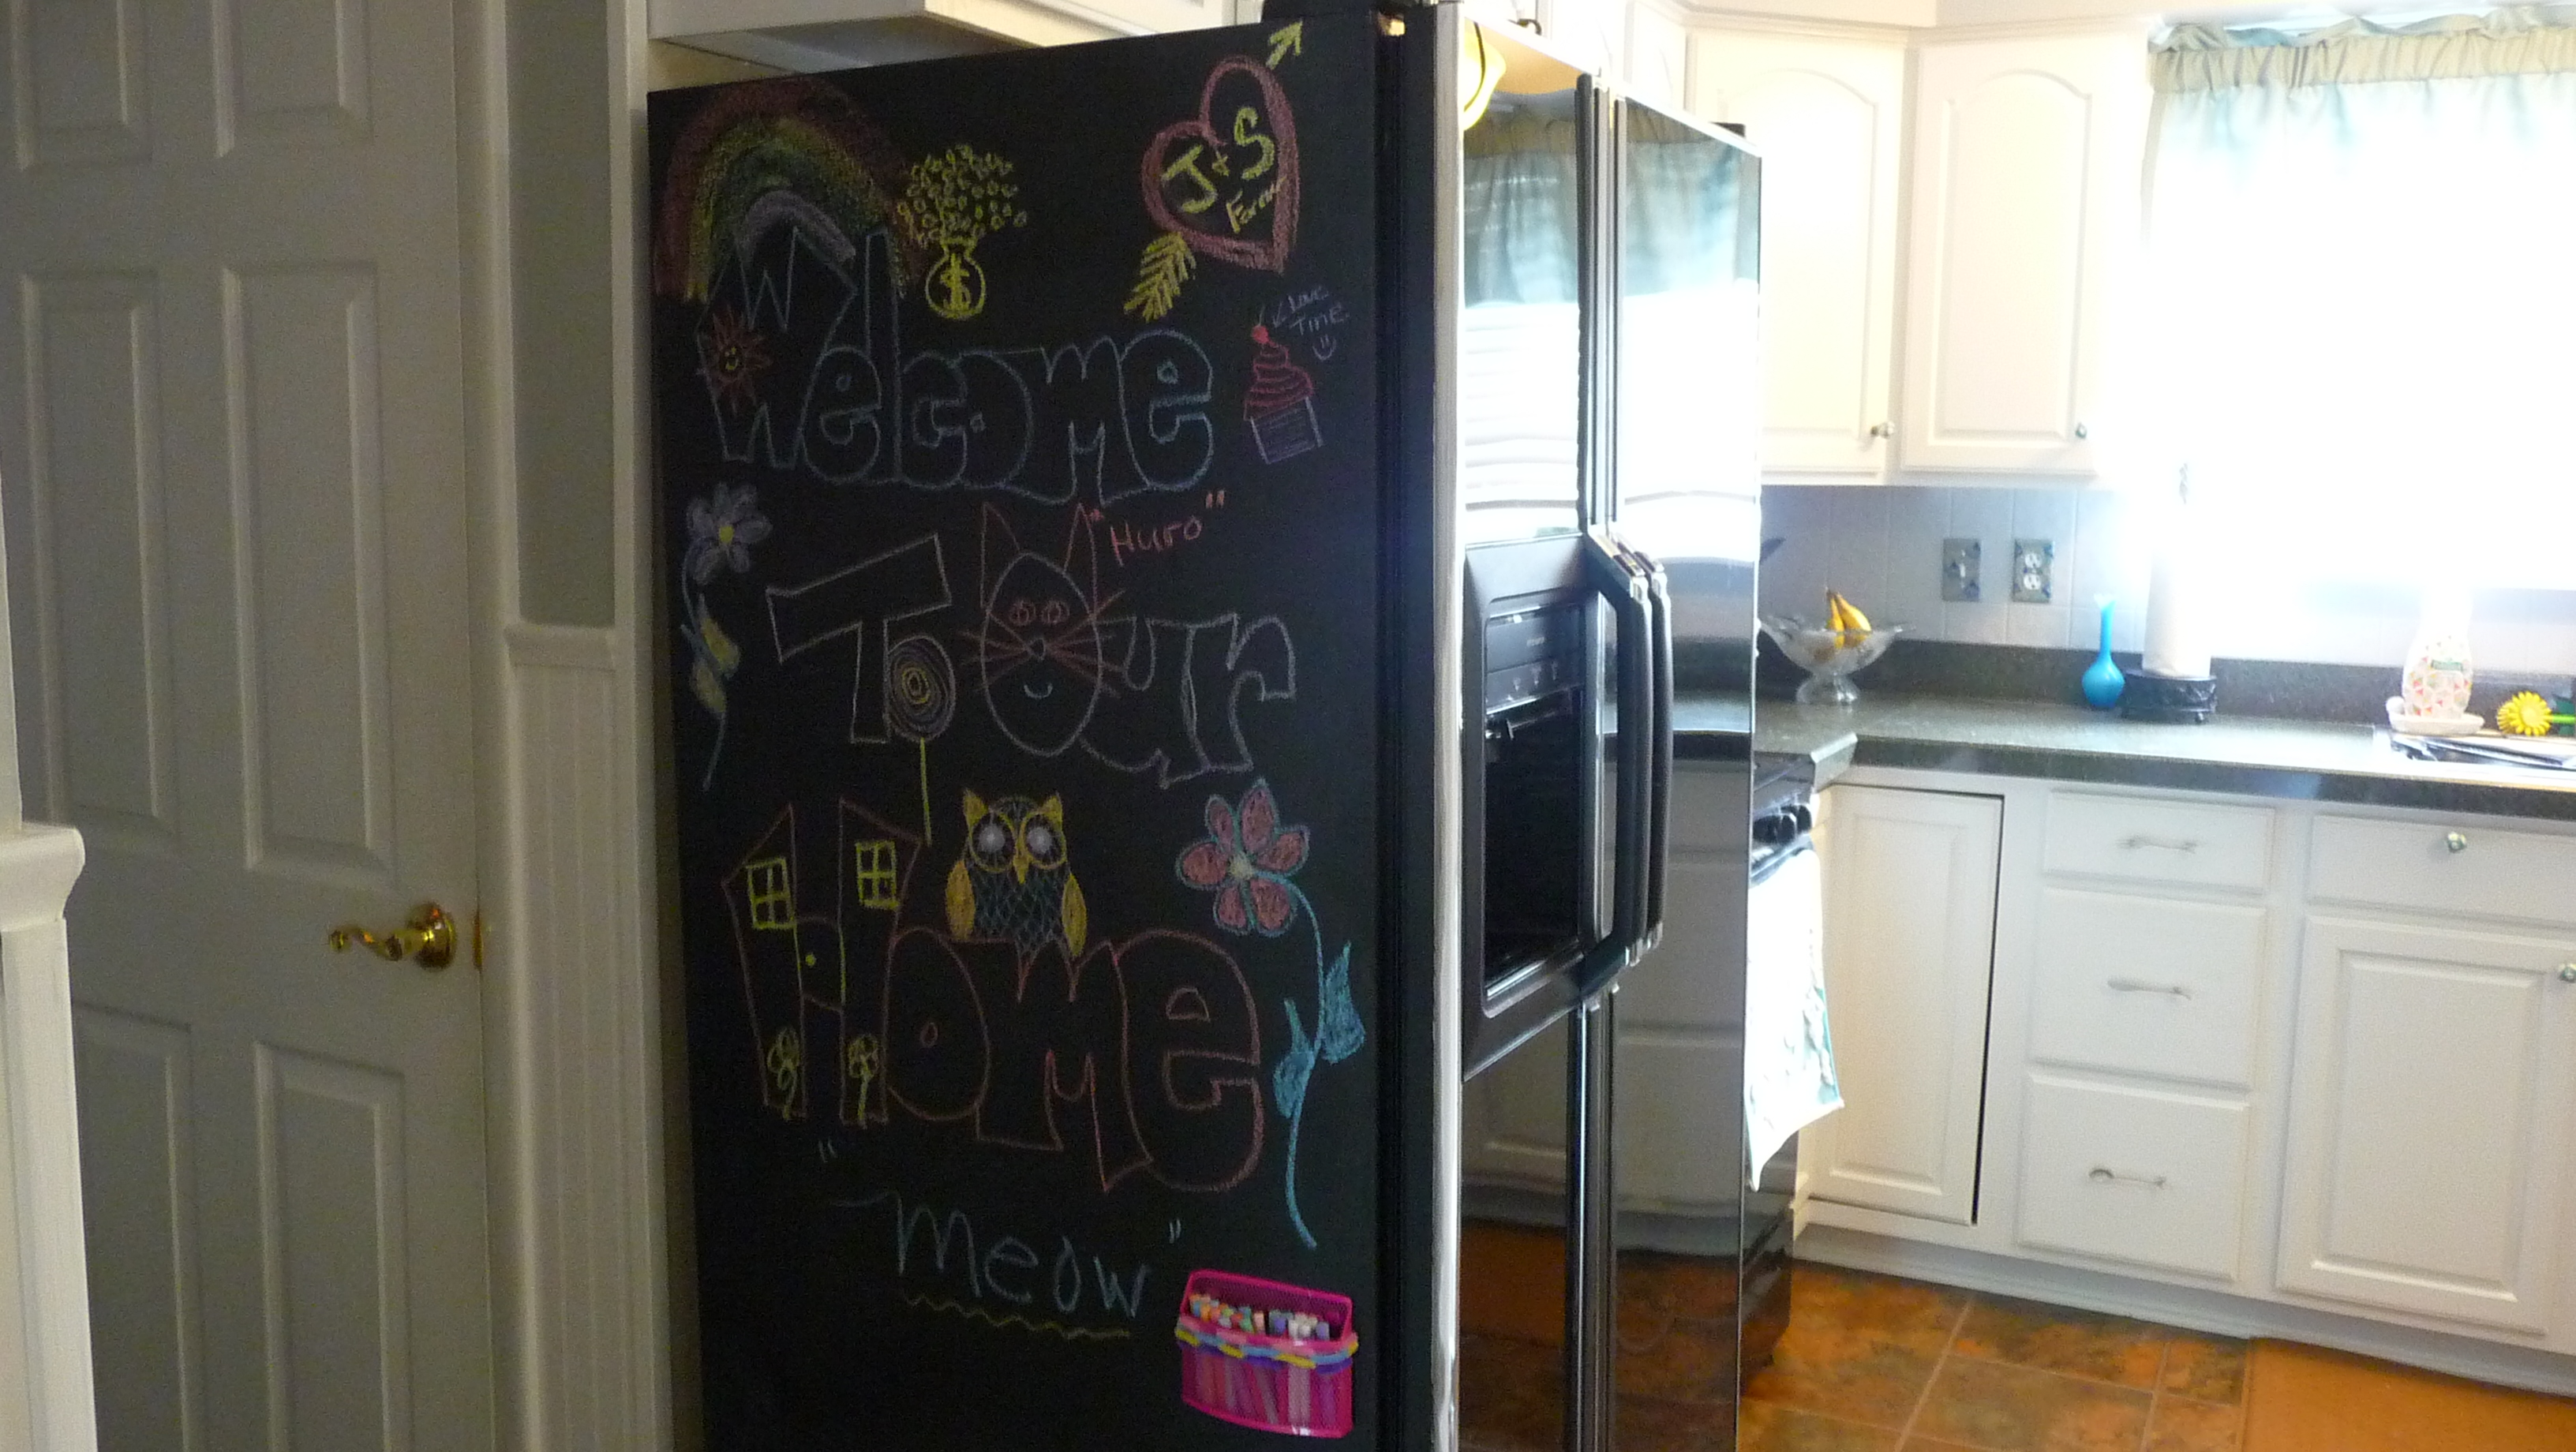
I highly suggest that update!
As far as appliances go, let me preface it all by reminding you that I’m cheap. My husband is also cheap. I may have caviar taste and like nice things, but I’m cheap! We couldn’t bring ourselves to buy appliances until Black Friday sales began popping up, as that tends to yield the best deals. I know people who spent 4 grand or more on appliances, and the thought made my heart palpitate. I came up with a budget of $2,000 for the fridge, dishwasher, over-range microwave, and gas range. The goal was good, basic appliances. We knew stainless steel was the look we were going for (sleek and industrial). Our original black-and-gray-and-white kitchen idea morphed into something with many pops of teal blue and something a lot more fun… with a punch of personality!
Home Depot had a “Pre-Black Friday” ad out and I saw exactly what I wanted at the price I wanted to pay. Furthermore, we got no-interest for 6 months (I like paying $500 a month with no interest way better than paying in cash all at once), free delivery, free haul-away, and installation for $2,000 and some tax. We went with Frigidaire. I did the best measurements I could and the fridge ended up being slightly too tall for our “built when fridges were smaller” cabinets, so hubby made a few small cuts and the crisis was averted.
Anyway, we’re more than pleased with the look. The fridge is so much bigger than the last one! Luckily for my parents, my dad was in the garage when their older-than-me spare fridge sparked a small electrical fire and died or “took a crap” in the eloquent and elegant words of my dad. Our chalk-board-sided black fridge goes to them as their new spare 🙂
Once more with “before”:
And now, our current kitchen:


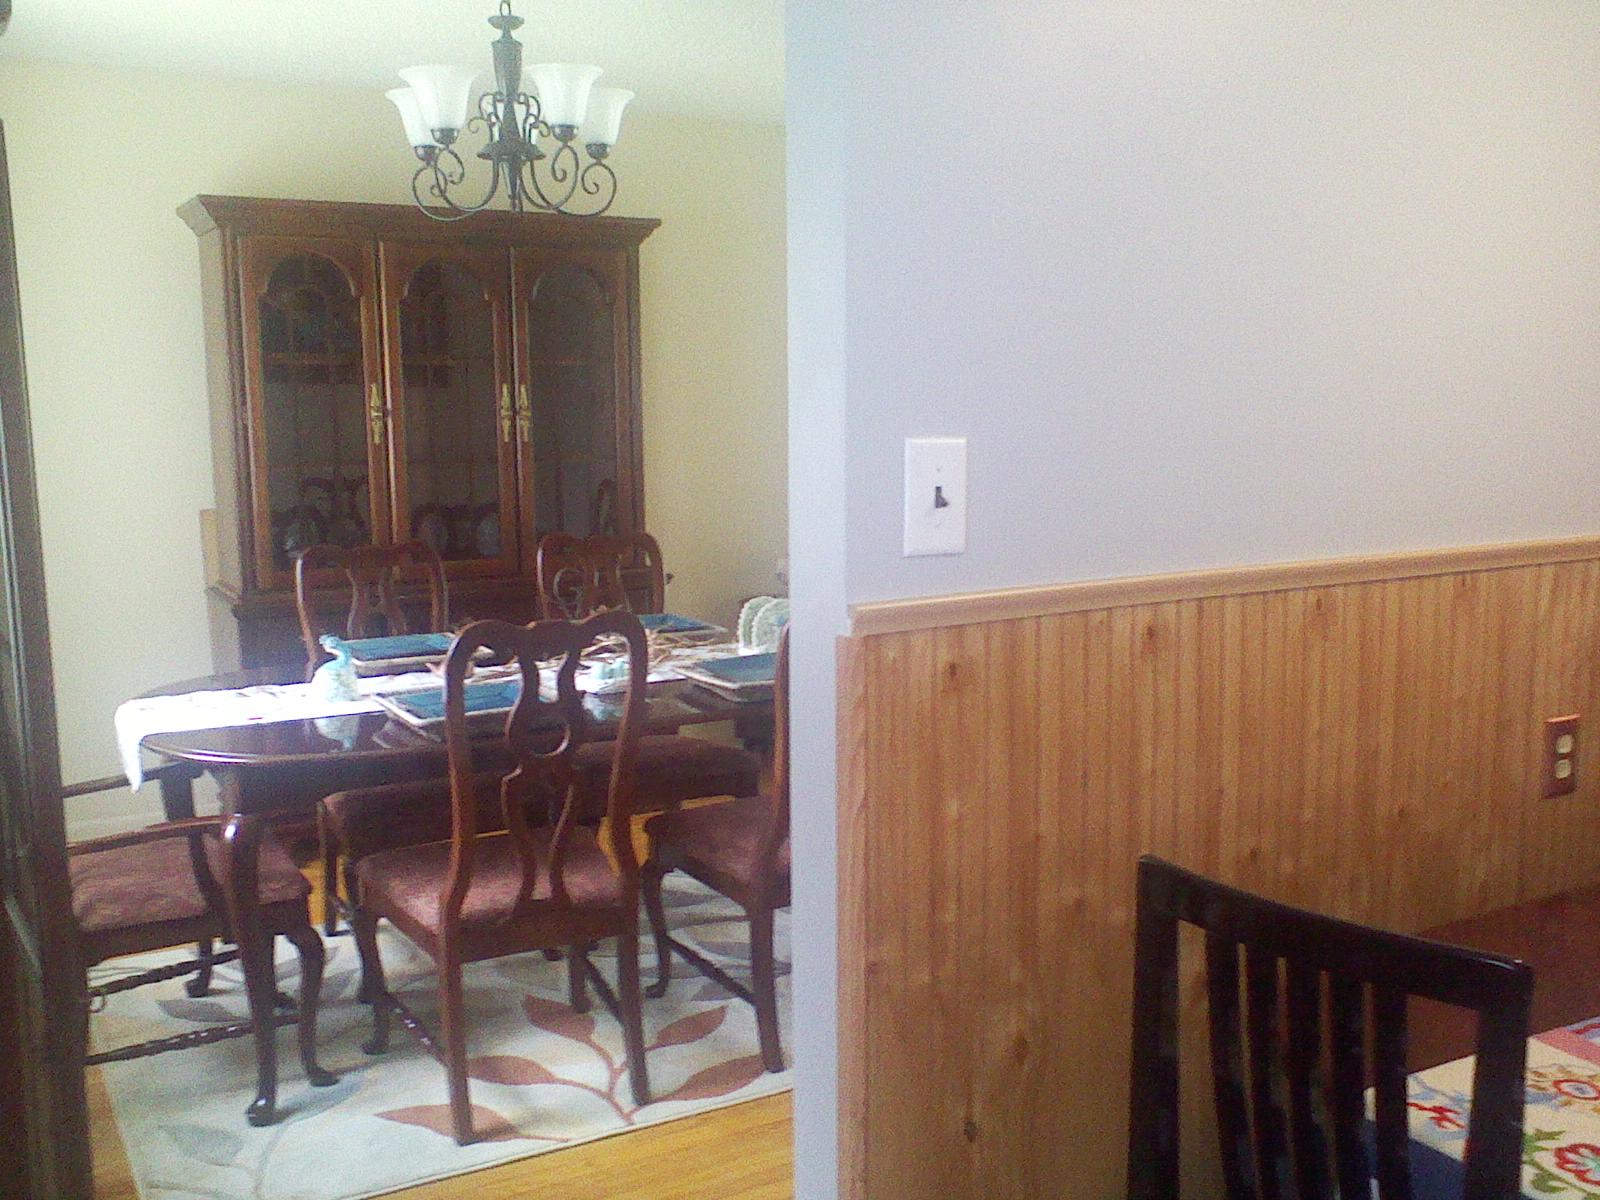
And of course, the fun and new eat-in-area highlighted in my last entry:


The best part of it all is that all of these updates combined cost us just $2,500 between lots of paint, elbow grease, salvaging items for free, a Craigslisted marble-top table and chairs, re-purposing current items, and appliances. It really doesn’t even look like the same kitchen. I couldn’t be happier, honestly. “The Anonymous Kitchen” is my pet-peeve (the same one everyone has, with the dark cabinets, tile backsplash, neutral walls, beige granite, and stainless appliances), and we have one that nobody else does thanks to DIY skills, imagination, and a very small amount of money (as kitchens go). “The Anonymous Kitchen” might be gorgeous, but this one looks and feels like us! I’m a “warm” person…so this is the first cool-toned room I’ve ever had or done. I enjoy that the kitchen has so much personality and stands alone from the rest of our home without clashing from the “feel” of it, thanks to the personalized touched and unique items.
::Happy warm-fuzzies::
Until next time…
