I’ve had a very creative evening! I’ve been feeling extra inspired lately, and two oh-so-fabulous finds this week at my local thrift store were my muses 🙂
Item #1…a 24-inch wood stool for $1.95? YES! I am just under 5 feet in height, so this is perfect for me.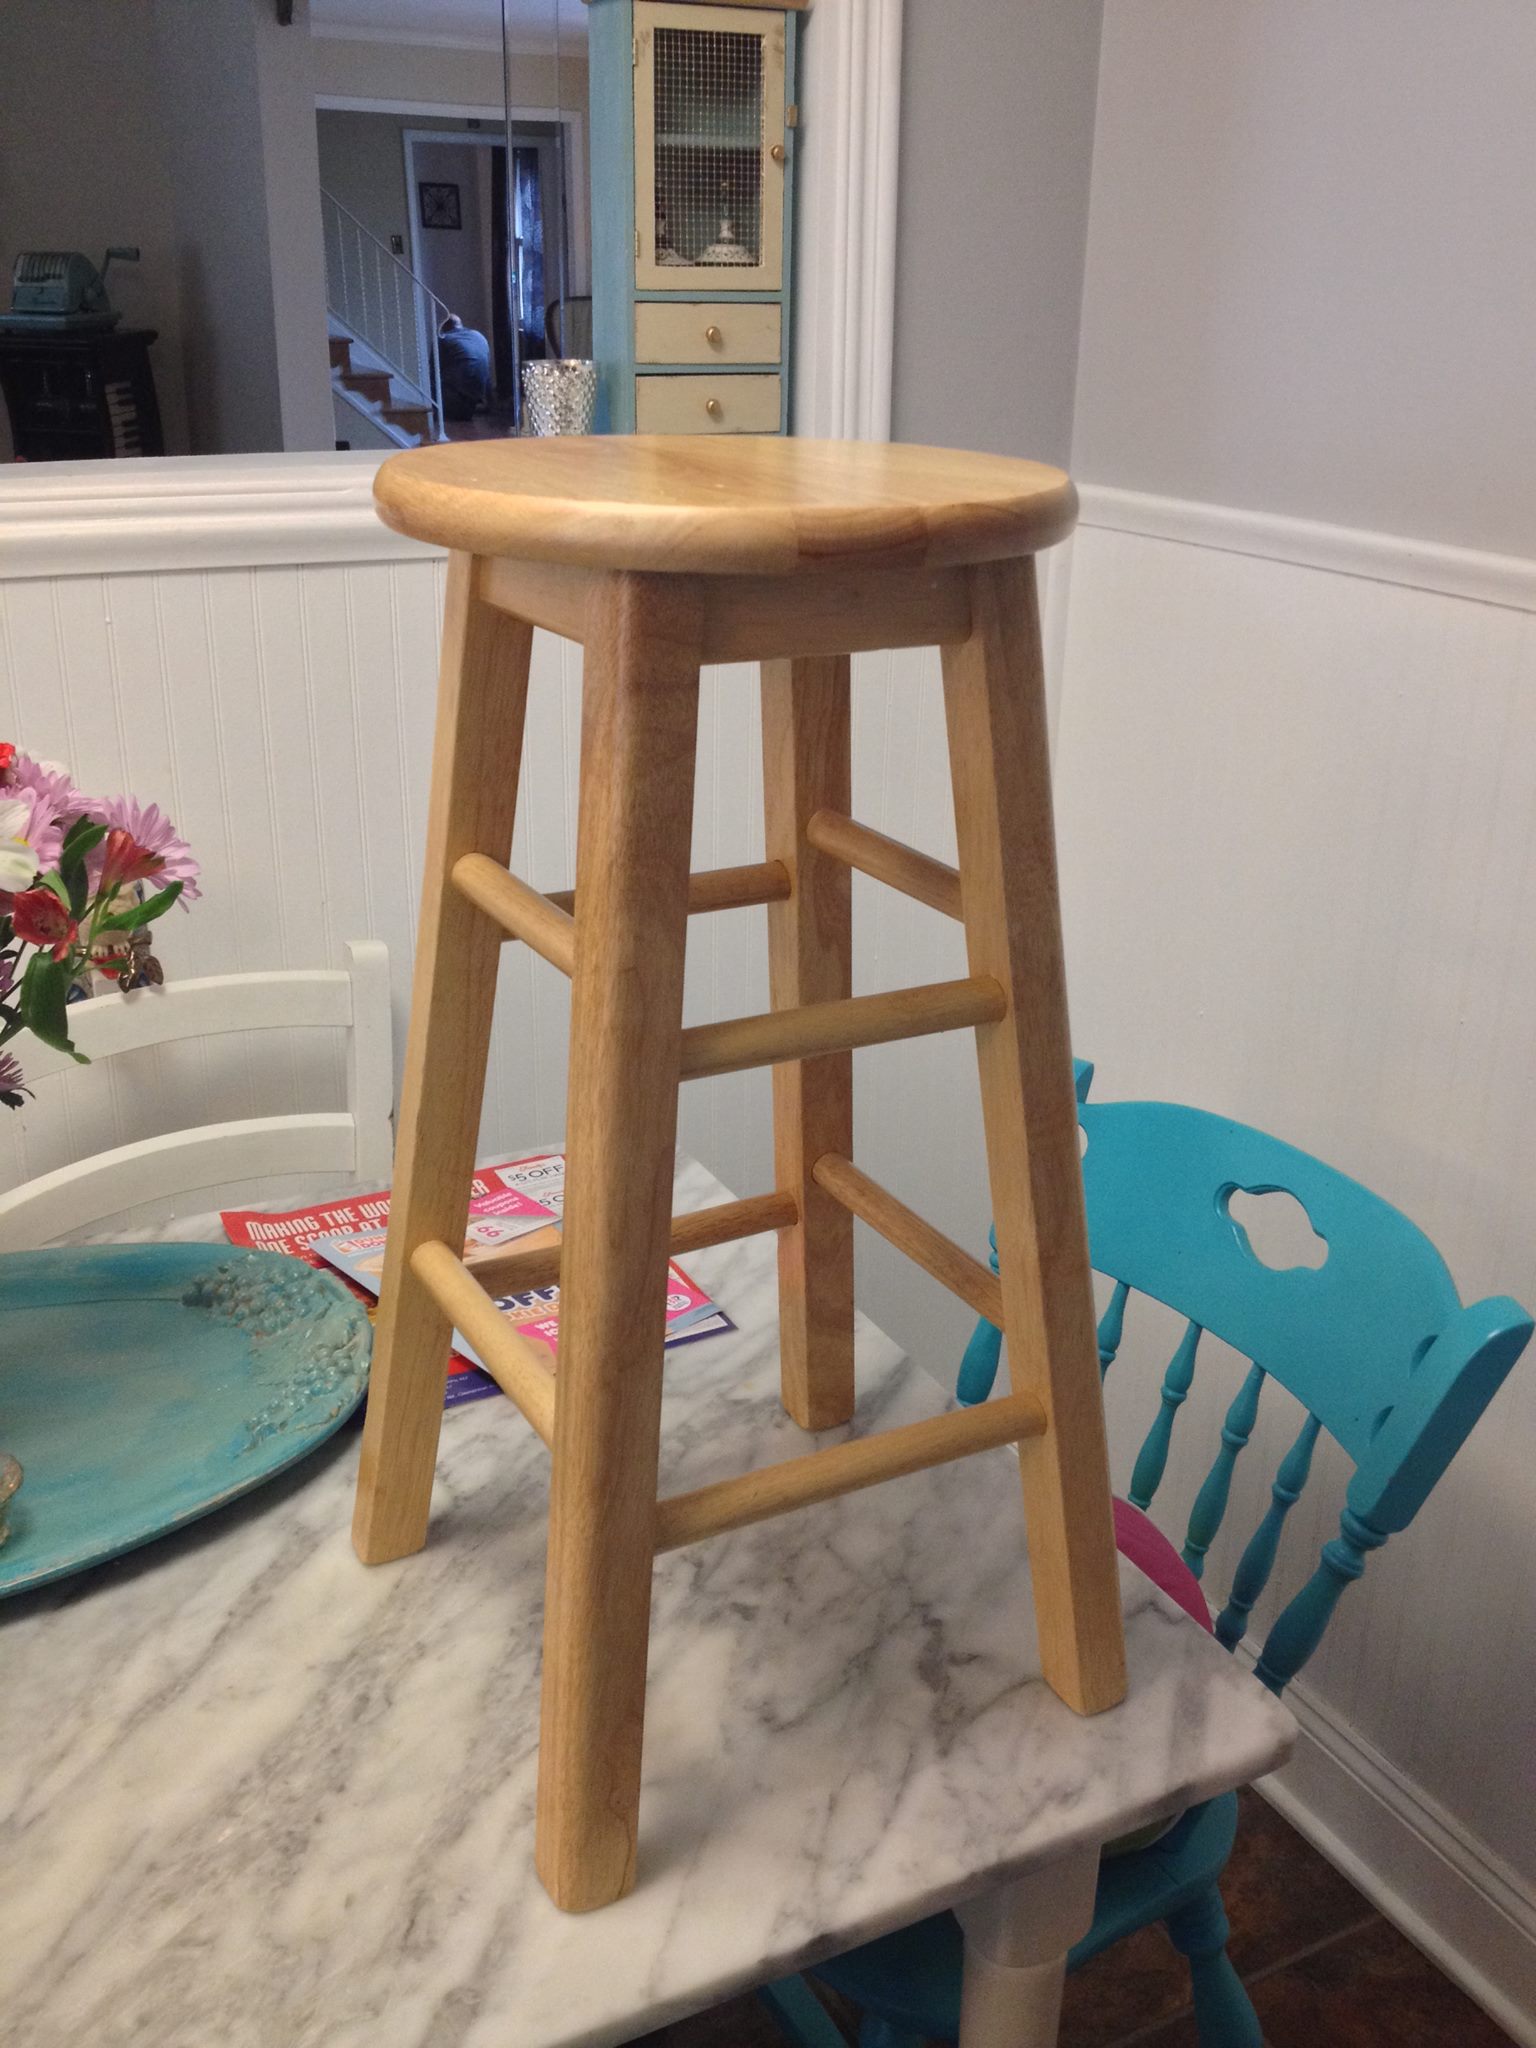
No artsy chalk paint job for this one! I decided to celebrate the start of (unofficial) summer by going with a hand-painted, summery, and colorful design. I chalk-painted the legs a Tiffany blue, but am considering doing an ombre blue design down the legs to add some color variance…we shall see. Here’s the end result:
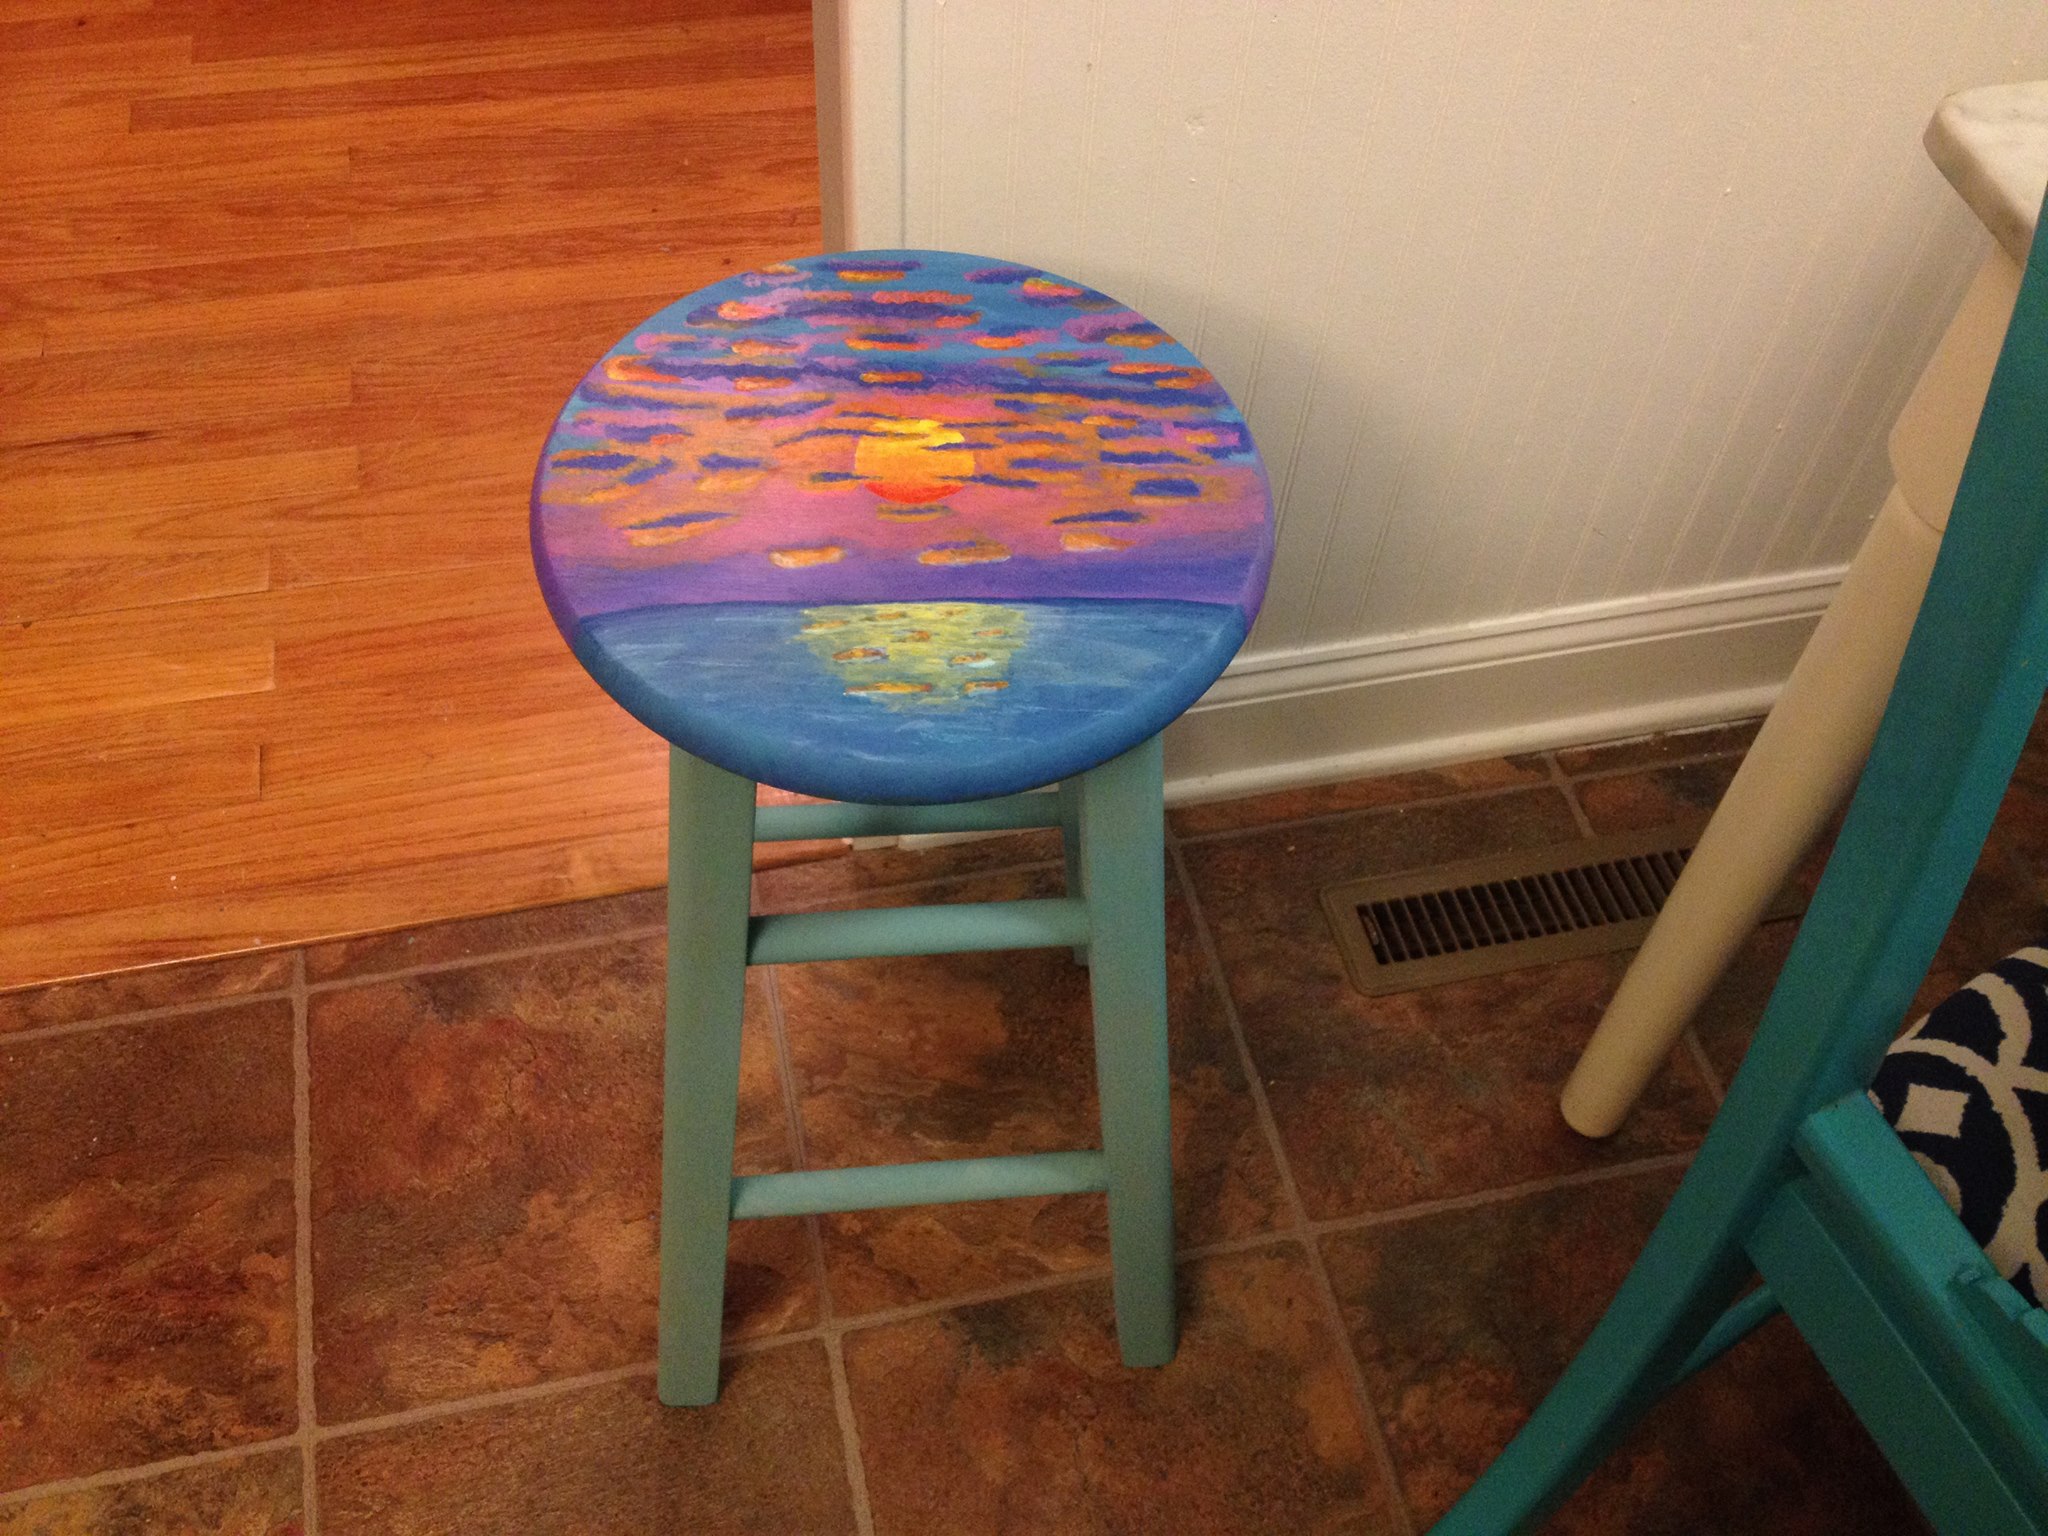

I’ve always thought of myself as having absolutely no artistic ability, but I may need to rethink that one.
My second thrift store find was an AWESOME end table with a beautiful marble insert. It’s by Mersman Furniture, mid-century or so, and was screaming out to me for a makeover! Best of all…I got it for just under $3. I mean, honestly…how do you say no?! Here she is:
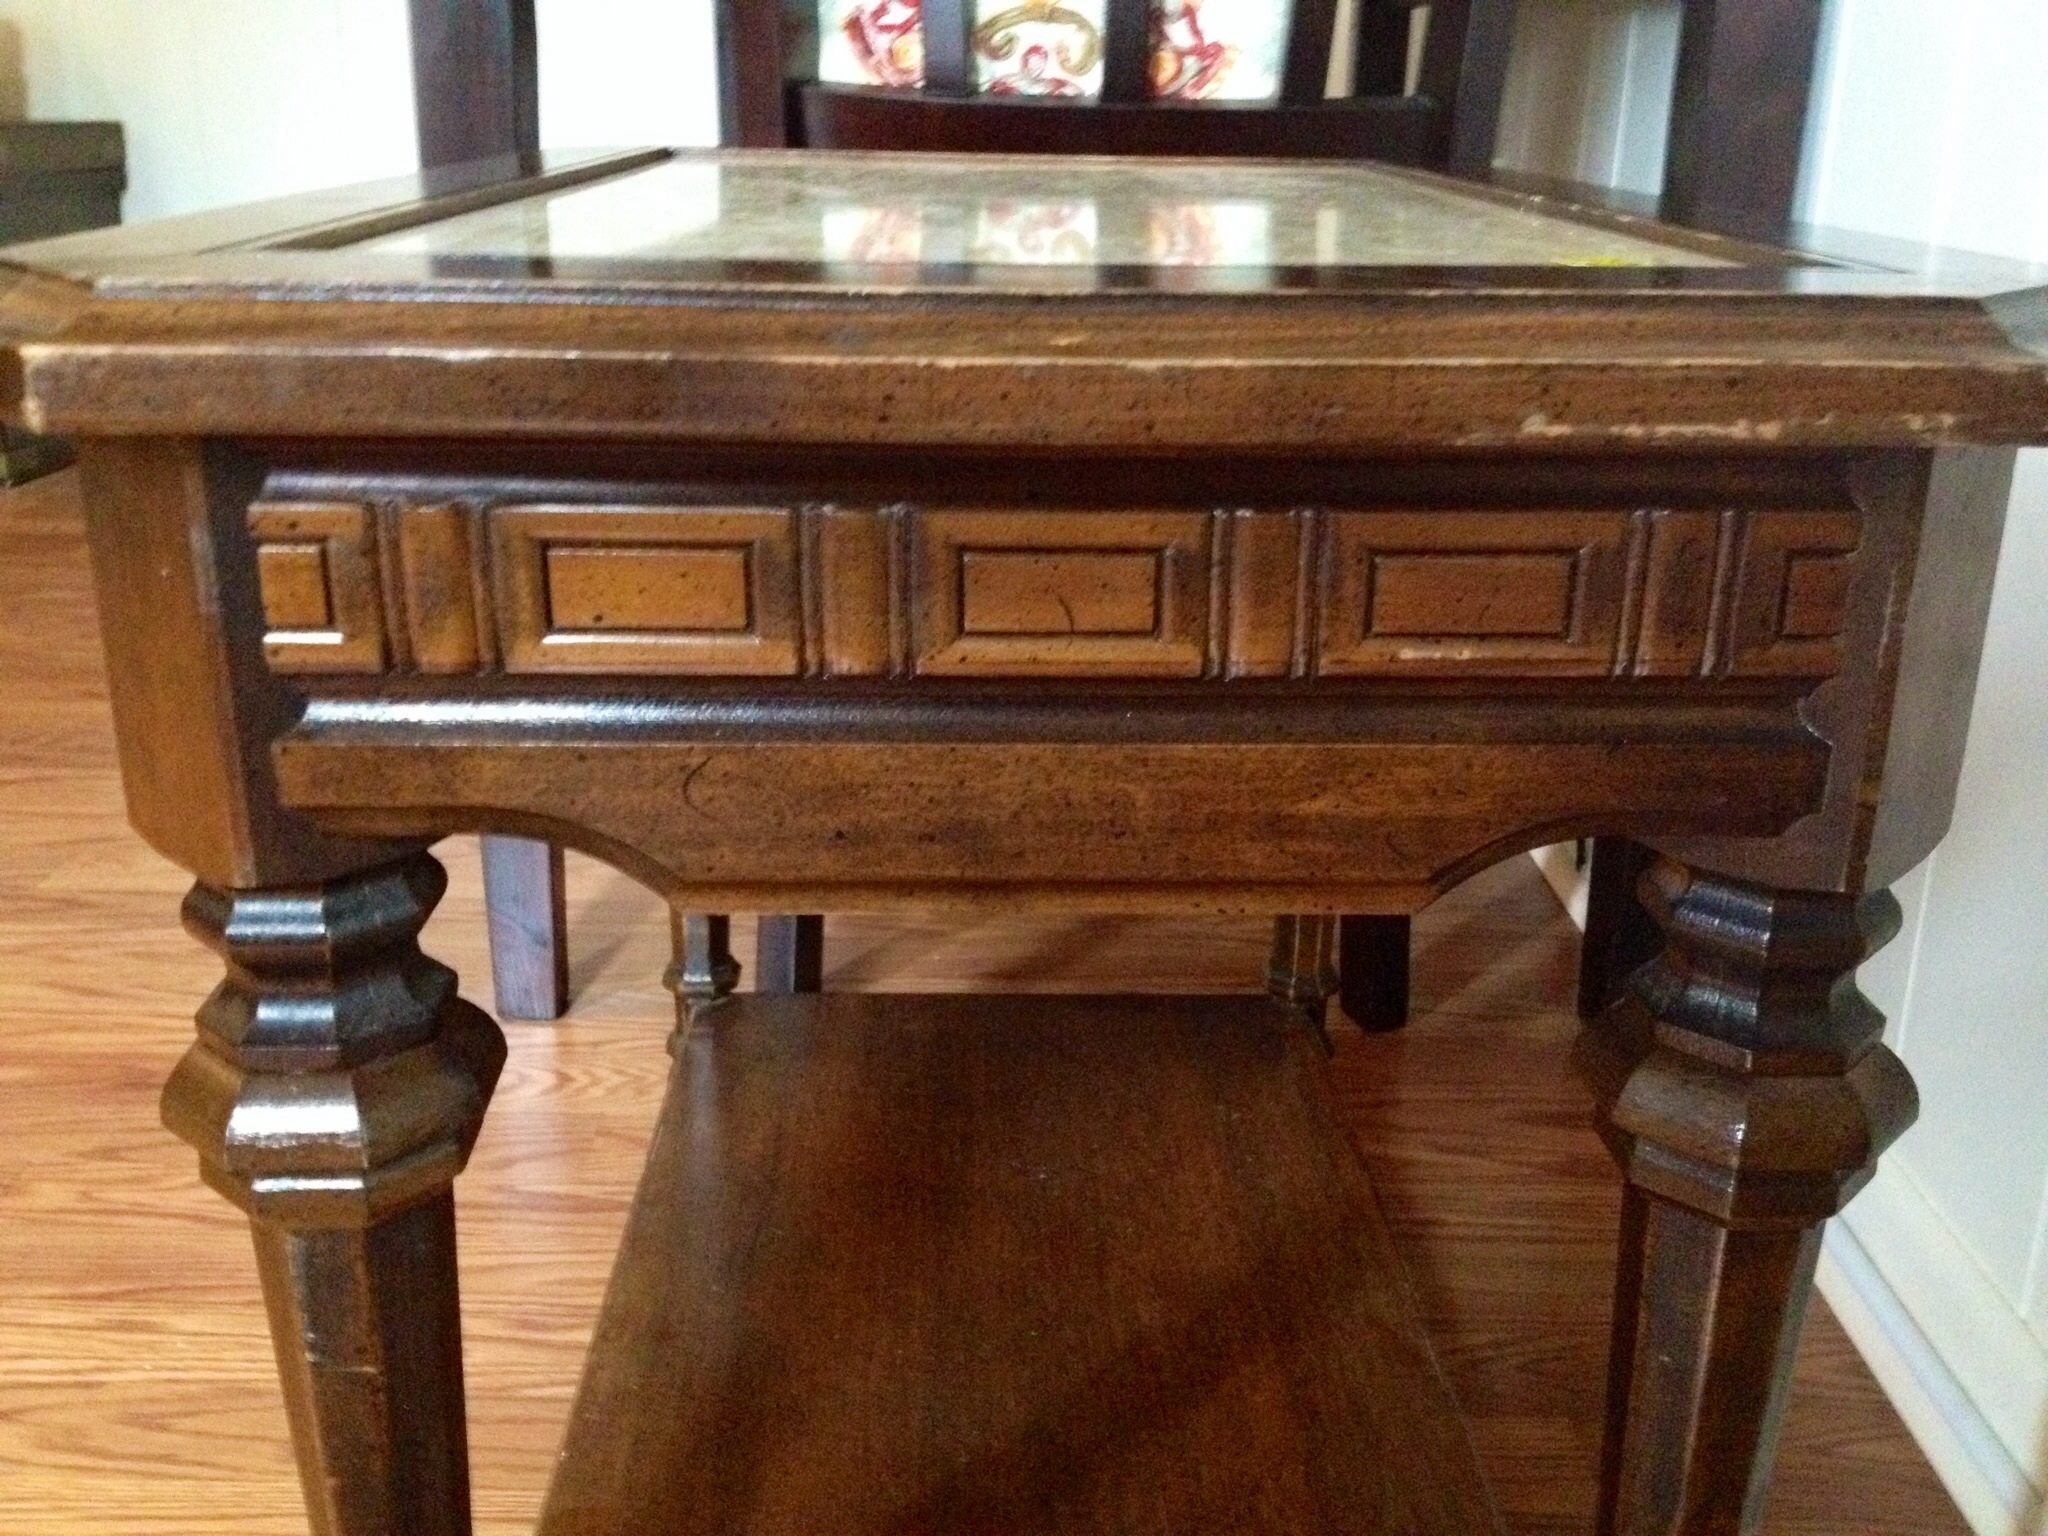
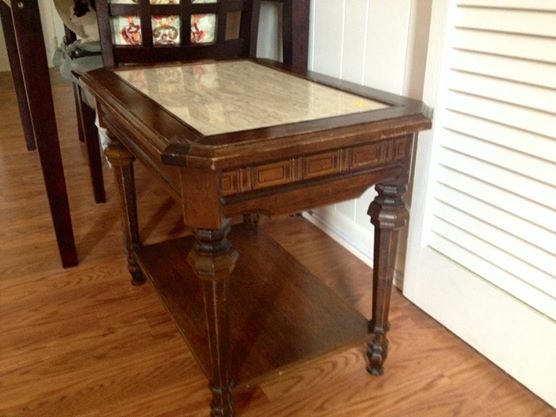
Look at those details!!
I decided on chalk paint, layered in oatmeal and white, and then a dark brown antiquing wax/glaze. I wanted the end result to resemble old wood or driftwood, but go nicely with the marble. Here’s the midway point, with the layered paint job (I had no white chalk paint left, so some white acrylic paint did the trick) and before the distressing:
Fun, but incomplete. I wanted the details to jump out and the color to darken. I took a sanding block to the piece to distress all the edges and details, and then (for the first time), I gave antiquing wax a try. The color I had was dark brown, and this is the brand I use (I also love their chalk paints, and you can get them for about $4 each after a coupon at Joann Fabric):
After taking a sanding block to the painted table for heavy distressing, I used a lint-free cloth to give the entire table a thorough wax coating, rubdown, and buffing. I was hooked and obsessed with this product from the first swipe…seriously, it’s great! I will use it on some other pieces.
Here are photos of the lovely end result of the table, some with flash for details, some in natural light.


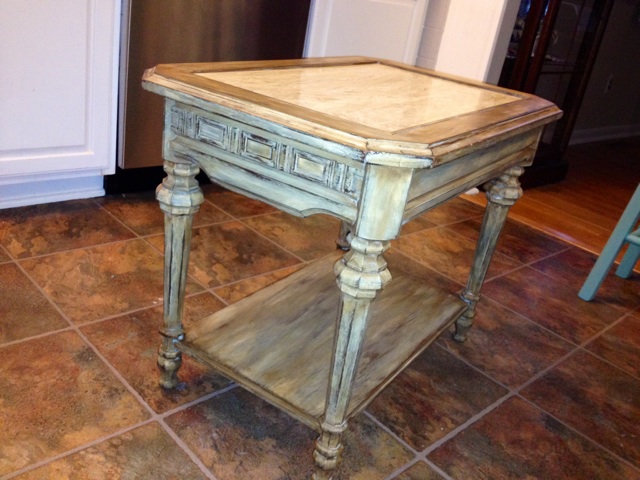


I’m happy with my decision to let this table rock the shabby look. The color pairs nicely with the beige marble insert and is neutral. It will serve as an end table next to the chaise on my sectional. The marble means no coasters are needed! For my best friend, the sectional is the equivalent of “Sheldon’s Spot”, so she will probably get the most use out of it!
I paid just under $3 for the table, and used supplies I already had on hand to redo it.
::shakes head:: $3. Disbelief.
Here are my other fun finds from that trip (where I spent a whopping $8):
Fun, cute vintage enamel colander for $1
And a great tabletop ironing board (that matches our kitchen) for just $2…we really needed one, as our other one that we’ve had forever broke and bent in half:

Everything you see in this post cost me $8. Un-freaking-real. Thrifting/upcycling are a way of life for me. It’s recycling at its finest 😉
Until next time…

Gorgeous job on the table. I just recently dabbled in the distressing of an old door. Turned out nice but love the job you did on the table. Am going to have to give it a try myself one day. Nice Job!!