Tag Archives: Hardwood

Salvage Server (in with the old)

Standard

By now, anyone who knows me at all knows that my tiger oak “problem” is legendary. It’s one of my favorite things on earth. Painting it should be illegal and punishable by water torture. I’m not all that sure that I’m kidding when I say that…


ANYWAY!


I noticed that someone on my “upcycle/DIY” FB group listed a tiger oak dining table (round) that opens for a leaf. It was huge, something like ’56 round! Furthermore, it damn near weighed a ton (seriously). It was way too large to be used in its current state, and I would never part with my Carrara marble kitchen table. It was too beautiful to pass up for $20. I knew I had to find a way to re-purpose it before Jeff got home from work and threatened serving me with divorce papers (again)!

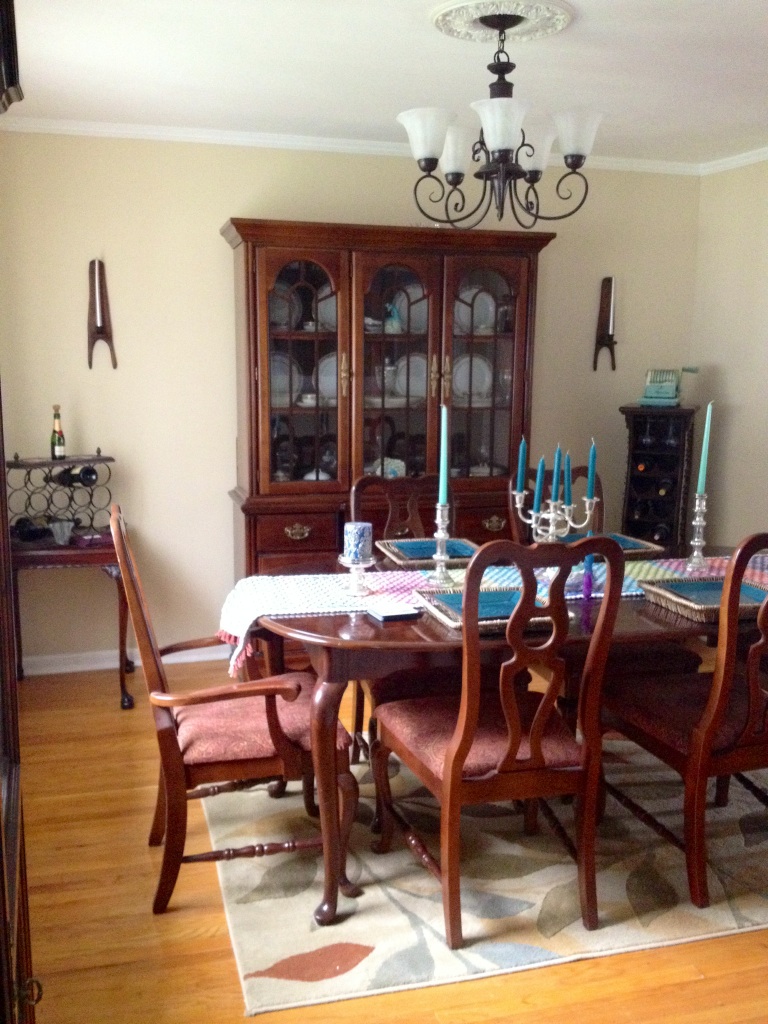
After walking my house and brainstorming with my best friend, I remembered that I’ve always wanted a server/buffet in the dining room, but I don’t have one. A server too big and chunky would take up too much room, as I already have a mahogany Queen Anne set that includes a table with 2 leaves, 6 chairs, a curio, a hutch, and an antique side table.

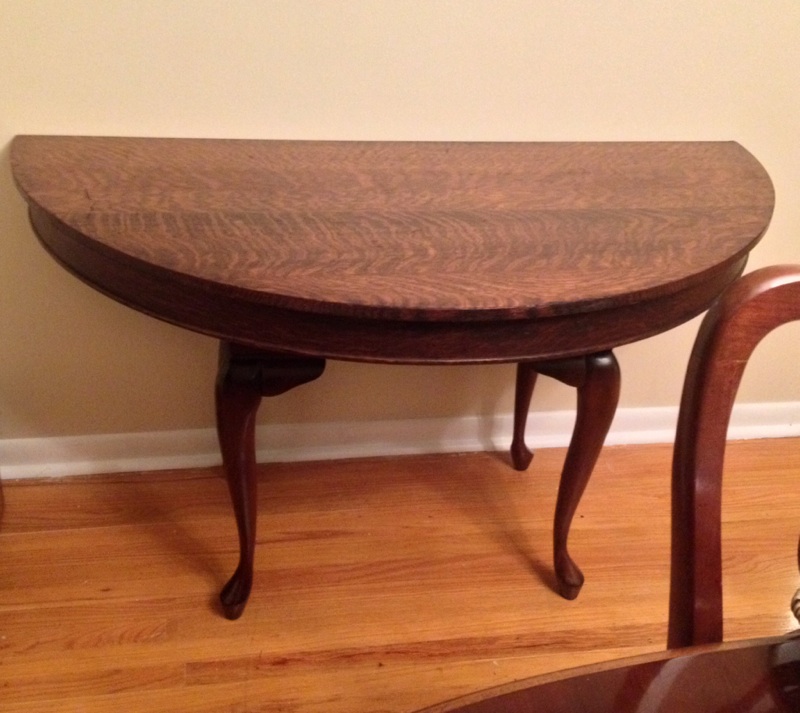
How to turn this massive table into a server? Cut it in half at the bias, where it breaks apart for the leaf! The edge would sit along the wall under the partition, coming out in a demilune/half-moon shape.

Then came the issue of what the heck could serve as the base. Hubby and I then recalled that in the very back of our storage room was the mahogany, Queen-Anne end table that we used as a coffee table and ate off at for 4.5 years at the apartment. Not only would it match the dining room set, but it also has sentimental value. The fact that the top was all sorts of beat up didn’t matter, since we’d be securing the top to it anyway.

The issue was that the server would sit too low. A trip out to the shed turned up old pieces of pressure-treated 2 x 4. When we stacked them (piecemeal style), the height became perfect. After that came a lot of pre-drilling, broken drillbits, loud noises, very long screws, and the task of securing them to the base. The remaining movement and slight rattling was fixed with shims.

I refused to risk long screws going up into the tiger oak top, because I was unwilling to risk a screw coming through the table top. When something is 100 years old with a perfect patina, it’s never as easy as wood putty, filler, and new stain. Instead, we used liberal amounts of contact adhesive. We put the top into place on the base and weighed it down heavily overnight. It’s now nice and secure!

I love the character of old pieces and wanted to make the server look its best without messing with that. I applied a small bit of stain to chips along the edges, and then made a homemade polish with white vinegar and olive oil, massaging it into the wood. This is literally all that was needed. Here is the end-result. If you like it, we have an extra base and the other half of the table if you’d like to make one. I’ll unload the supplies cheap, just let me know!Image


Image

ImageImage


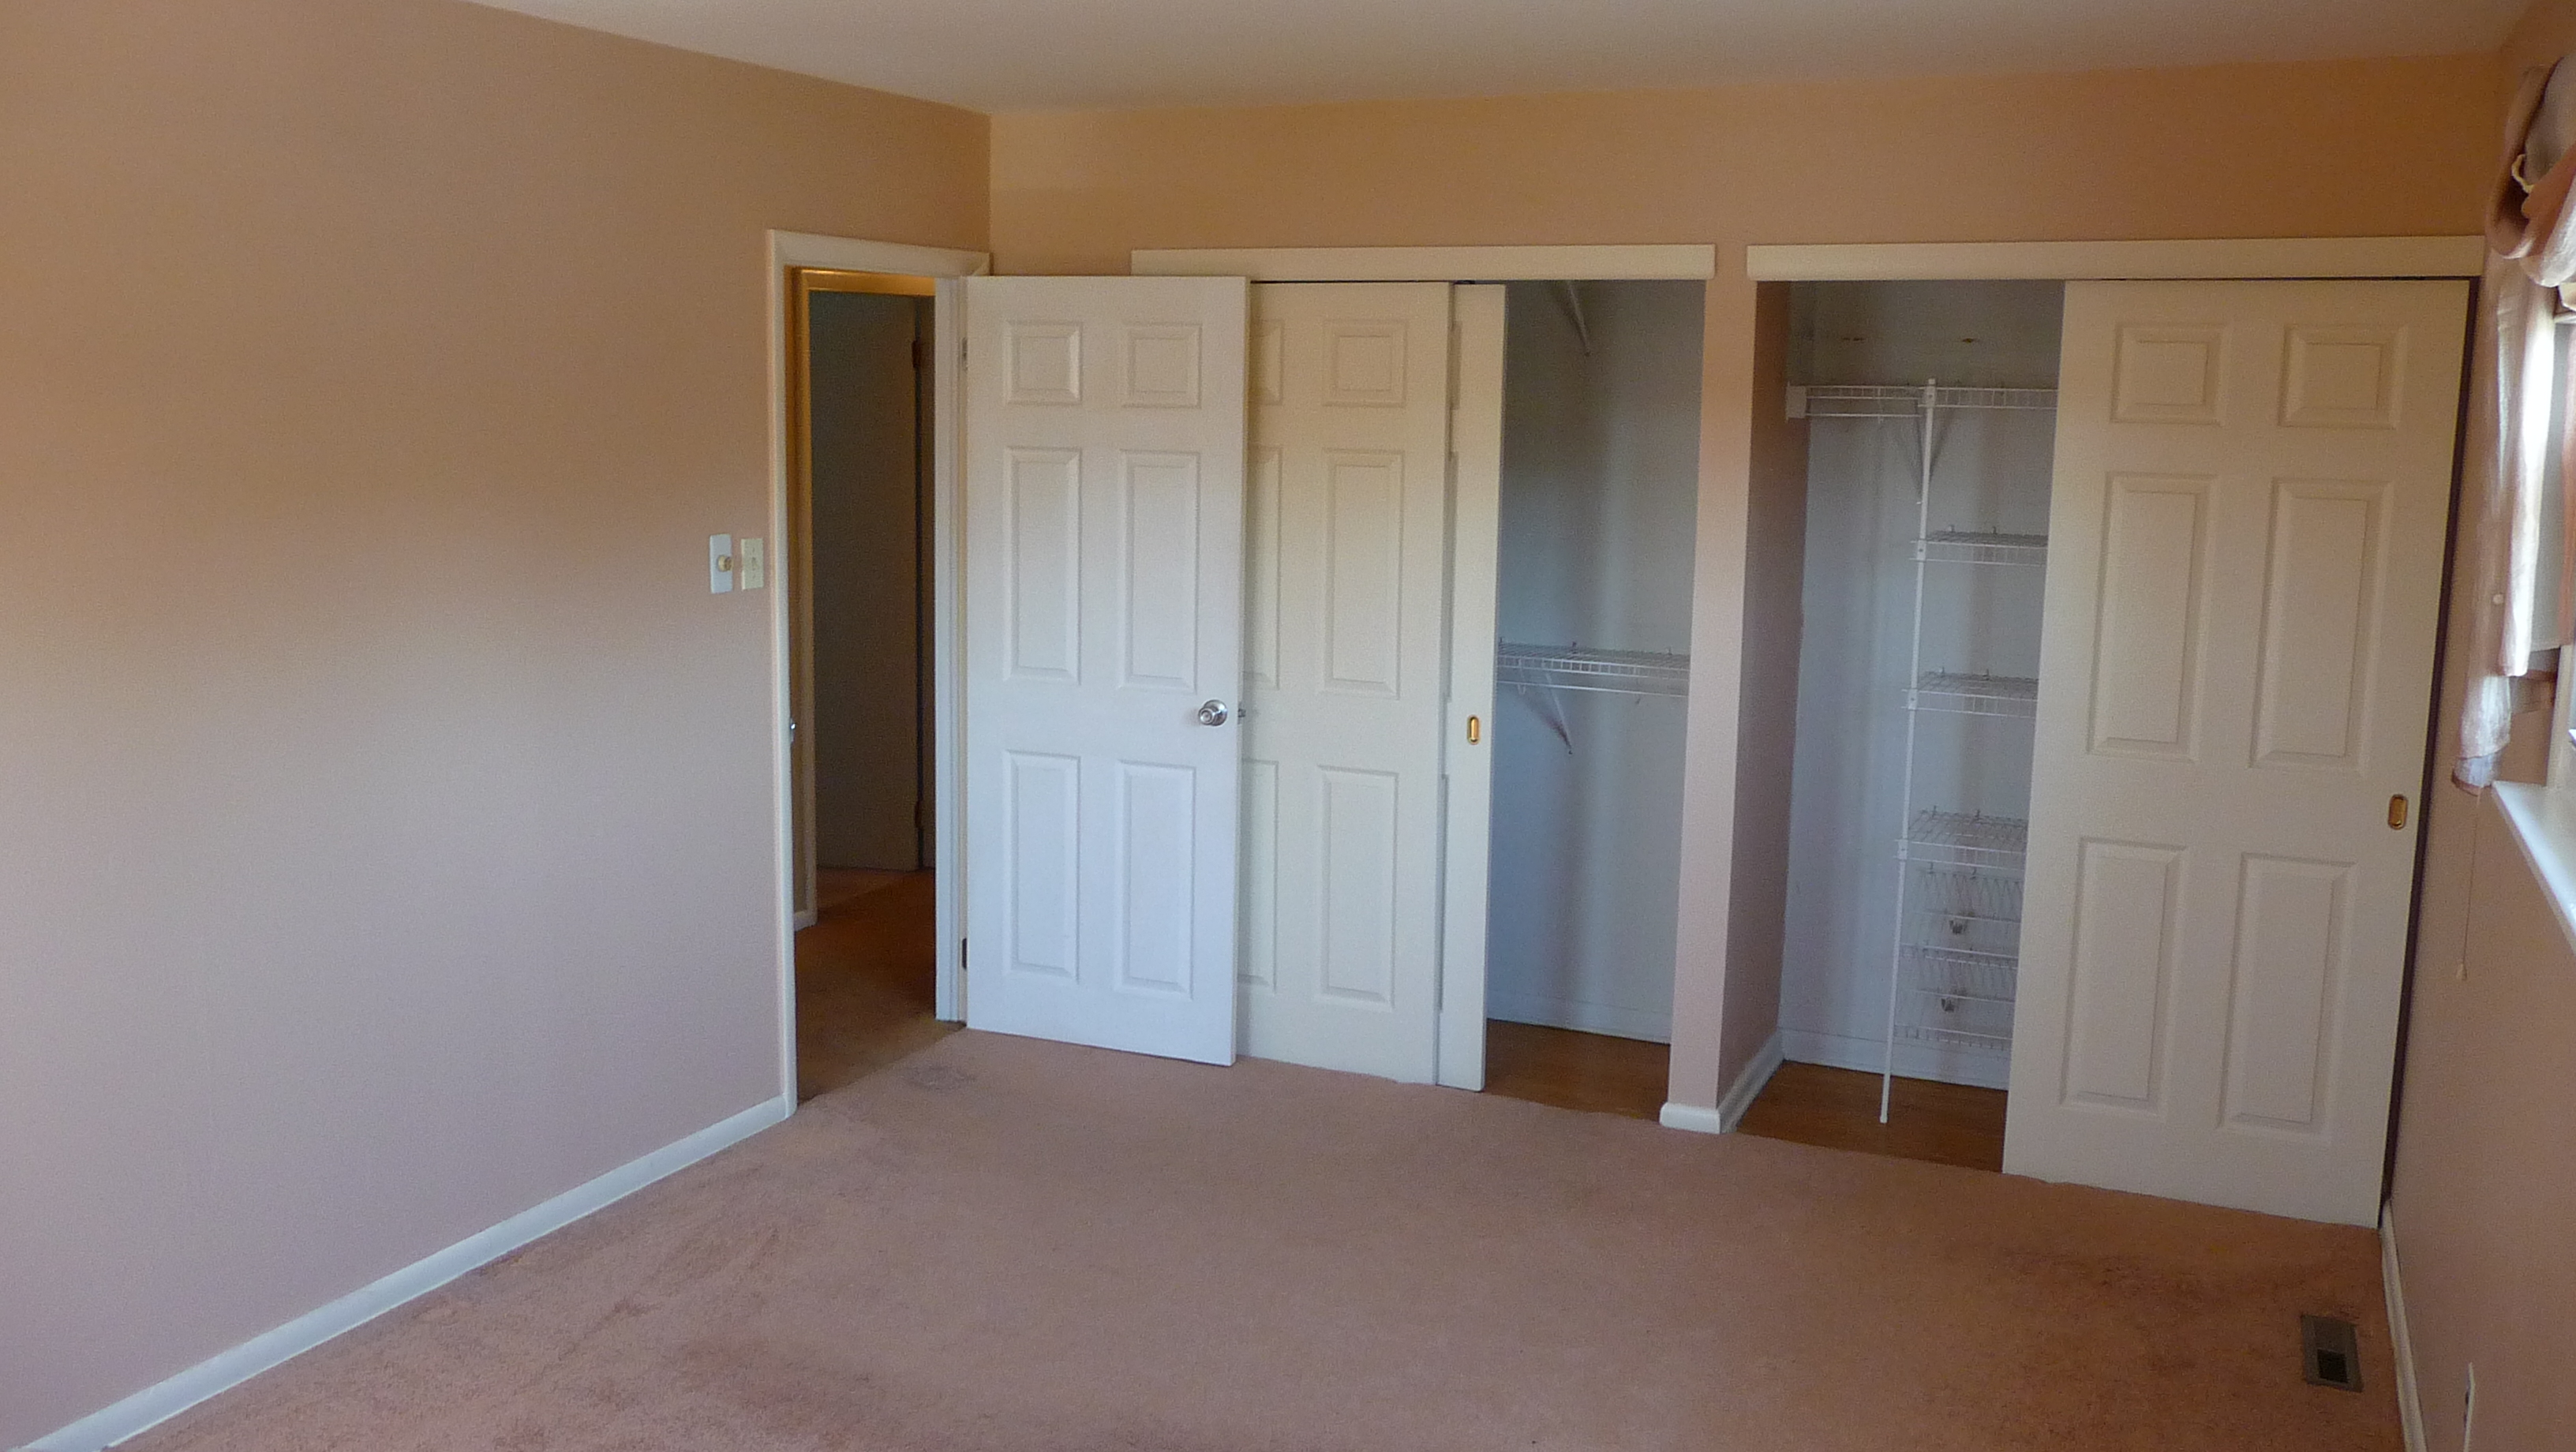
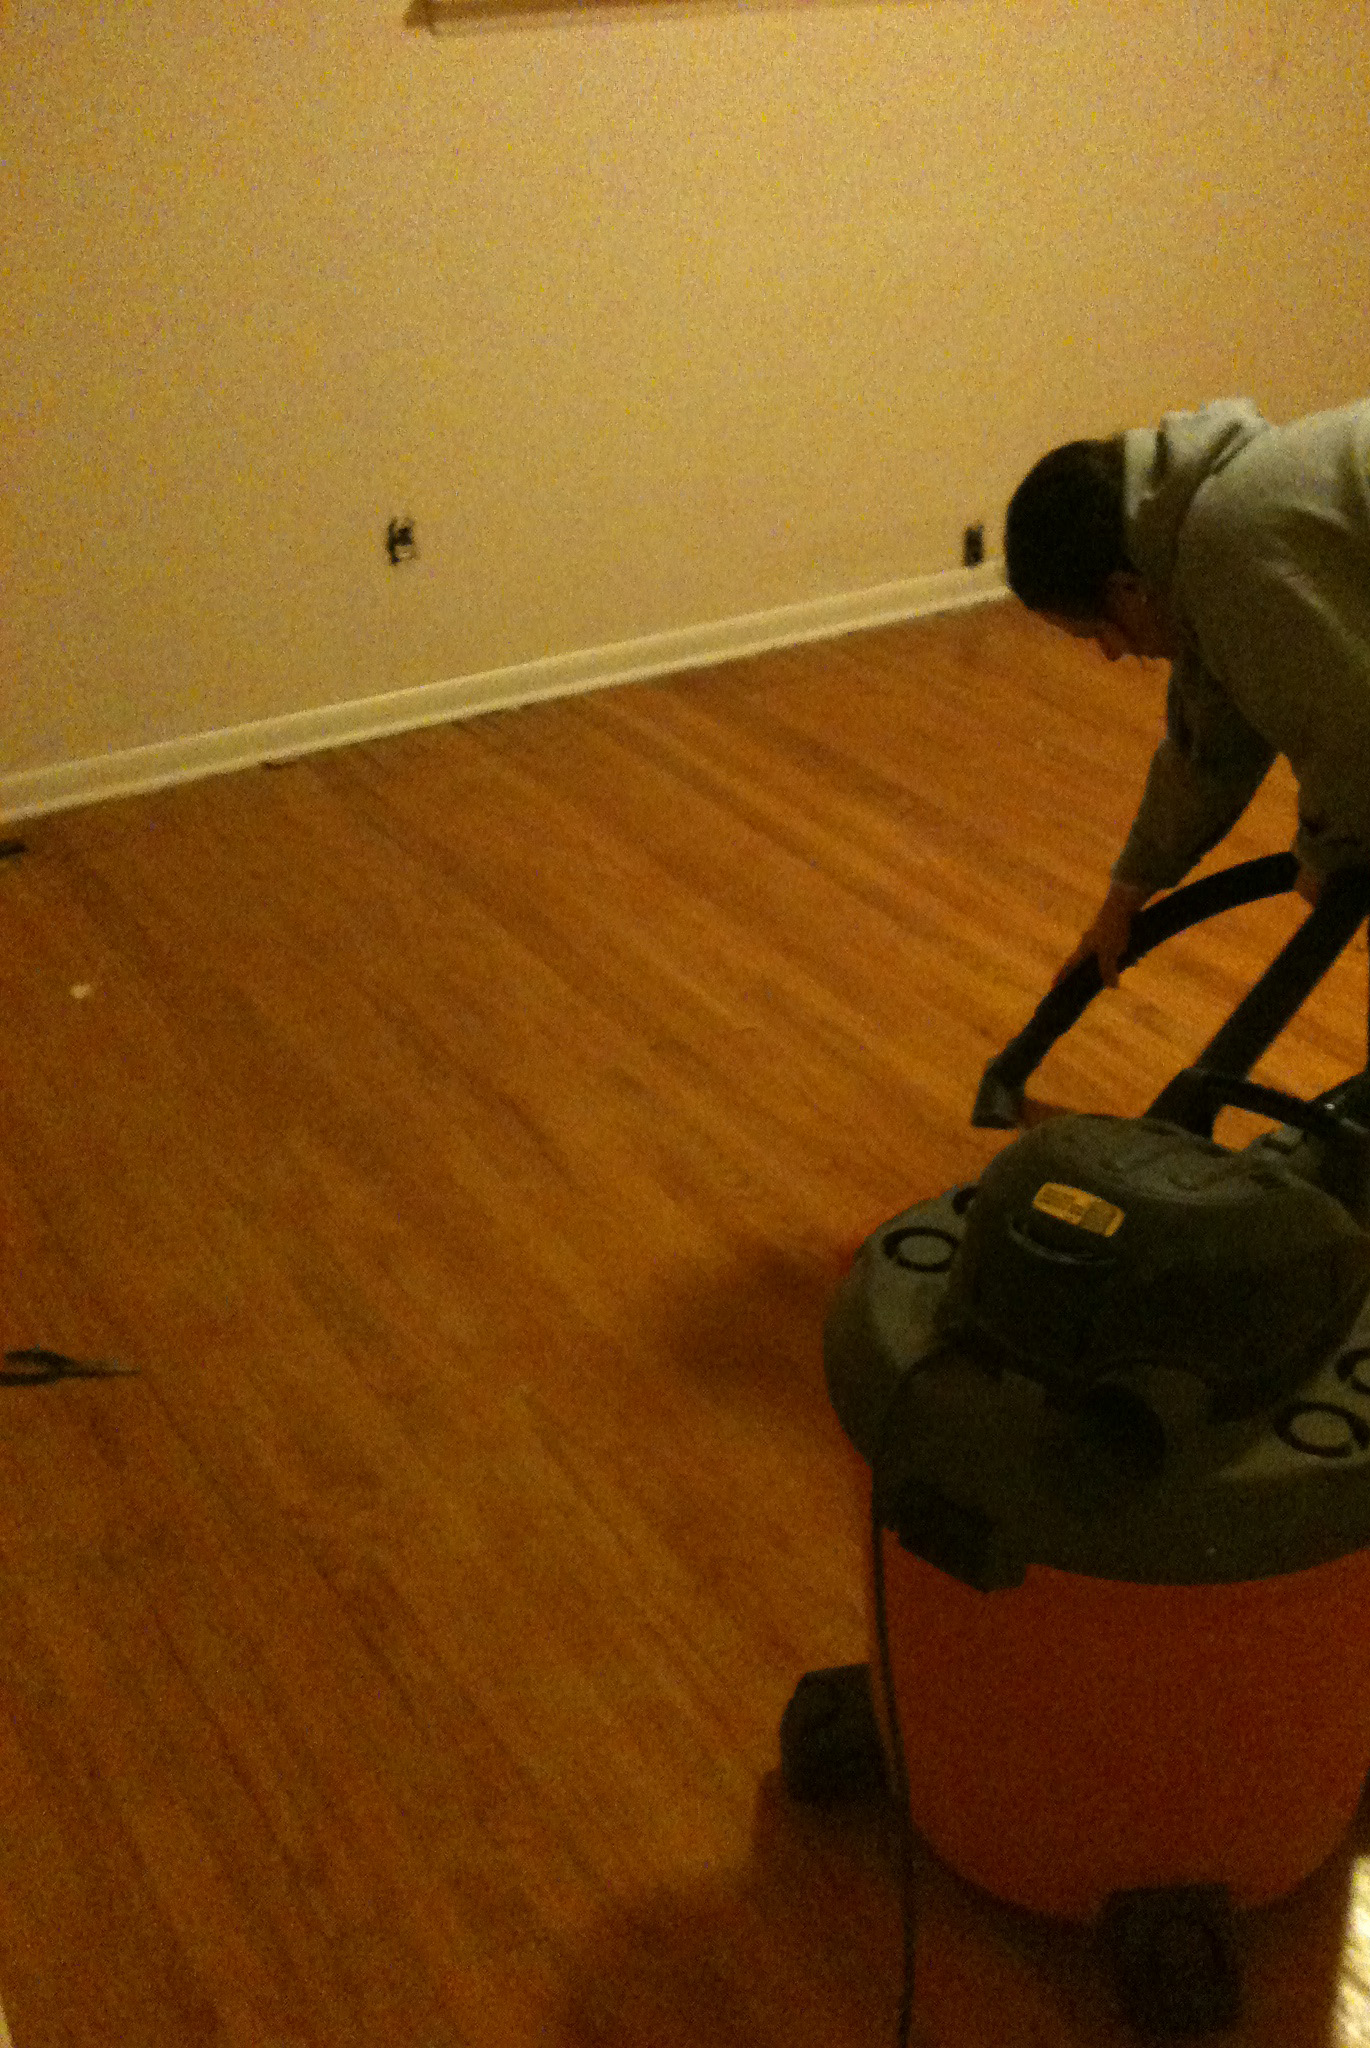
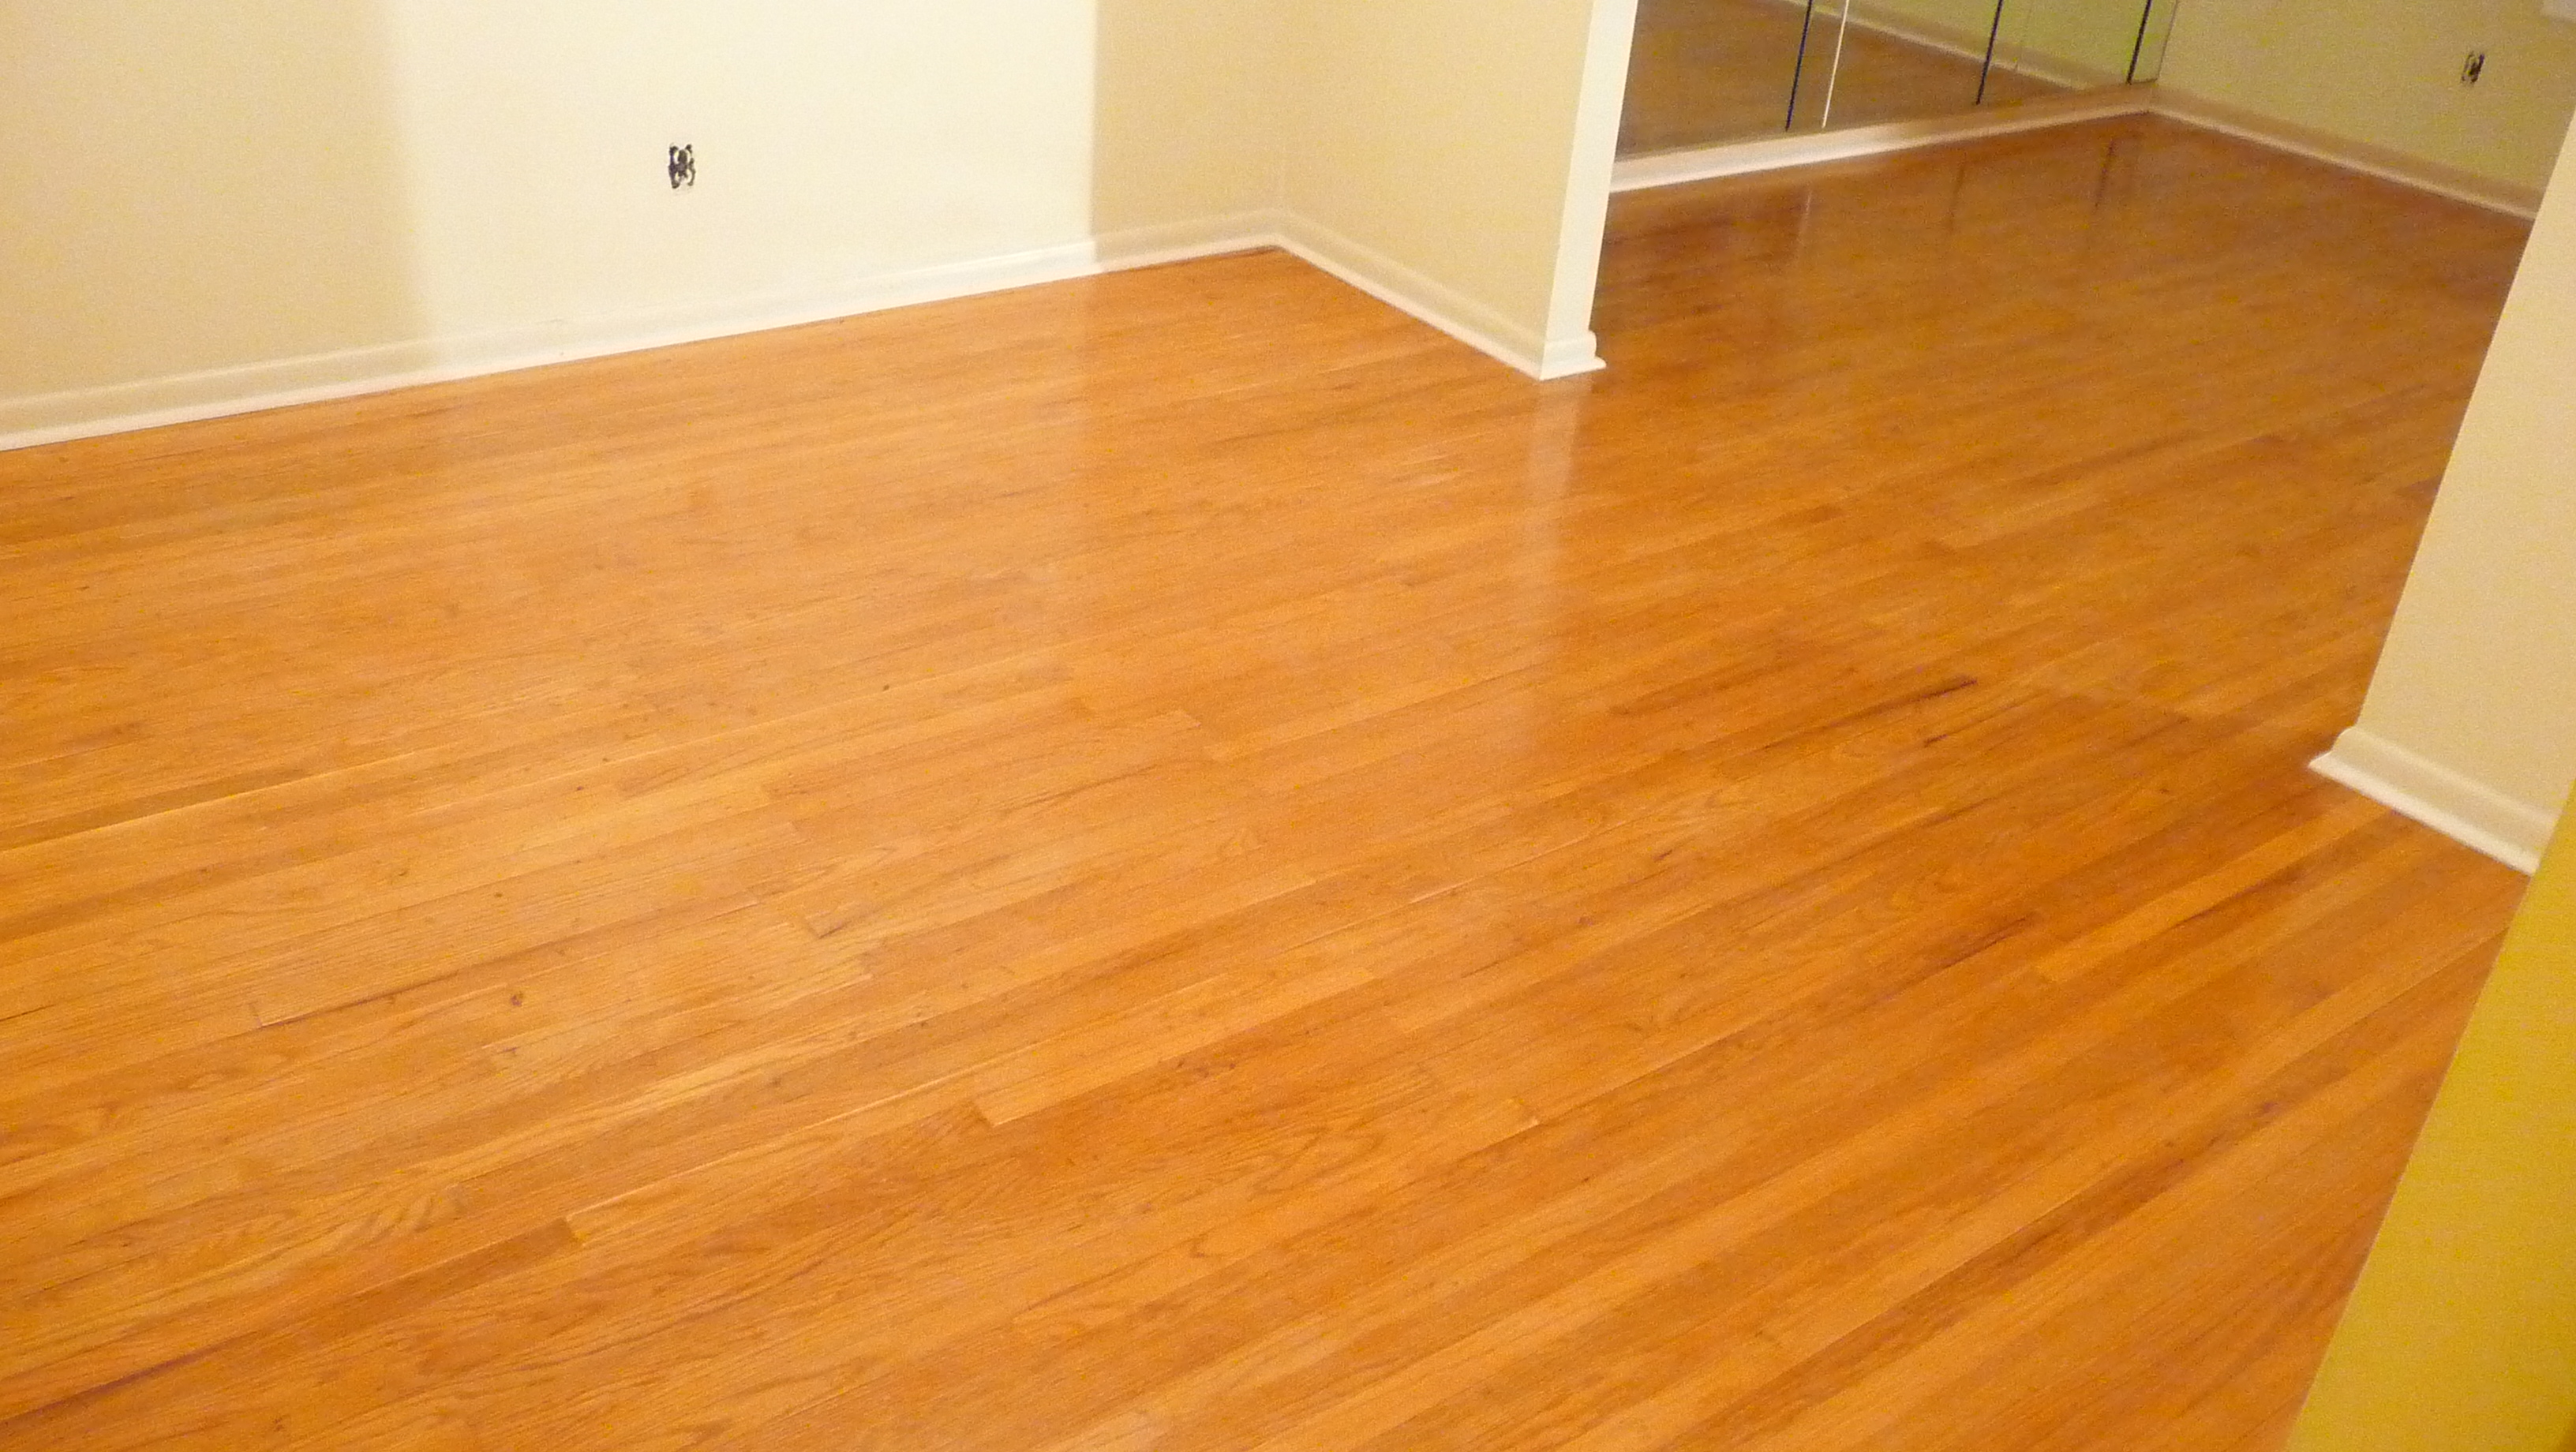
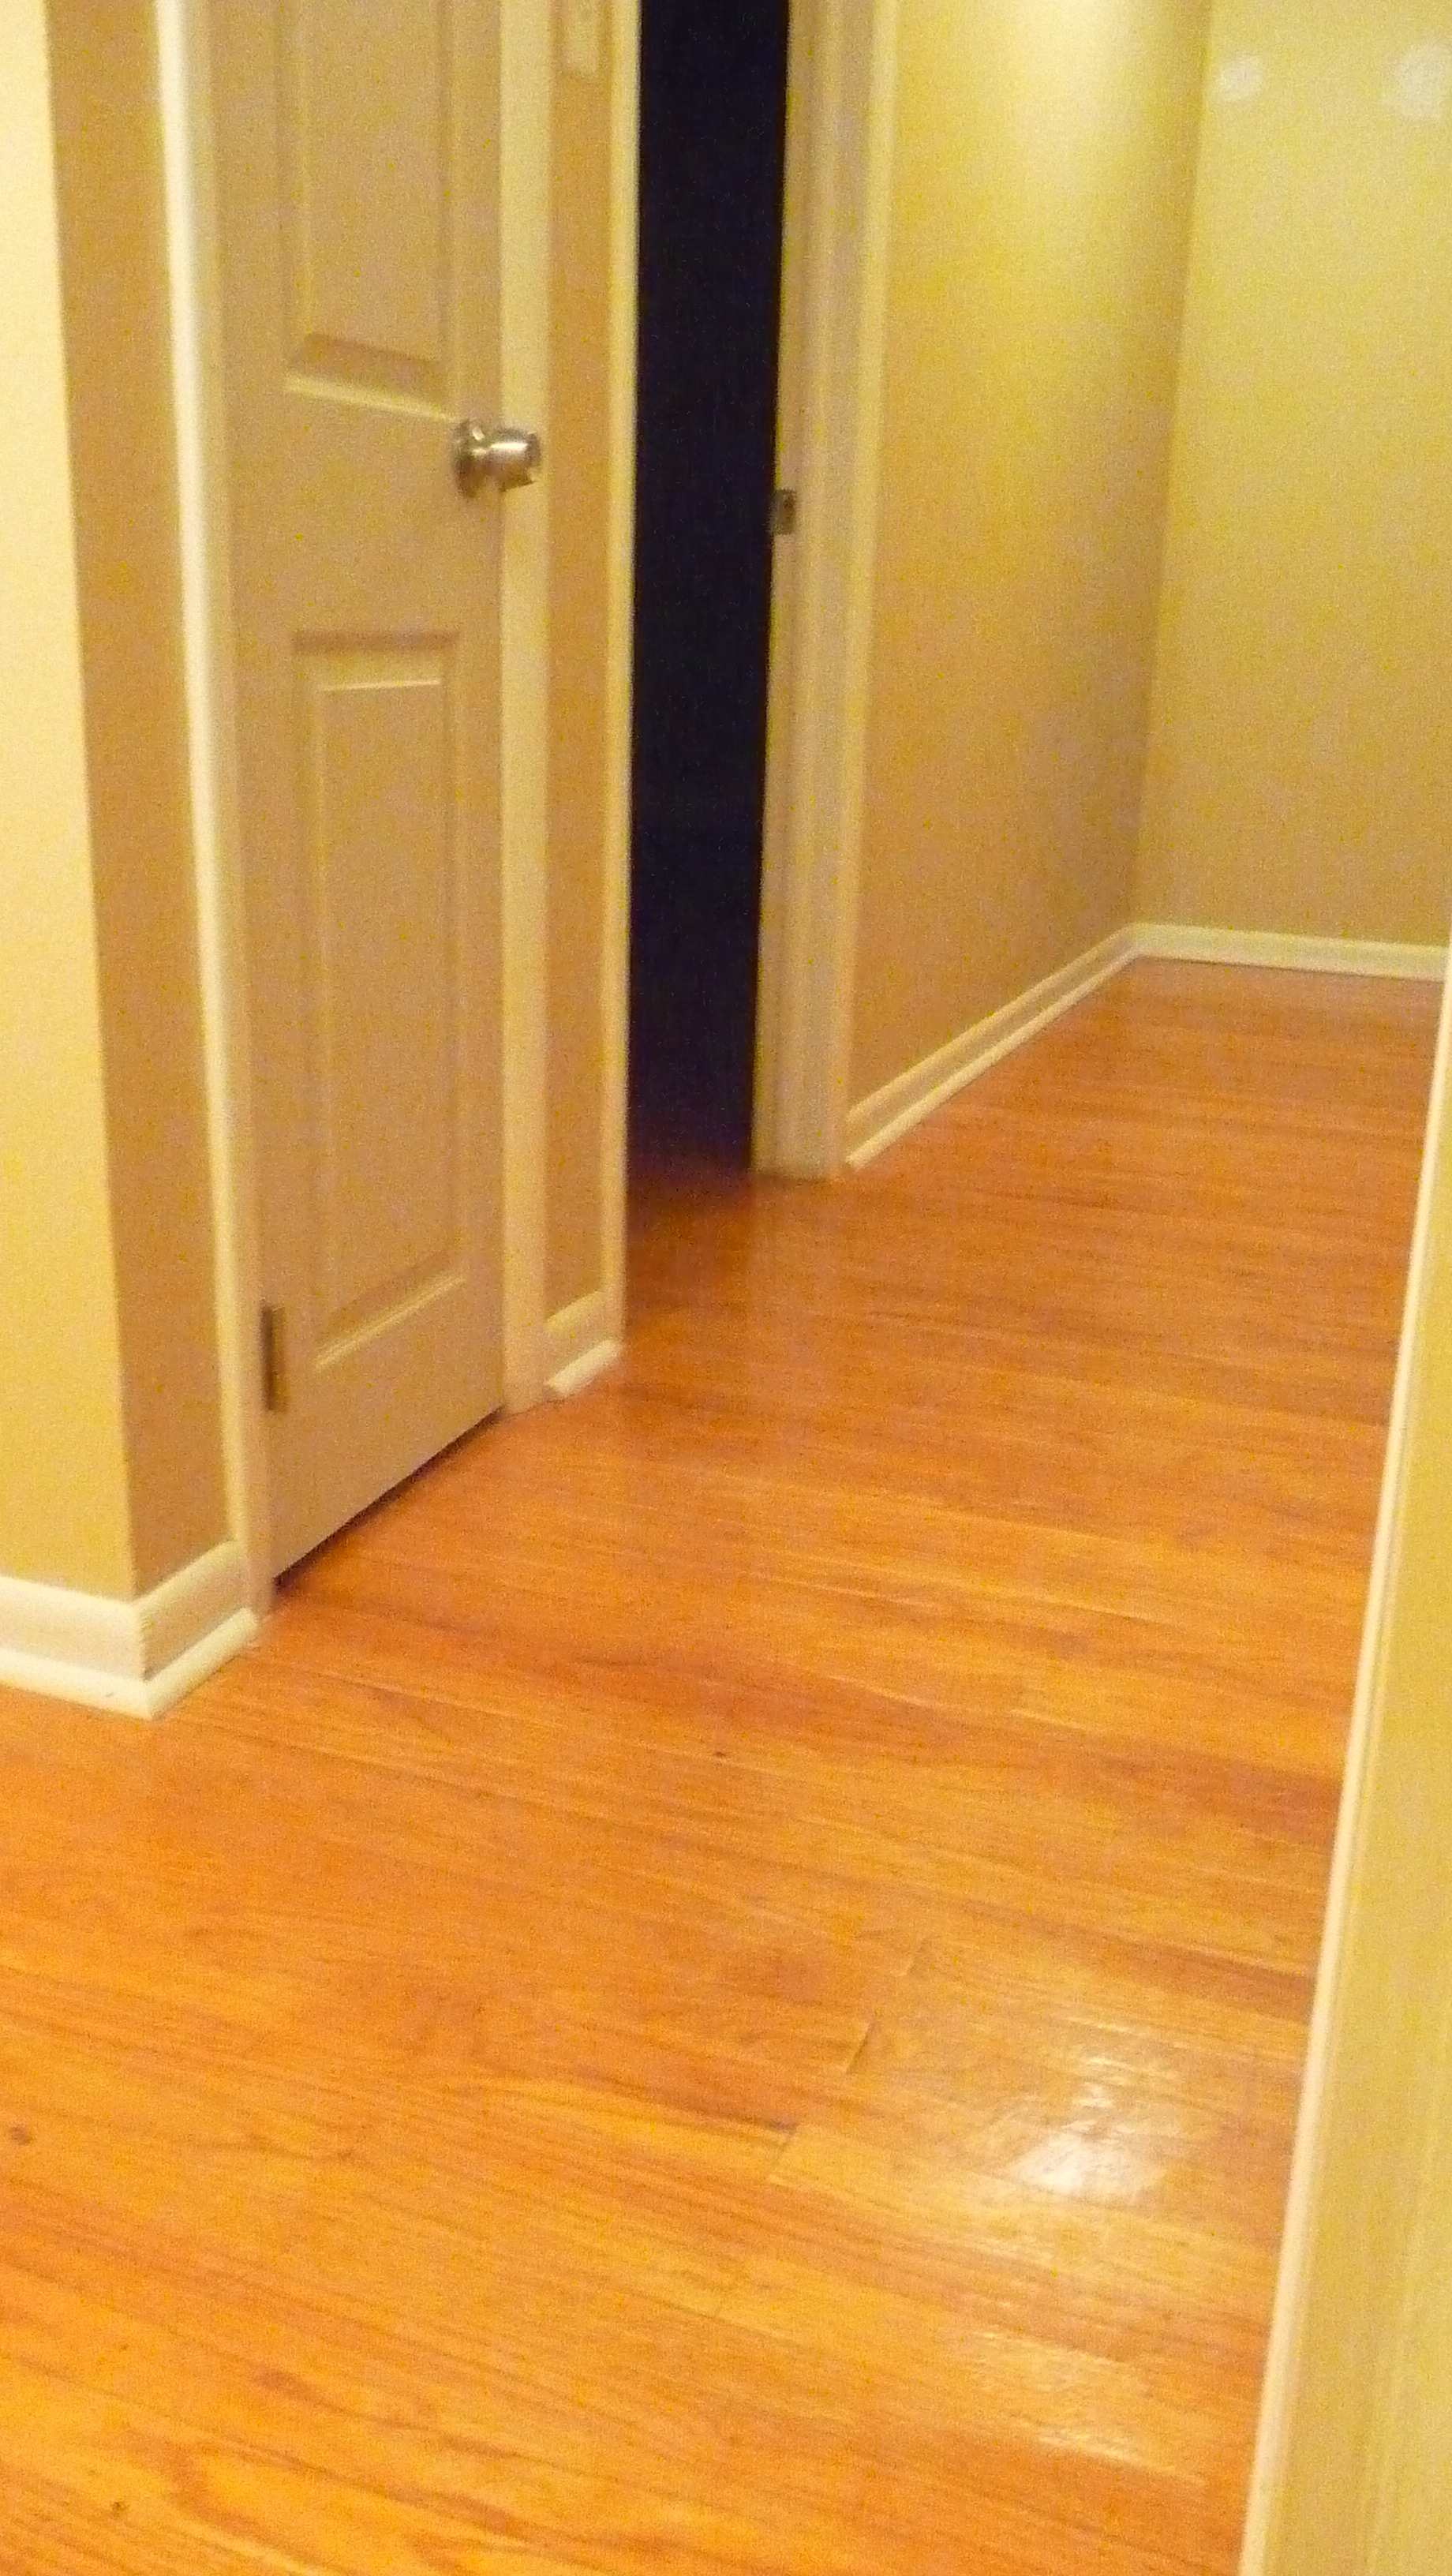
Here are some photos of the dining room, so you can see the lay of the land:

Image

Image

Image


I LOVE this project. It was fast and easy with two people and it was a fun way to re-purpose an antique. I love it, and it will get plenty of us during dinners and parties. Not bad for $20!

Advertisement

Hello, hardwood!

Standard

Okay. So, you’ve just bought a house that is covered in carpet. Maybe it’s nice carpet, maybe it’s musty, old, stained carpet. Either way, it’s not what you want. You find out that there is hardwood underneath them.

That is really the luckiest scenario. If they’re in any kind of shape, it’s a whole, WHOLE lot easier to refinish them than to lay new wood throughout your home. Granted, you take the risk of them possibly being in bad condition when you tear out the carpet, but it’s the only way to do it. I will admit that, although not our style, we had very nice, plush, clearly pricey carpet throughout our home when we bought it. It didn’t matter, because once we knew there was “amber gold” under there (my nerdy husband’s phrase), we were itching to get started. We couldn’t wait to get rid of this:Image

And this:

Image

And THIS (YUCK…REALLY?!)

Image

THAT is what we were working with. The photos make me cringe. Now, we were prepared to outlay the expense of new flooring if we had to, if the wood couldn’t be saved or was in too bad of shape. Fortunately, we got lucky beyond our wildest dreams, because the floor was in a much better condition than we could have hoped for! The first step, is cutting the carpet with a razor into manageable “sections” to then rip out. We tag-teamed this job and pulled together. Teamwork makes it easier! Here is Jeff pulling up the first piece of carpet in the house:

Image

(Cute, isn’t he).

See the oddly-colored foam stuff under the actual carpet? That is the pad, the insulation. Sometimes it’s super easy to pull up, sometimes the installer goes adhesive-happy and you have to all but scrape it off. Either way, it has to go. Once you pull up the carpet and the foam, you will notice you are left with tac-strips around the perimeter (that hold the carpet in place), and what appears to be about 3 million staples. Brace yourself, this is the WORST part! There’s no short-cut to be learned here, you just have to get yourself a good pair of locking pliers and pick them ALL out. Some will fight you, too! You can always go back if you miss one, but it is so important that you do a thorough job of staple removal before you sand, because nothing tears up sandpaper and screens like stubborn, evil staples. Here is our tac-strip garden/collection (that very happy man is my new across-the-street ne.Image

A fair warning: The worst part area in the house for carpet removal WILL be the stairs. You will need to pull and rip with all your might because It will really be on there! Or, like us, you have a beast of a brother-in-law who yanks it out for you…thanks, Steve!

Once the carpet is gone, you have pulled out the staples, and you have removed the tac-strips, you’re ready to refinish. You’ve got several options. Our home is a 1965 center-hall colonial, and they nearly always had oak hardwood and (for whatever reason) pine stairs. I am a huge fan of oak hardwood because of its grain, beauty, and durability. You can choose to change the color of the floor with a stain, which only adds an extra step and more drying time…or, you can leave the wood its natural color and skip to the poly after you sand. Our floor was 50+ years old, and we decided to leave it its natural color.

Onto sanding: You can rent the sander at your local Home Depot. Usually, an orbital sander is used for deep sanding. We chose a drum sander, because we were able to get away with more of a good “scuff” than a deep sand. DON’T sand too much, you don’t want to wear away too much of the wood, which is especially true in an older home. Best practice is always to sand in long strokes, with the grain. This will bring out your floor’s natural beauty. For stairs, you can use a small hand-sander, which will make the job easy for you. We own one, but you can rent one. Here’s the drum sander:

Image

(I was SO happy to have hardwood floors).

Here is what sanding the stairs looks like with the hand-sander:

IMG_6236

Once you’ve sanded the whole area, and are down to bare wood, it’s time to vacuum up the dust. We found that a shop-vac was perfect for this job:Image

Your next choice to make is going to be what type of poly you want. Decide whether you want a gloss or semi-gloss finish. We chose semi in the bedrooms and gloss everywhere else but most people choose between the two. You can go with oil-based or water-based poly. I’ll break each option down for you:

Oil-Often more durable, a bit more scratch-resistant, much higher fumes, and slow drying time. Oil-based poly will “amber” over time, darkening your floor. For some, this is a great thing and a look they enjoy, because it will eventually accomplish what a coat of stain might have.

Water-based: fast-drying (a matter of hours per coat), low fumes, and will NOT darken over time or change the color of the floor. You can walk on it 24 hours after the last coat and it cures within a week. It’s 90% of the way there in a couple of days, so this is a GREAT option for a family who needs their home back quickly or in a pinch.

Here’s a good comparison, bearing in mind that the oil side will “amber” or darken more with time:

Image

To brush on the poly, you can buy a special sponge mop with changeable head for the job at any home-supply store. It will give you a great finish. You pour the poly on and then “brush” it around with the mop in long streaks so that it’s even. Just make sure you leave yourself a way out of the room!!

Image

Image

So pretty! Then you simply let dry and enjoy 🙂

Looks like a lot of work, right? It is. But here’s the best part, and it’s the cost breakdown of doing it DIY vs hiring a pro.

DIY: With the cost of the poly, sander-rental and paper/screens, mop, brushes, and supplies, we spent about $350 total.

Pro: To have a professional remove your carpet, tac-strips, and staples, sand and then poly your floors in the whole house…you’re talking about $3,000 on the lower end and $5,000 on the higher. Staining adds extra cost because of the extra labor. The costs are ALL labor, because it’s such a labor-intensive job.

The difference is staggering! So roll up those sleeves, get your hands dirty, and get to work…and save a TON of money!