(See what I did there, bibliophiles and Jane Austen fans?!)
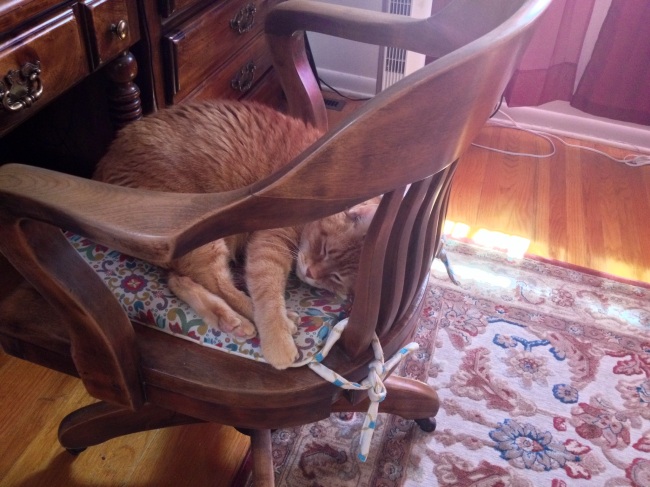
For the record, I came up here to the office to blog, and was greeted with this:
After coaxing him off with treats, I’m ready to go 🙂
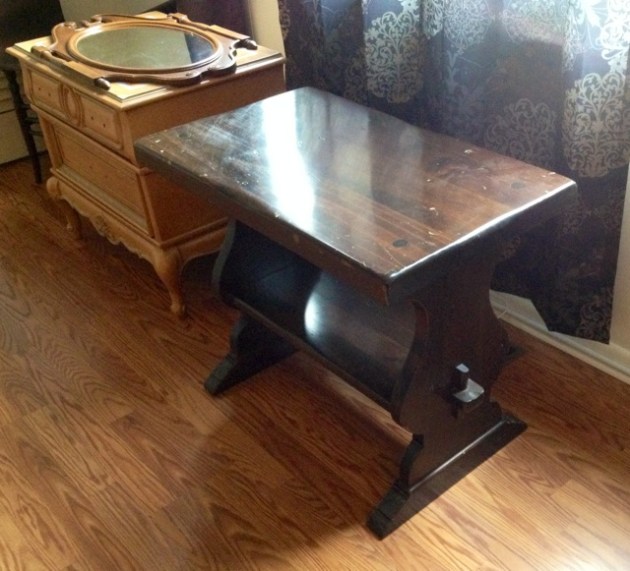
I’ve got TWO projects to blog today 🙂 I’ll start with showing you the raw materials and starting costs. I found an awesome, thick pine trestle bench/end table at a thrift store. It was $7 and I had to have it! It was rustic and yet reminded me vaguely of a church pew.
The second piece is a nightstand that I got for free from one of my upcycle friends. I threw my back out getting it to my car, as it apparently is the heaviest nightstand on earth. The drawers were very swollen from the humidity and it needed a little work, but my goodness…those lines and details! I knew it would really be something when completed.
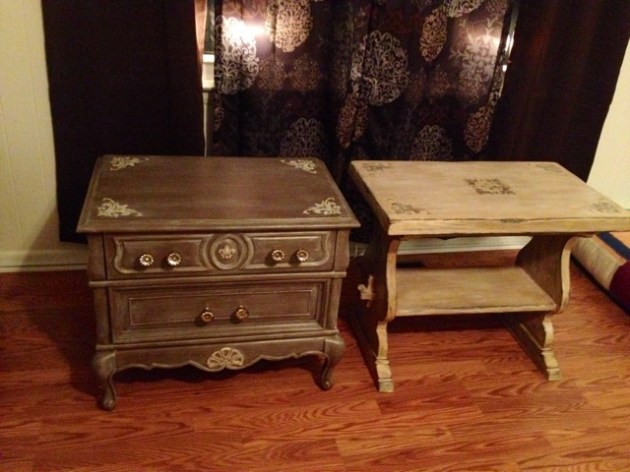
Here are my two “before” items:
(ignore the mirror. That’s something I am making pretty and into a chalkboard for my classroom).
See? Great lines and tons of potential on both.
I was not feeling bright or loud colors for these two beauties. I did, however, know I wanted to play around with stencils. I decided on a driftwood/sand color for the trestle table and a deep metallic grey/brown for the nightstand.
First up, the trestle table!
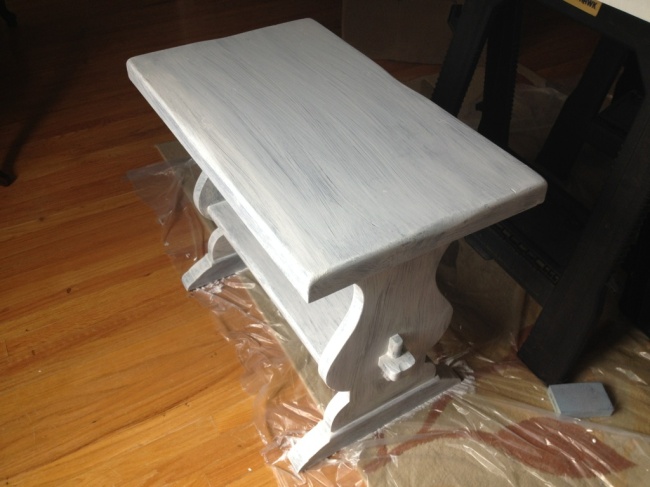
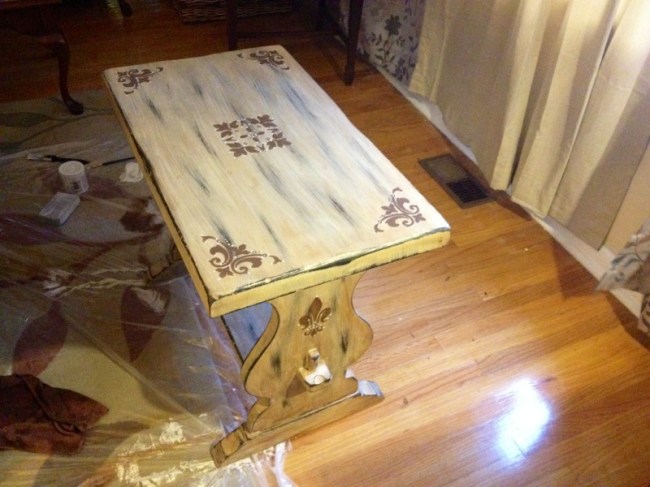
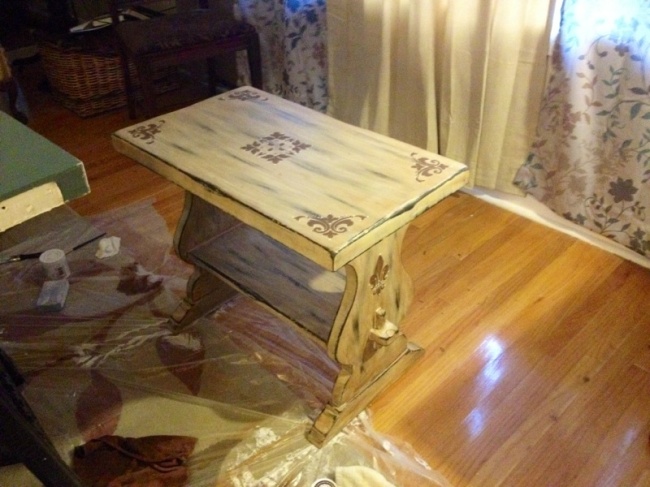
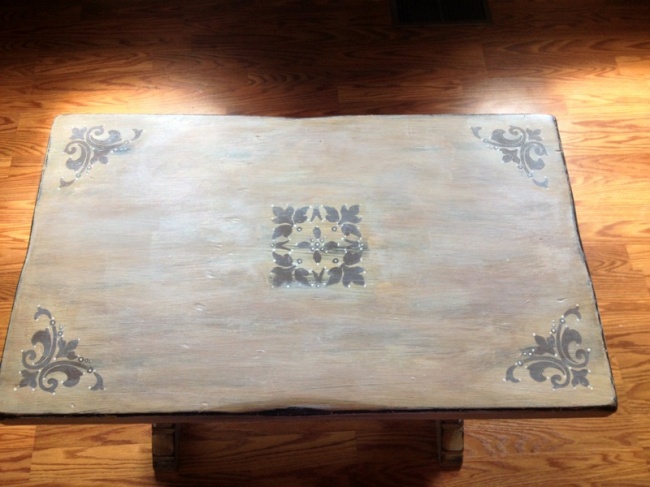
I painted the whole piece in white shabby paint, and then roughed it up heavily. In order to get the color I wanted, I used a dark antiquing wax, which gave me that pretty shade I wanted. I found stencils I really liked that gave the piece a French vibe and stenciled the designs on in darker brown. Here’s the first coat to paint:
Here’s the “after” waxing and stenciling:
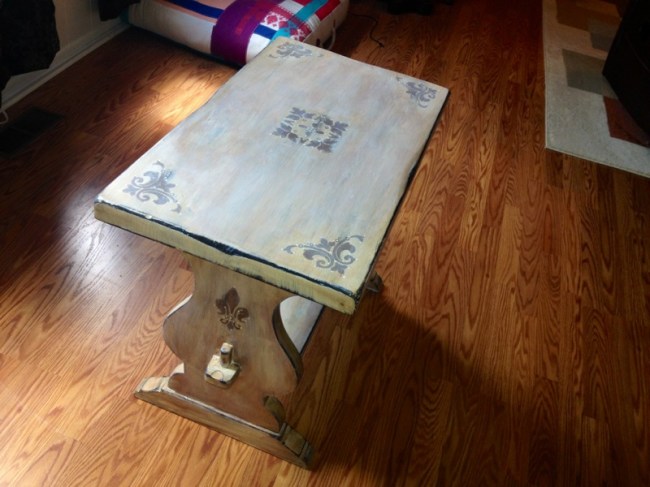
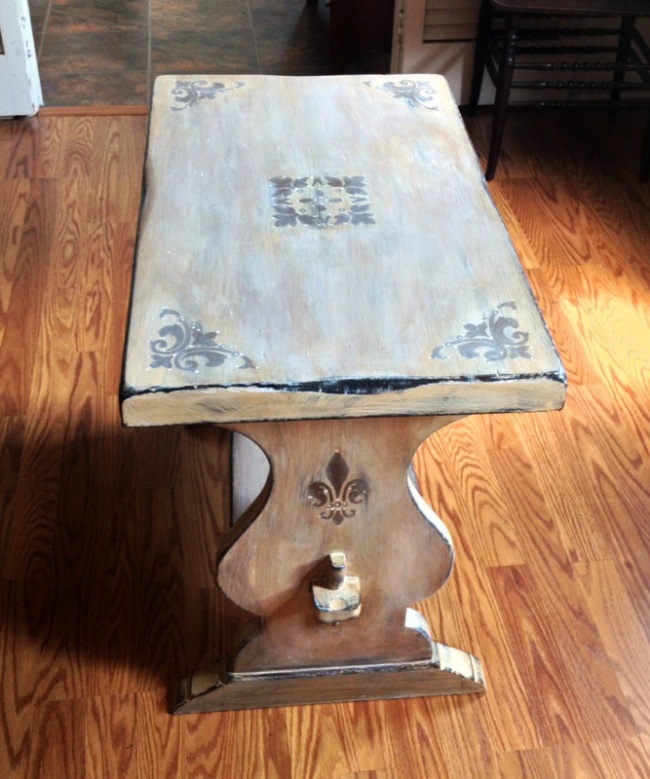
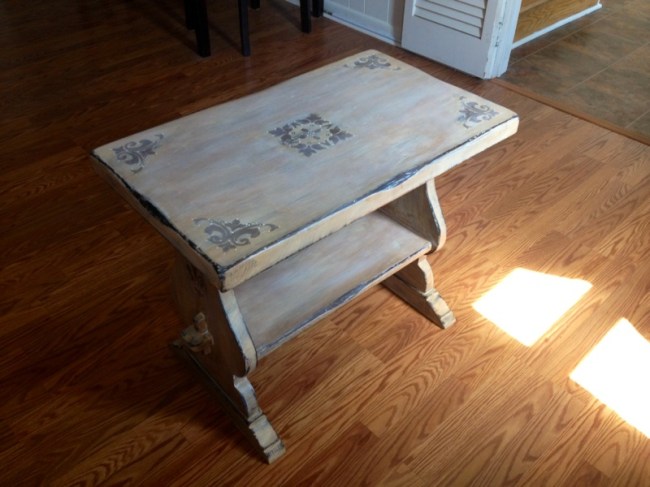
It was finished here, technically. After looking at it again the following day, I wanted to tweak it, because I thought it was too distressed and I found the pattern of sanding distracting. After redoing pieces of it and then using white revax (varnish and wax) on it, I finally got my desired result:
SO happy with it now. I love it. How people overlook things like this, I will NEVER comprehend!
Now for piece #2, the freebie nightstand:
After a few days inside my house in the AC and some sanding along the drawer edges, the drawers worked again. It had no pulls, so I needed to tackle that too.
I decided that in order to achieve the color I was going for, I’d need a deep brown base in a flat color and a white top glaze.
For white glaze, I recently tried a product called white revax and it’s AMAZING! Seriously, it seals, protects, and glazes all at once. A little goes a long way and it’s something to keep on hand for any future projects. It’s also non-toxic, VOC free, and made in the USA (does it get any better than that?) You can read about it and buy it here:
https://shabbypaints.com/vax-revax/
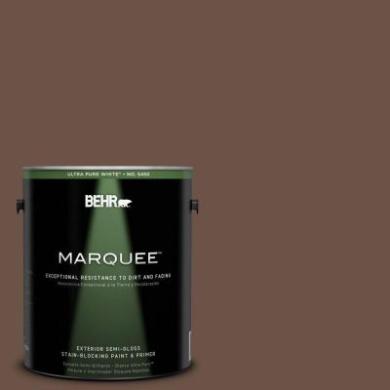
For my base color, I went to Home Depot and chose a color from Behr’s Marquee line called “Well-Bred Brown”:
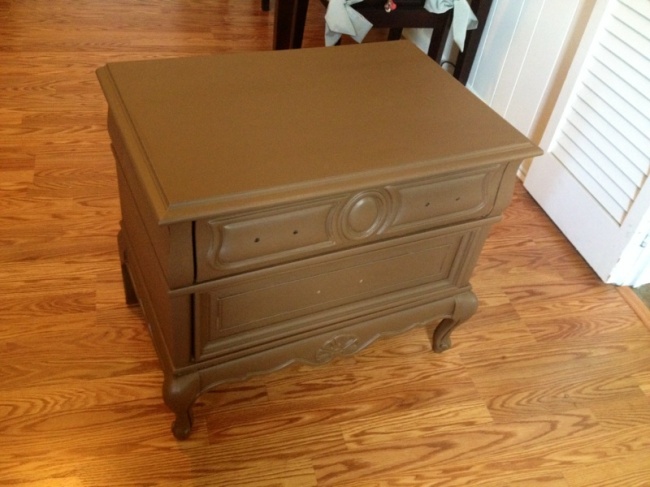
Let me tell you, this paint is un-freaking-believable. It goes on like butter! I definitely recommend this line, notable for its stain and dirt resistance. Here is the nightstand after its base coat:
Looks just like melted Hershey’s milk chocolate bars. Exactly the shade I was going for!
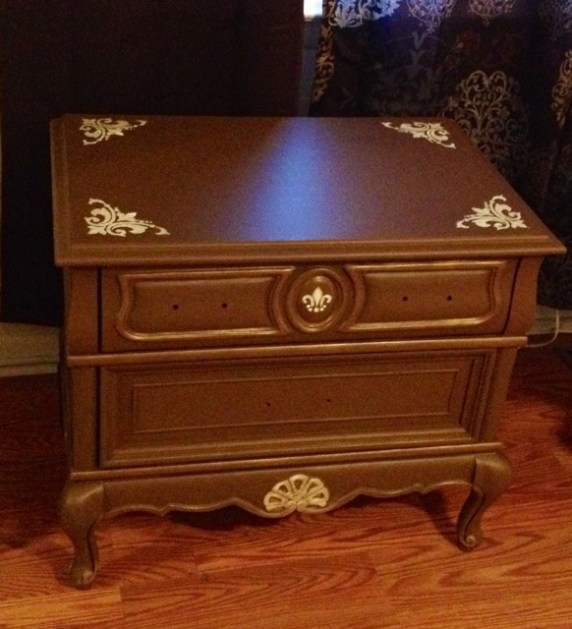
After this stage, I played around with the stencils and got this result:
I love the corner flourishes, and had to put a tiny fleur-de-lis on there on the front. The design at the bottom I painted by hand to bring it out. I accented the stenciled parts with a small hint of metallic gold acrylic paint.
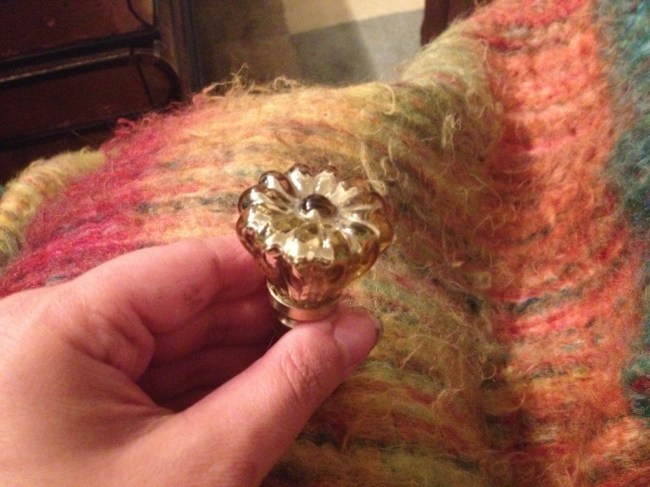
I actually nixed drawer pulls in favor of knobs, despite the fact that pulls likely “go” better for the piece. I found just what I wanted at Anthropologie…gold, vintage-looking mercury glass knobs on clearance for $2.95 each. Perfect!
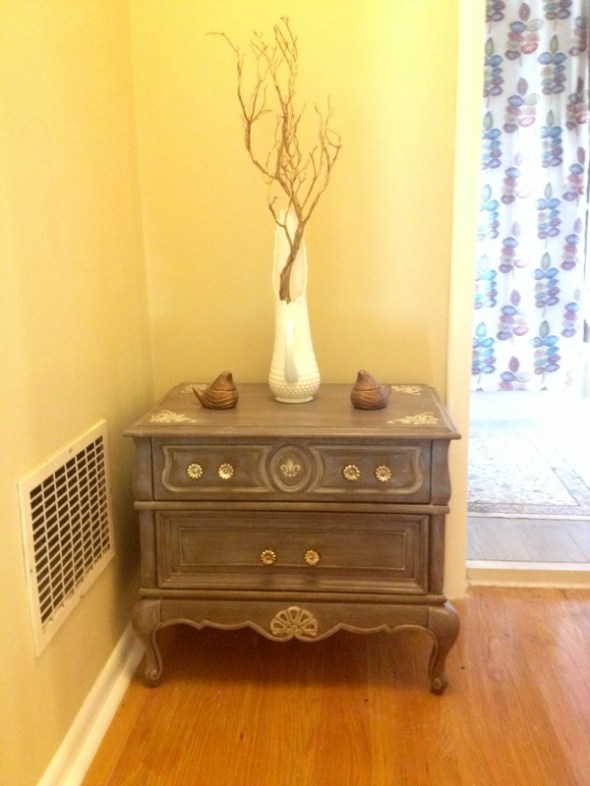
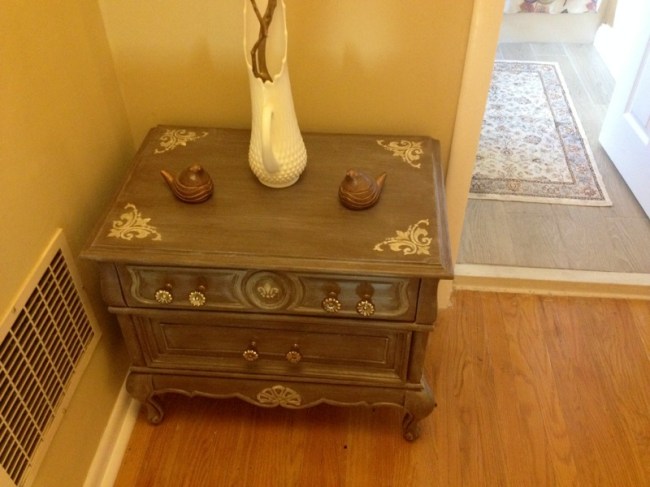
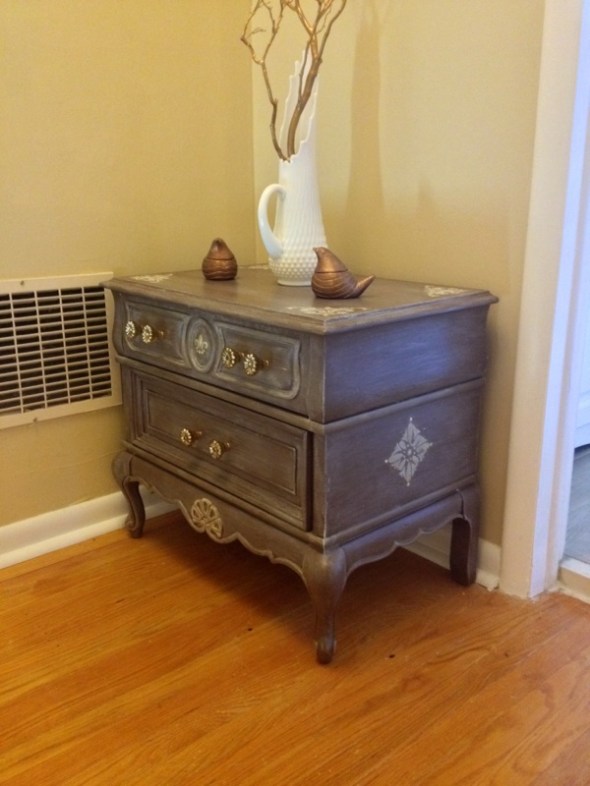
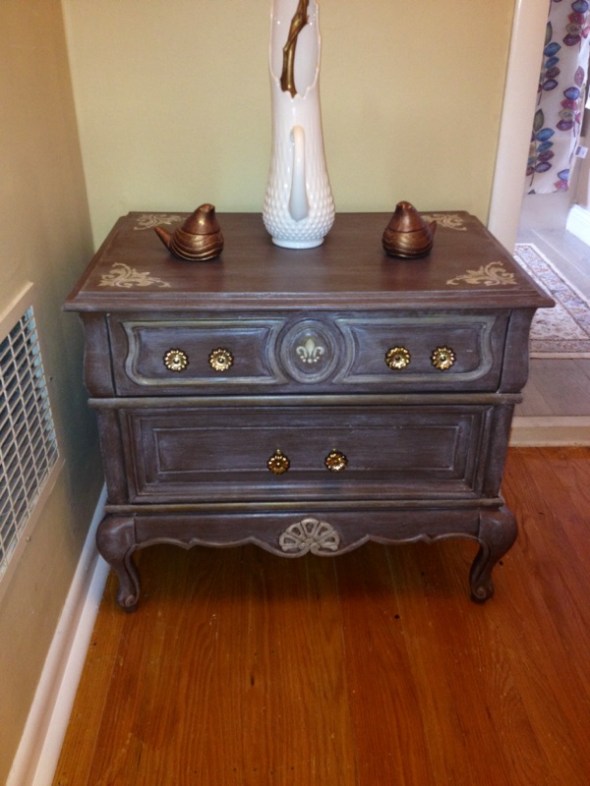
After sealing the brown paint with water-based poly, it was time to glaze it 🙂 After using the revax and adding my knobs, the job was done. Prepare for the photo blitz and cue “Isn’t She Lovely”:
SO HAPPY WITH IT! The brown with the white revax gave me just the color I wanted. slightly metallic grey-meets-brown. Love, love, love. Times a million.
Now for costs!
Project #1:
Trestle table: $7
Stencils: $2.40
Paints/sanding block/materials: Already on hand.
Total cost: $9.40
Project #2:
Nightstand: Free (thanks, Kelley!)
Sample can of Behr Marquee “Well-Bred Brown”: $3.94
Stencils: $2.40
Knobs: $2.95 each x 6 for a total of $17.70
Other poly/materials/brushes/revax: Already on hand.
Total: $24.04
How’s THAT for bargains?! I love them both and am so digging the French-inspired style lately. My ottoman makeover (previously blogged) bit me with the Parisian bug. So, see? All you need is some vision, and everything old becomes new again!
Til next time…
Well done! I saw the potential in that nightstand, but I lack time lately. SO THRILLED you were able to give it the much needed update! Kudos on the white revax and finished product! Fabulous!!
Thanks for giving me the piece to work with! It’s my favorite makeover yet.