Ahhh yes, the classic “never should have happened” fetish that is wood paneling. WHO ever thought this was a great idea?! It is ugly, makes any room feel like an absolute dark cave, lets no light in, and gives you a feeling that your walls are closing in on you.
*facepalm*
You can imagine our delight when we toured what is now our home and saw this. Here come the “before” photos. Brace yourselves, it’s bad. Like, terrible, horrible, no good, very bad awful. Paneling come at you in 3…2…1…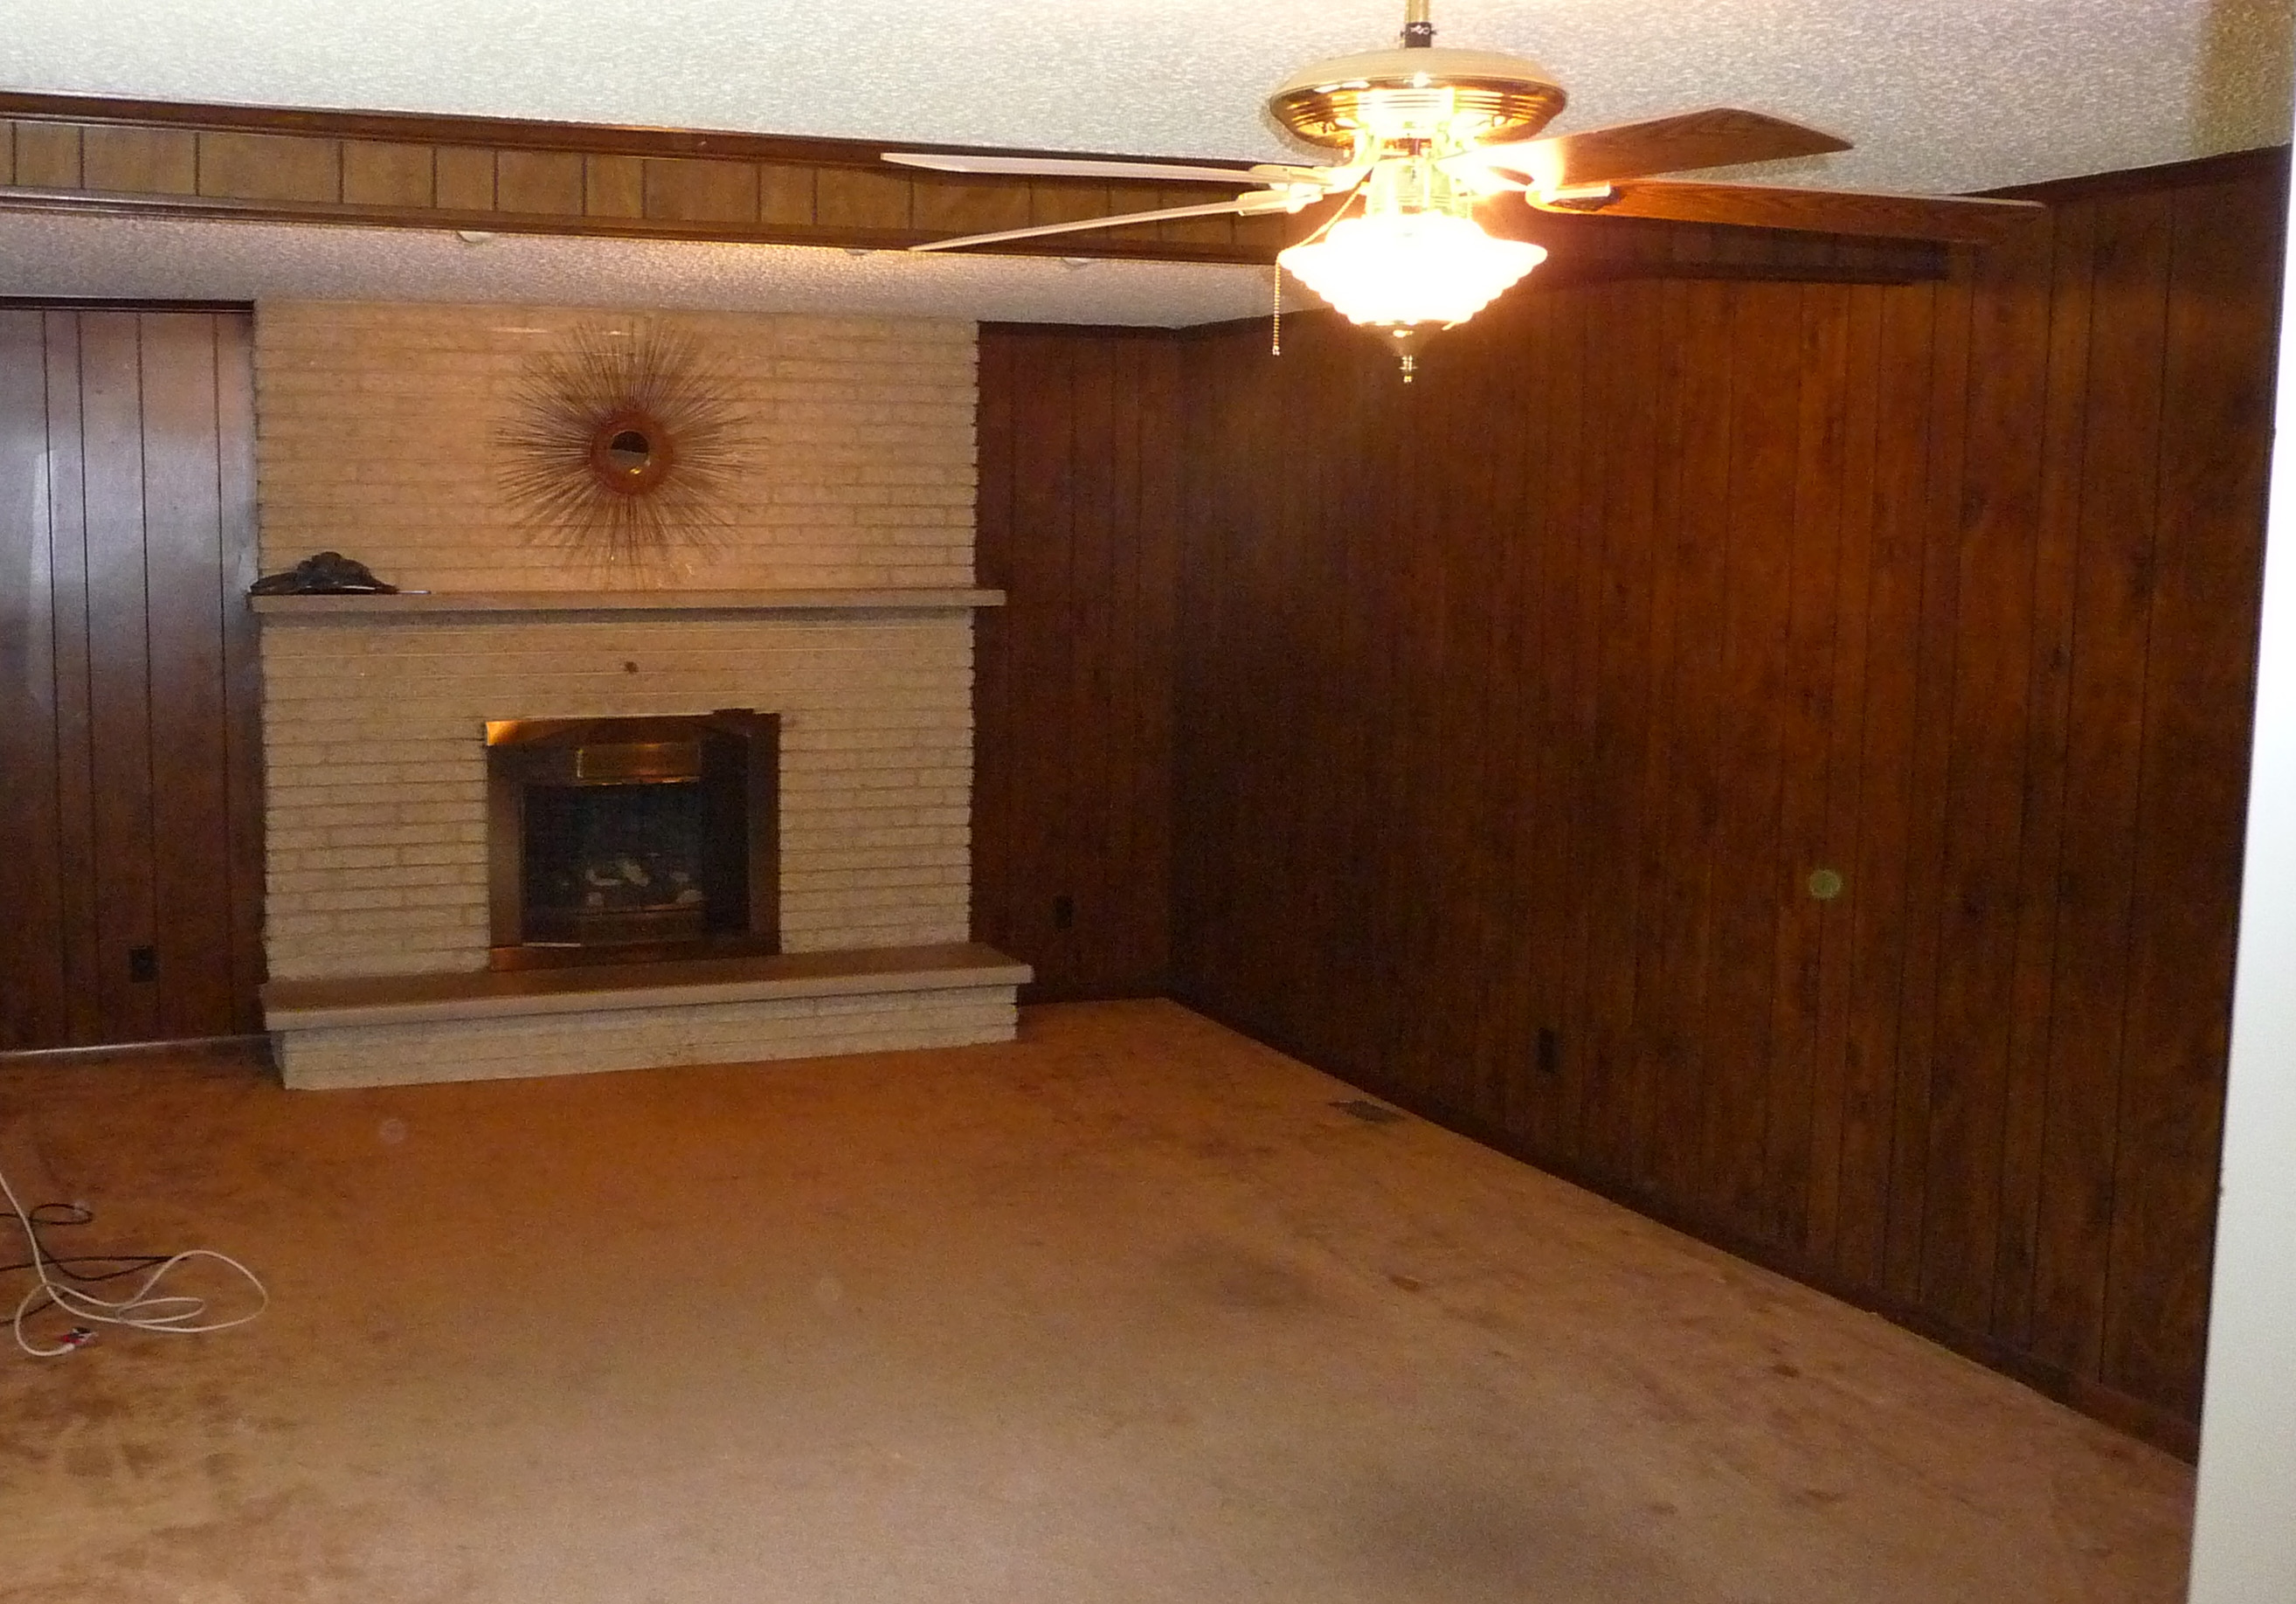
Check out that sunburst fixture. HELLO 1960’s! I loved it for about a day and then saw the light. It then became a fun game between us and our friends who own a house one neighborhood away, where we’d each drop it off at the other’s house in weird places and pass it back and forth. It was fun for about a week until I put it at the curb. I digress! Here’s the back end of the room, so that you get the full effect of this loveliness:

UGH. I can’t even. This room is 25 feet long, and that is a lot of wood paneling.
So, when faced with this, you’ve got 3 options:
1.) Leave it alone (option 1 is for those with rocks in their head, don’t pick option 1).
2.) Paint over it using a quality bonding primer with a good paint.
3.) Take it down.
Here are the possible issues with option 3:
*You have NO clue what is behind it. There may or not be drywall underneath it. If so, it may be damaged and you may not be able to salvage it. If you get lucky, there is drywall under it in good condition and you can paint. Again, this is a risk. If you choose this, be fully prepared to hire out a contractor to re-rock/re-drywall the whole room. THIS, friends, doesn’t come cheap. We know this firsthand (more on that hot mess at a later date).
If you didn’t already deduce it, we chose option 2. And to be perfectly honest, I am thrilled that we did. If you buy the right materials, it’s a great-looking, dirt-cheap update that completely transforms a room. There is no comparison. I hated how dark and cavernous the paneling made our den, which is large with a stunning white brick and silestone fireplace and tons of space. It kind of ruined it. In our minds, while looking at the catastrophe that was the paneling, the only solution was “WHITE!”.
Those who know me well were surprised by this. I like my walls neutral and unexpected color pops in my decor, but I can’t stand white walls. Looking at the room, however, it’s exactly what we envisioned. A beautiful, soft white that would lighten, brighten, and cheer up the room! Semi-gloss paint is (in my humble opinion) way too shiny to use over paneling, so Jeff and I chose an eggshell finish.
Before I get to the nitty-gritty (and photos), I will tell you that painting paneling is not a pleasant task, and is much more irritating than painting flat drywall. But the end result is completely worthwhile. Another thing that shocked me was how much I truly loved the texture/look of the paneling after painting. I am a texture-person all the way, and I find it so pleasing to look at.
The first thing to do is get yourself a good bonding primer. It’s worth its weight in gold and is one of the most underrated renovation products on the market (more on the joys of bonding primer at a later date). It negates the need for sanding or “roughing up” the paneling, and provides a surface that your paint can adhere to. It’s going to give you strong, long-lasting wear. We used Valspar’s, and it’s fabulous:

As for materials, the best ones for this job are a few different sizes of trim brushes (my local dollar store carries them 3 to a pack (multiple sizes) for $1). You need this for the trim and for between the grooves in the panels (which is a pain in the you-know-what). You’ll also need rollers. Just, please, whatever you do…NEVER use foam/sponge rollers. Foam rollers equal air and bubbles. Here’s a photo of the priming (the rockstar in this photo who helped me tackle this room is my best friend of nearly 24 years, Kerrie):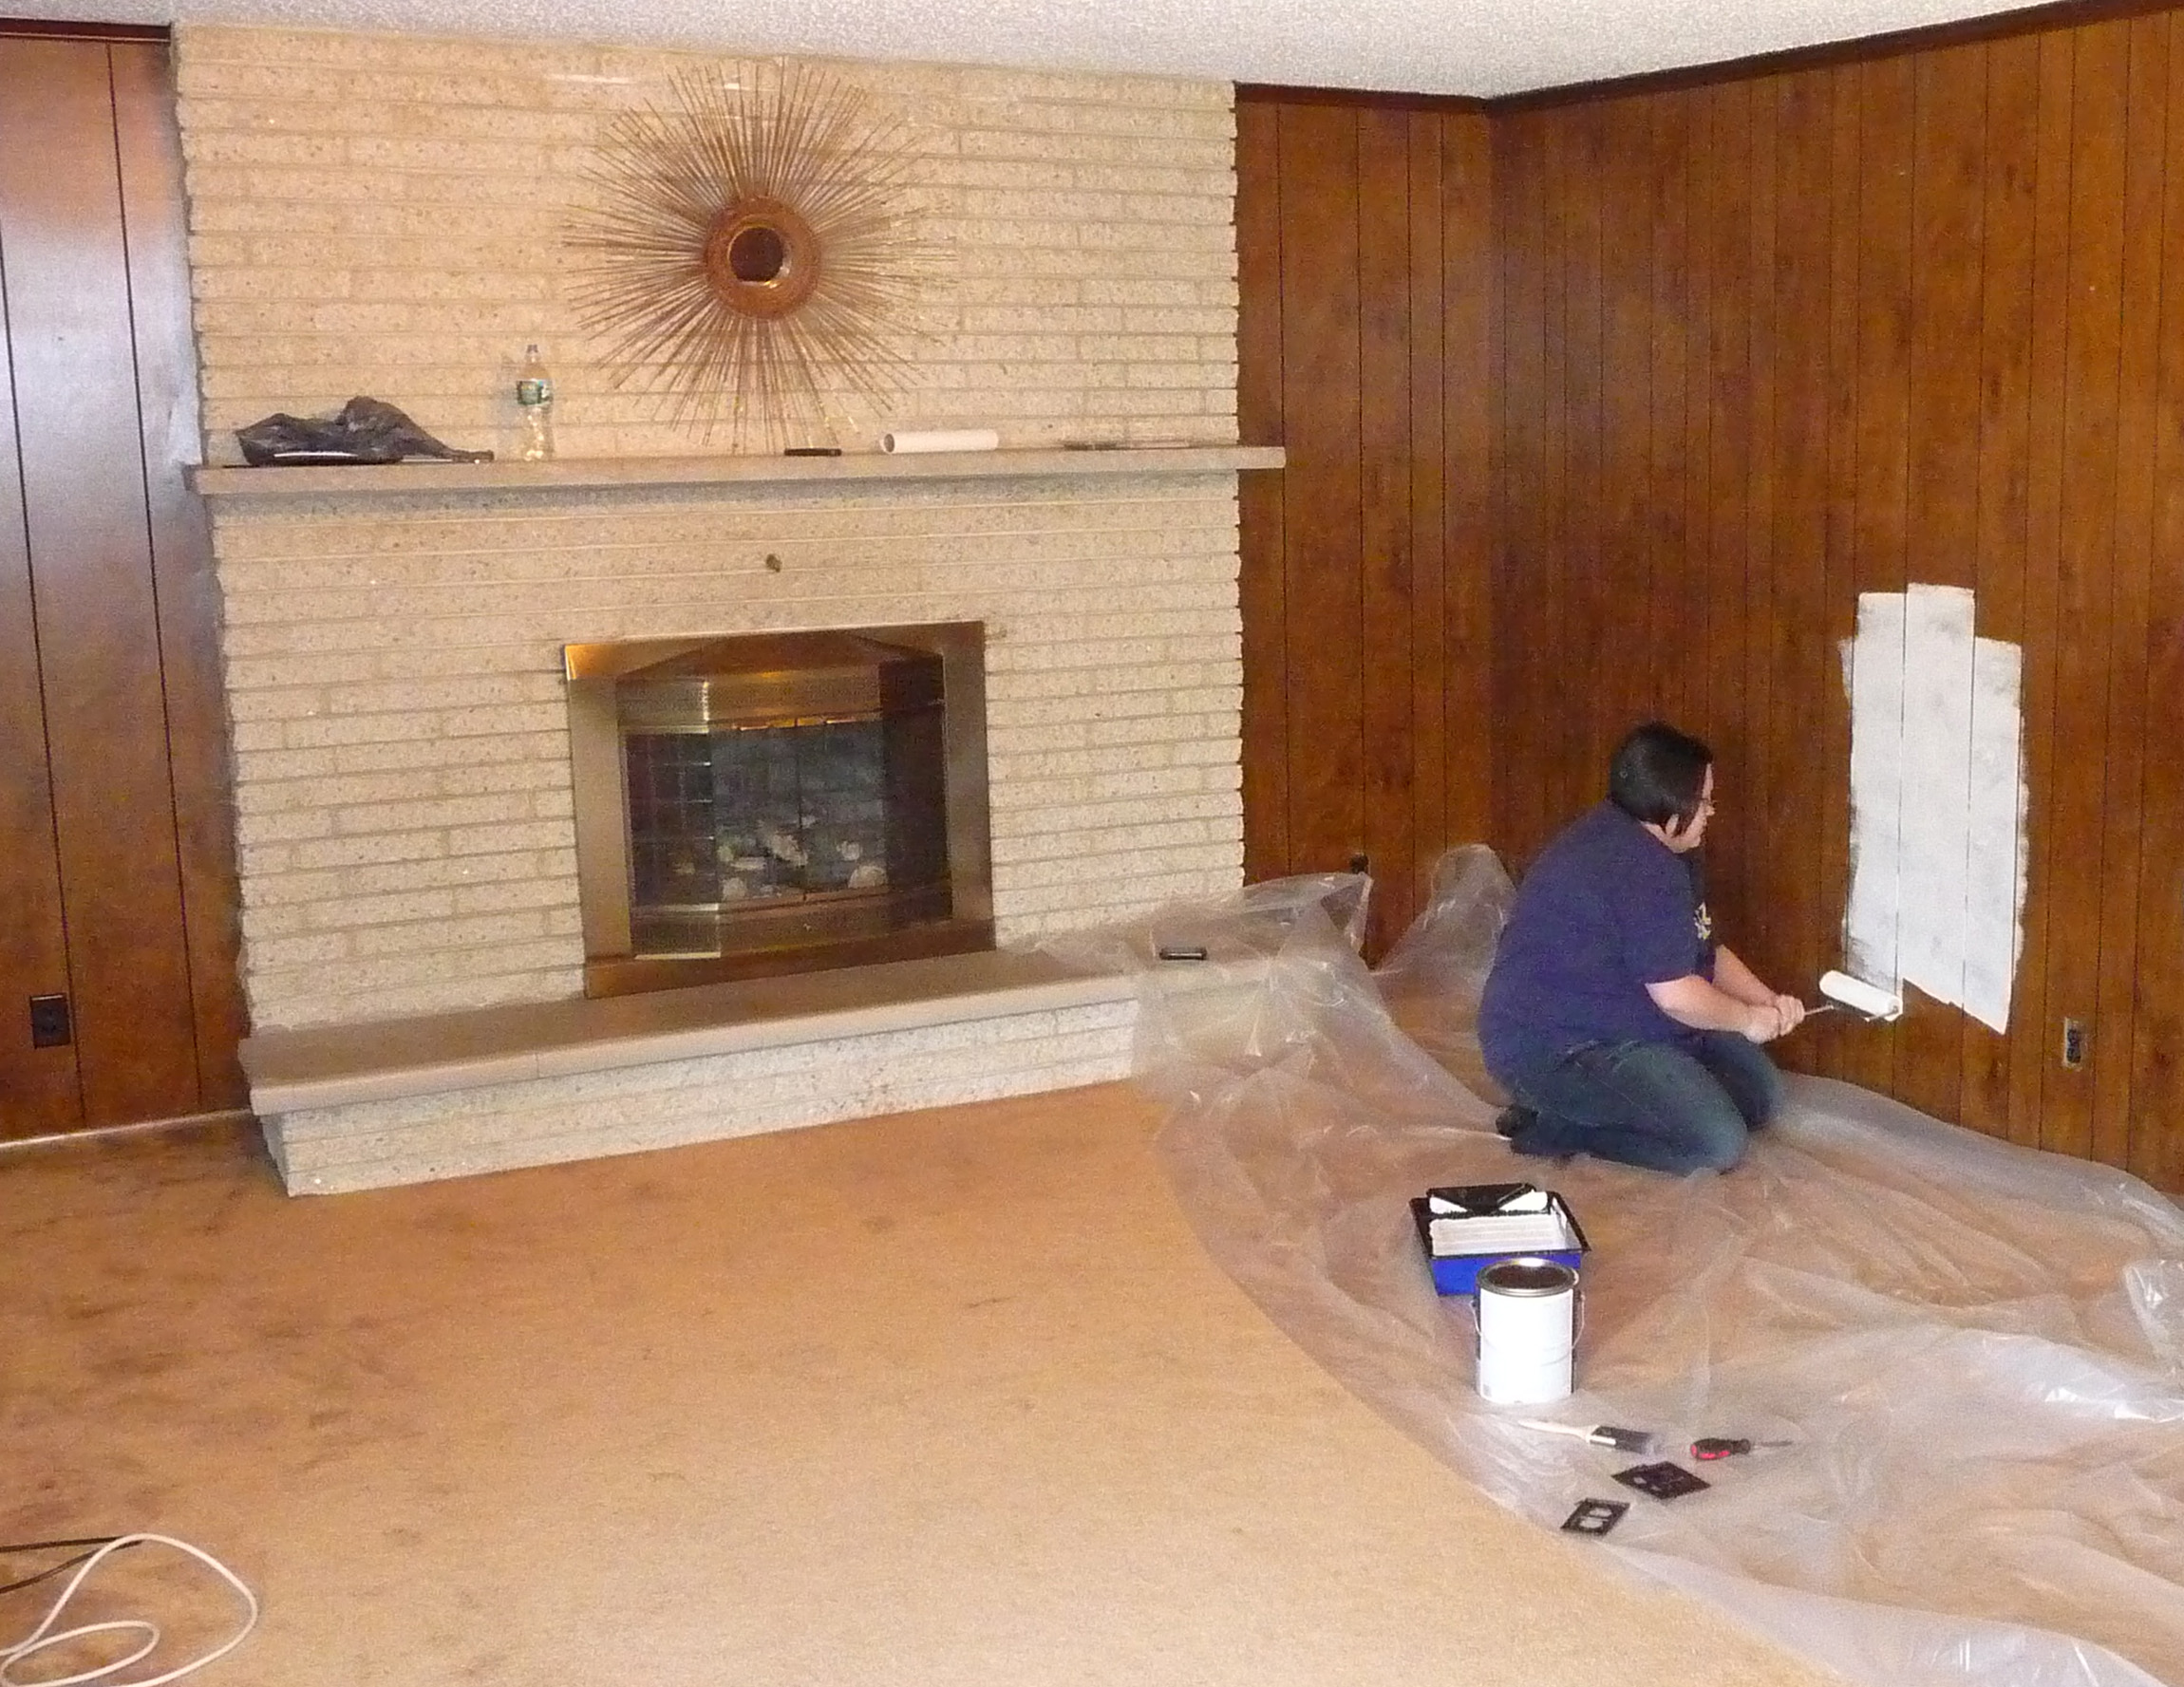
And here we go again:
As you can see, my side is a lot heavier. I have a heavier hand with paint than she does, but it all came out even and beautiful in the end. You can already see what a difference it will make in this one small section with the soft white paint on it:
It’s already a thousand times improved, no?
If you take on this project, make sure to paint your trim and baseboard, and be sure to get between all of the grooves. Any uneven or falling parts of molding can be nailed back in or up, or caulked for a seamless finish. Hubby went around caulking in here once all was finished. My sister is great at trim and got both the bonding primer and a first coat of paint on all the trim in the room! This space was a true team-effort, and I am so thankful. I can’t say it was fun, but painting this room did turn into a singalong and dance party (typical in our house)!
So to recap, This is what we inherited (also note the “magical” polished brass ceiling fan that has since been replaced):
 And this fabulous room is what we’ve got now:
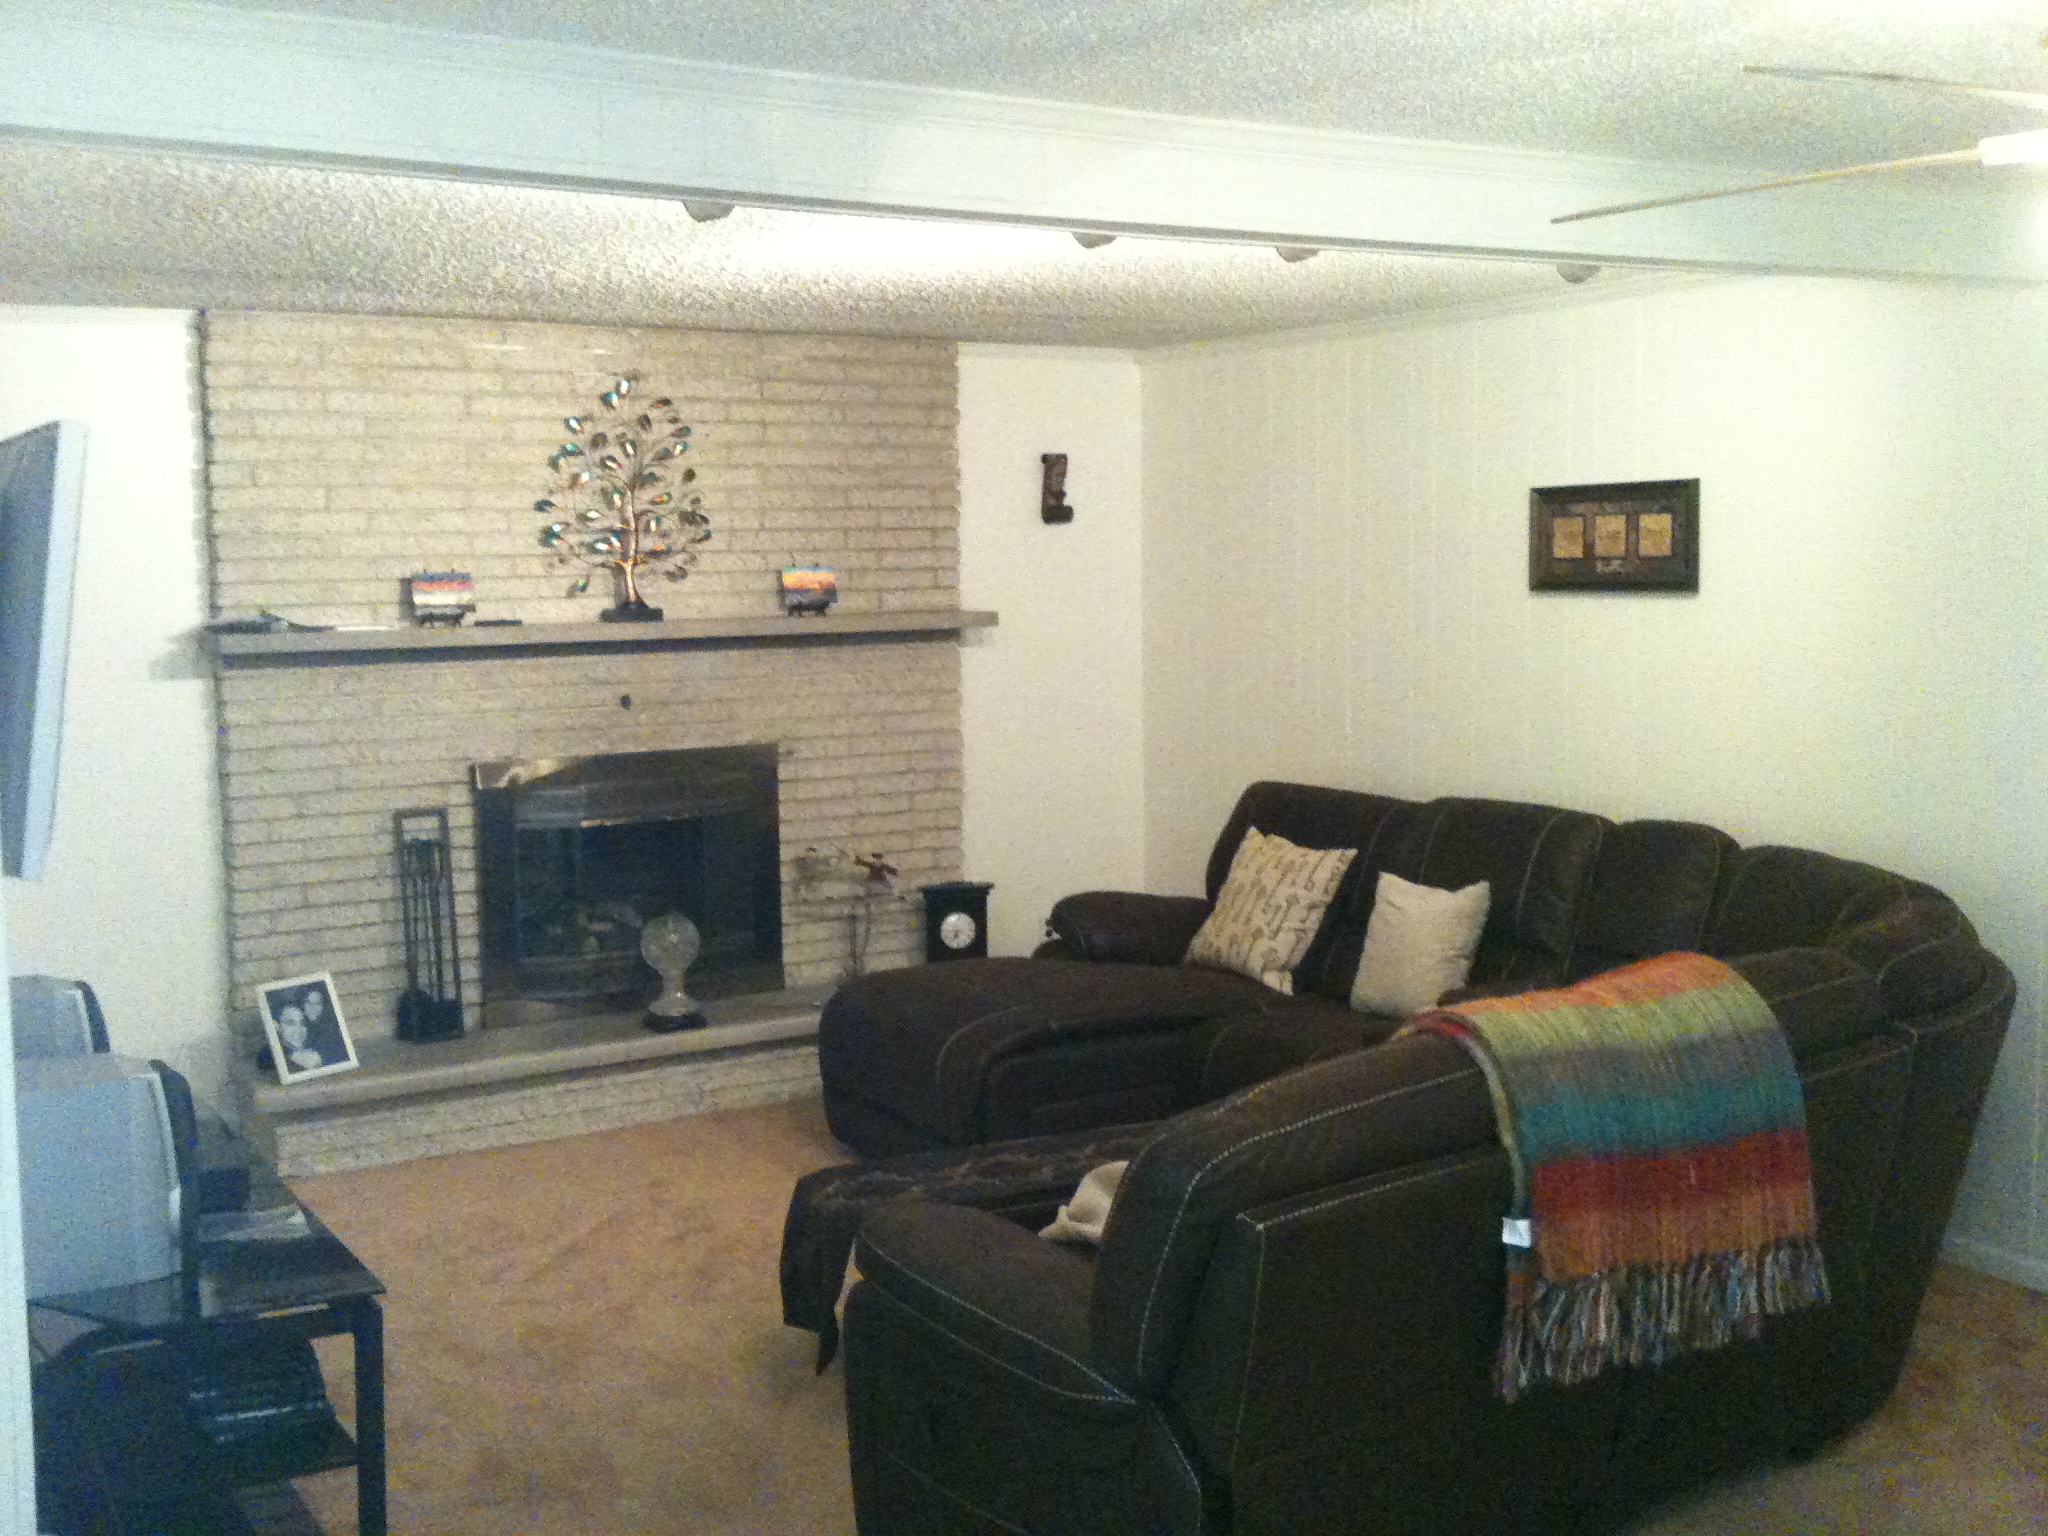
 (And in the back of the room, we opted to set up a game table):
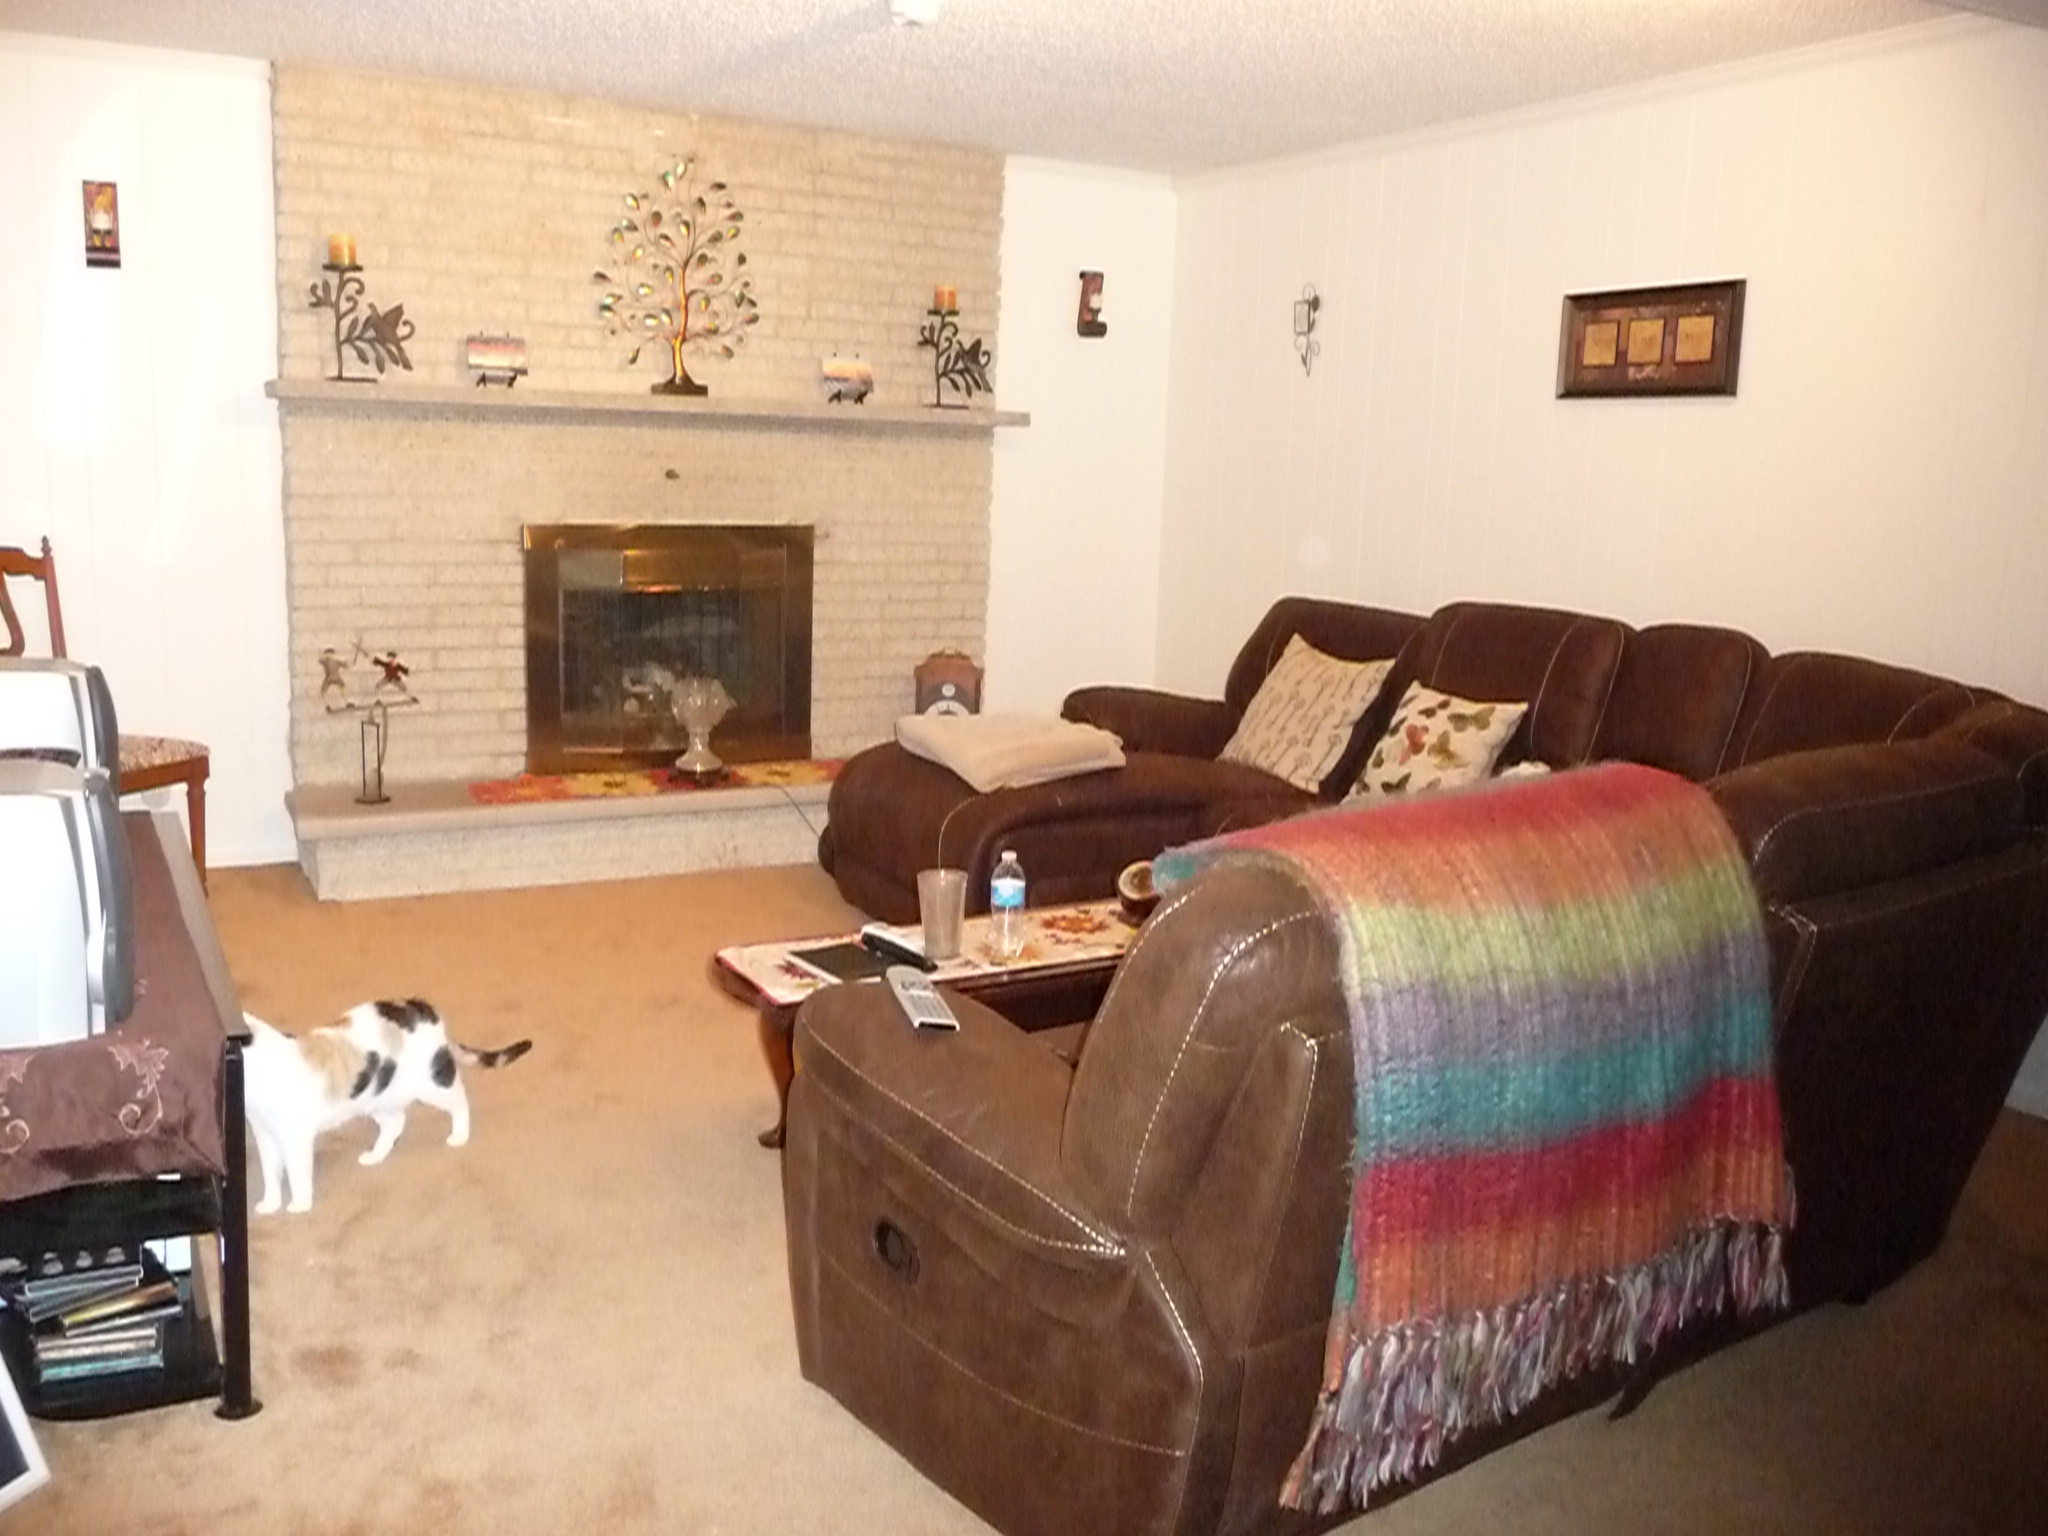
Here’s a pulled-back view of the room, with my “daughter” hanging out and walking around (you can see a glimpse of our nice, new rubbed-bronze fan, too):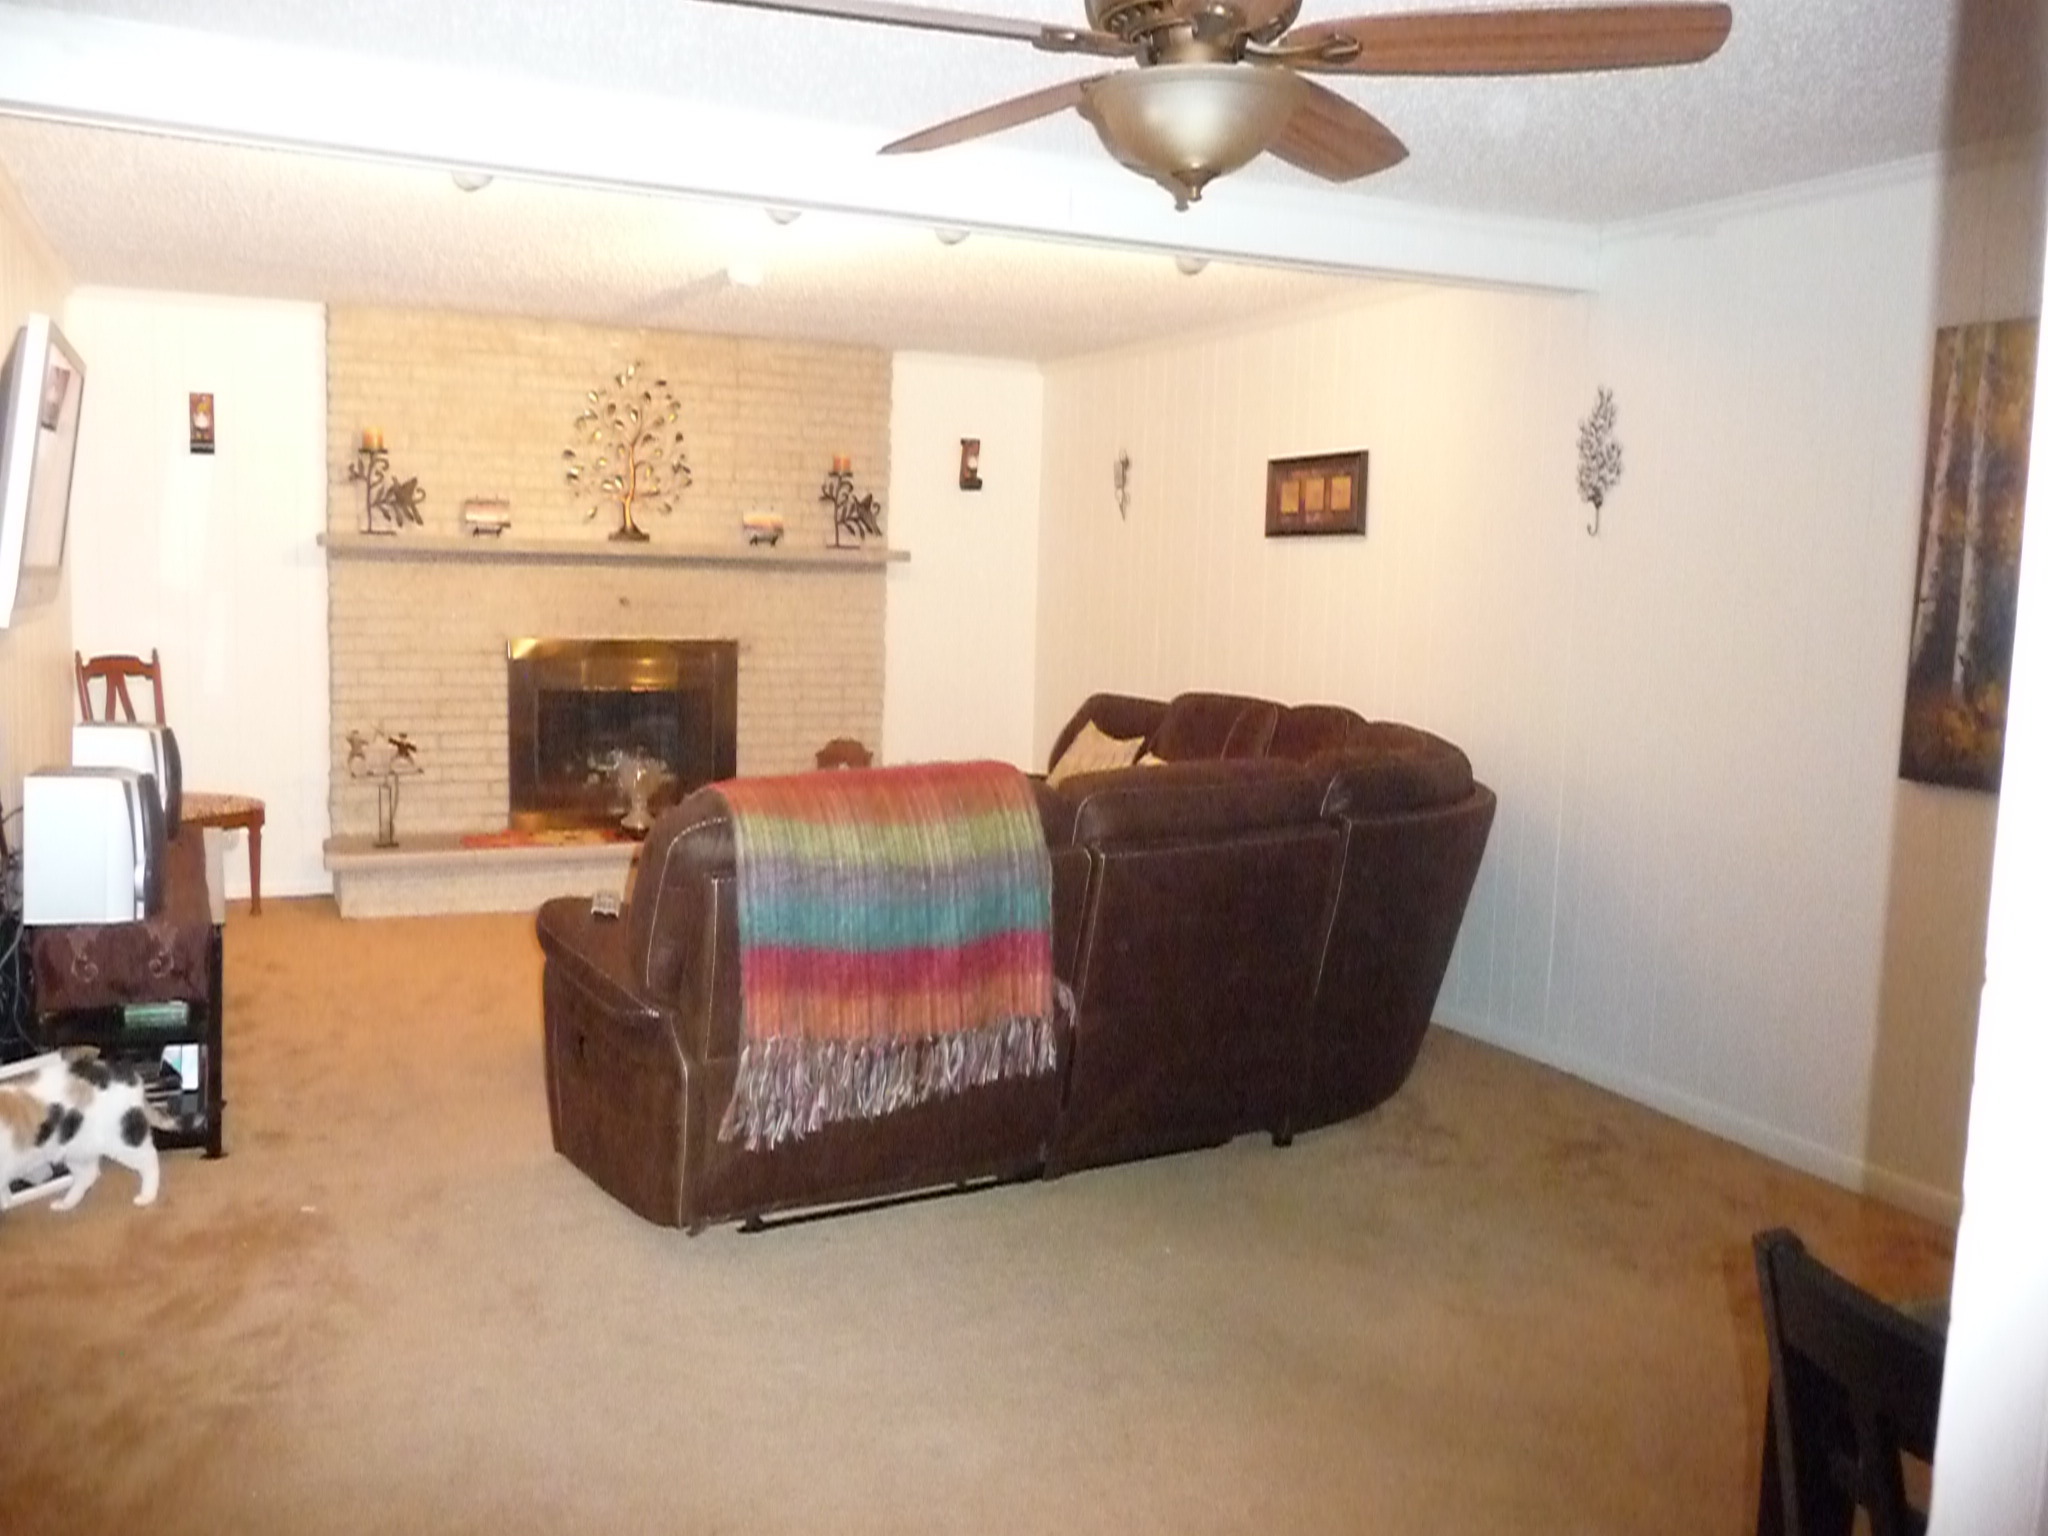
And remember the bizarre 60’s sunburst-looking fixture as the centerpiece for the fireplace? Here is the mantle now: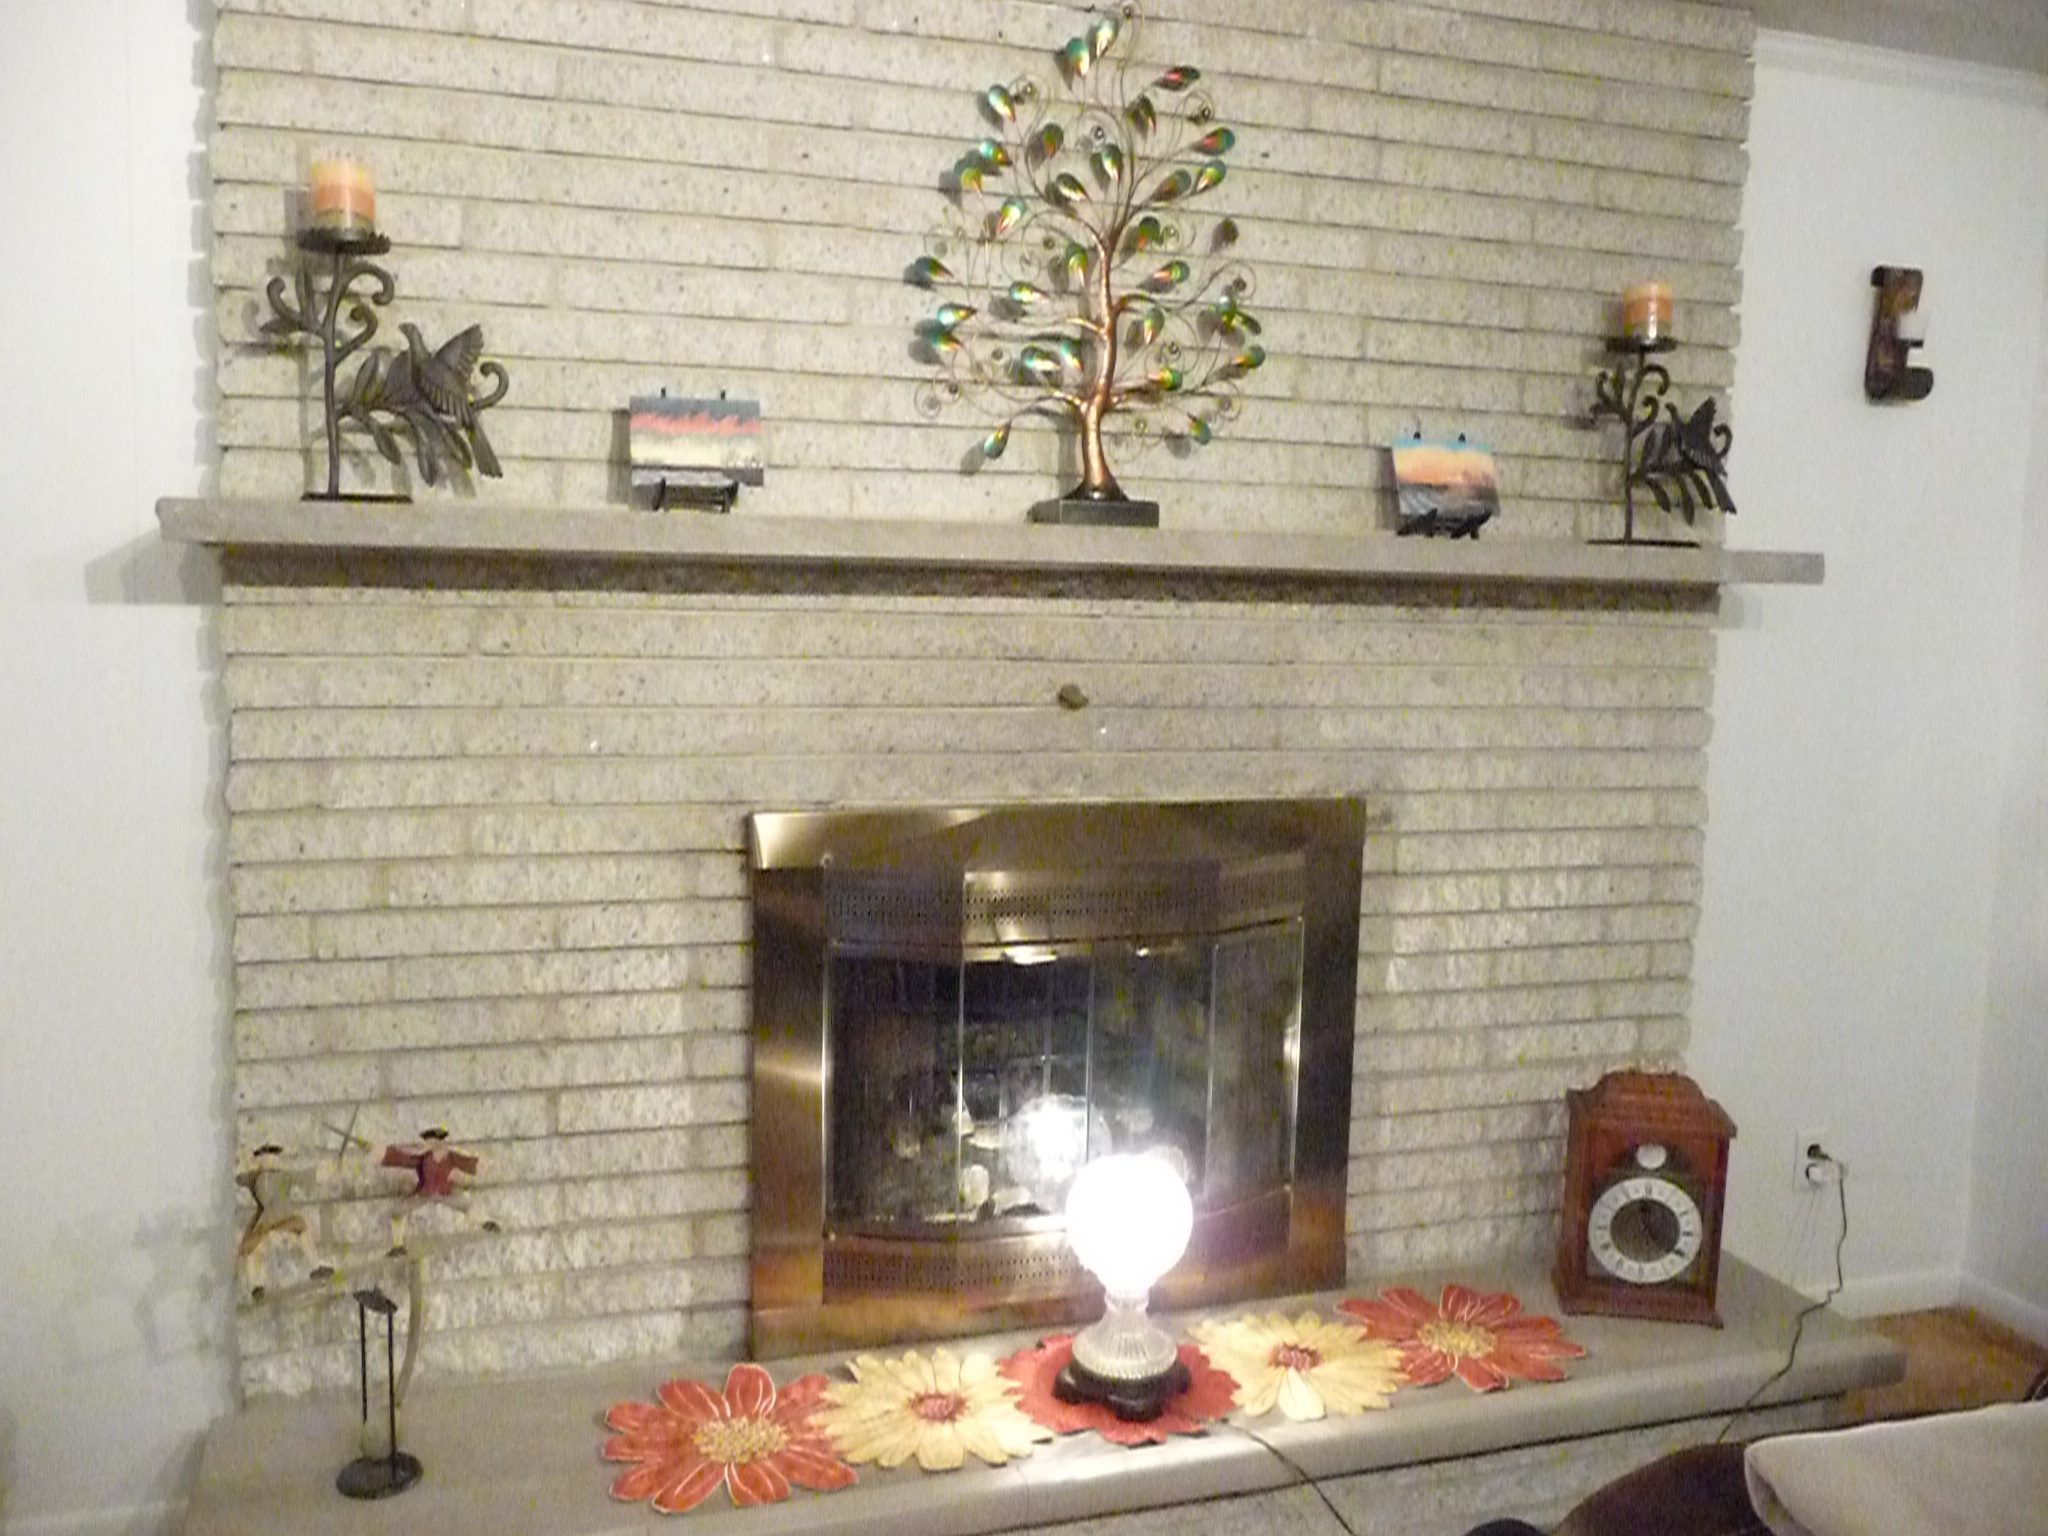
See what I mean about the texture of painted paneling being nice? The soft white paint we used (Olympic’s “Delicate White”) ended up being just what we needed. It feels comfy, bright, and inviting in here now. All for the cost of paint and some materials! Such a complete and utter transformation!
The future of this room includes ripping out the carpet and putting down a nice laminate at a later date. For now, I am living with the carpet.
As always, the price comparison of DIY VS Professional:
DIY: About $100 for paint and supplies
Professional: At the low end for priming and painting the room, you’ll see about $750-800. On the higher (and likely more realistic) end: You’re up over $1,000. If you want a pro to take it down, prime and paint existing drywall, you are over $1,000. If they remove bad drywall behind the panels and have to re-rock the room, you’re now in multi-thousands.
Once again, DIY is dynamite.

Yeah, painting that room was a bitch and a half but TOTALLY worth it!
I love you for helping!